
Learn how to integrate and publish your intelligent GenerativeAI solution built with Azure OpenAI Service.
So far, we explored how we can generally build an LLM-based application using Azure OpenAI. We also had the opportunity to review all the parameters and configuration options of the functionality offered by Azure Open AI Studio, specifically the Chat Playground section. At the same time, it is evident that the studio provides a very intuitive interface for the rapid and efficient creation of chat-based applications in different domains on top of different business-tailored data. Therefore, Azure OpenAI Studio is an excellent place for prototyping and rapid benchmarking, with the ability to test different models on the fly. What we have left to cover is when we are satisfied with the application’s performance and want to bring it closer to the end users, who can be people from the company or the general public. Given that, I will dedicate this post to the already announced part of deploying AI-powered digital assistants created through Azure OpenAI.
Let`s start again from the main Azure OpenAI Studio screen, where we have already created a bioengineering-based digital assistant specialized to help and support researchers find relevant information and insights in the bioinformatics field of microbiome analysis. We have covered all options and functionalities offered in the Chat Playground here, except the ‘Deploy to’ button on the top right of the screen.
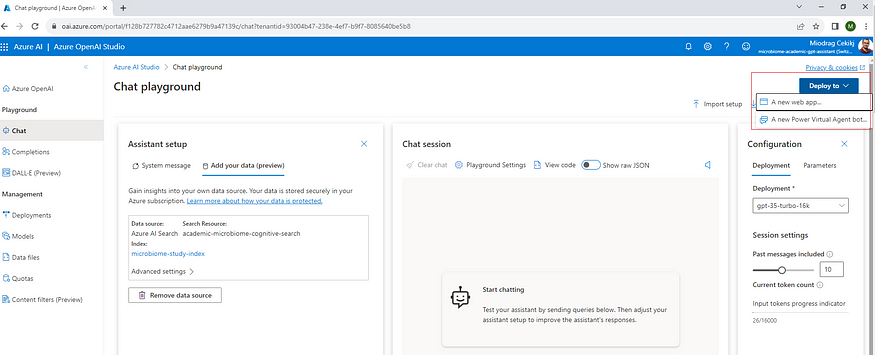
This built-in button exposes the functionality for deploying the solution in two different ways: as a new Web Application and as a Power Virtual Agent bot. Here, we will present and cover the deployment process by using the first option for publishing the solution as a standard web application.
Note: If you are interested in Power Virtual Agent bot deployment and implementation please refer to the official Microsoft AI-Azure AI services Blog post dedicated to this topic.
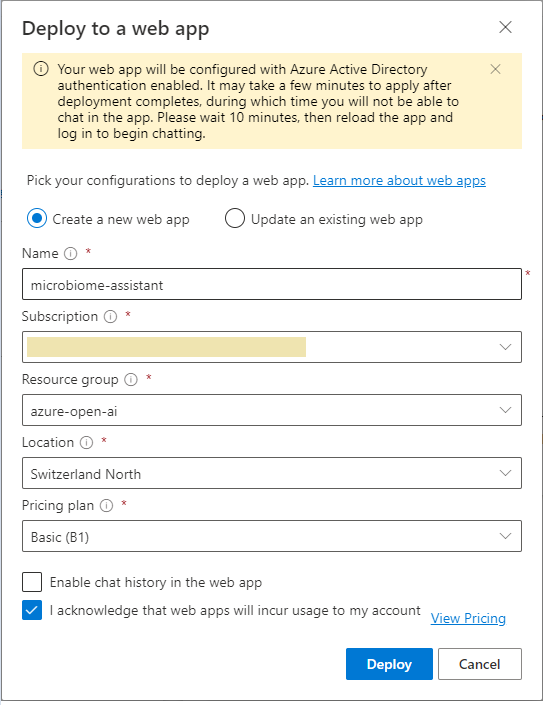
So, we have the microbiome assistant ready, and we want to expose it and wrap it up as a new application hosted on Azure. If we have already created a pricing plan and a web application, we can create a new version or update the digital assistant using the ‘Update an existing web app’ option.
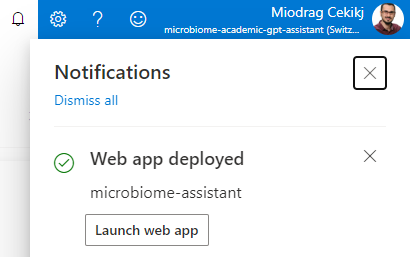
As you can see, Azure will take care of all the background work and we will only get a notification as soon as everything is up and running.
What do we actually get after the deployment is done?
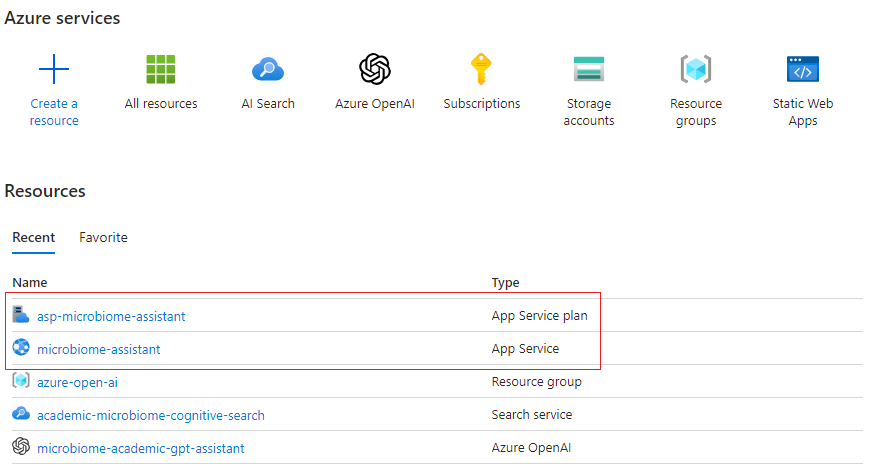
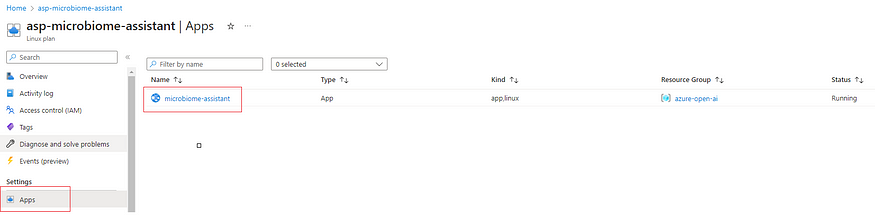
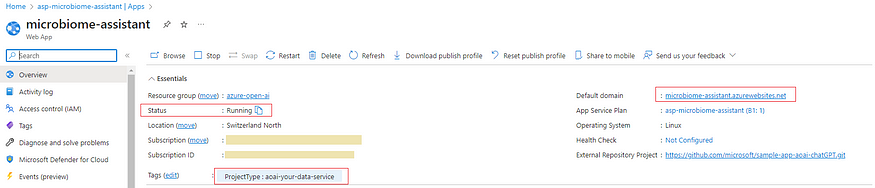
As presented, we got the application service plan and the application itself ready for use. All of this is automatically prepared and done by Azure. We can see and access the application from the application pricing plan.
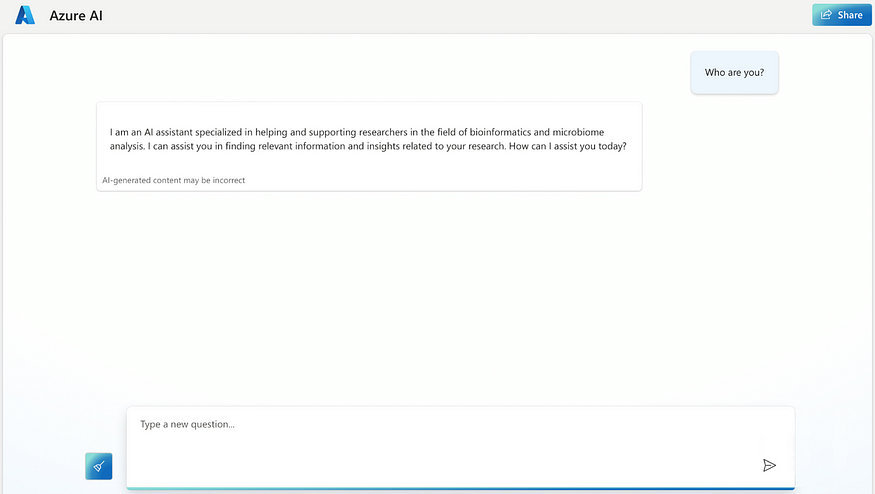
Based on this, we can directly access and interact with our RAG powered digital assistant we created before. The chat based look & feel is also automatically provided out of the box.
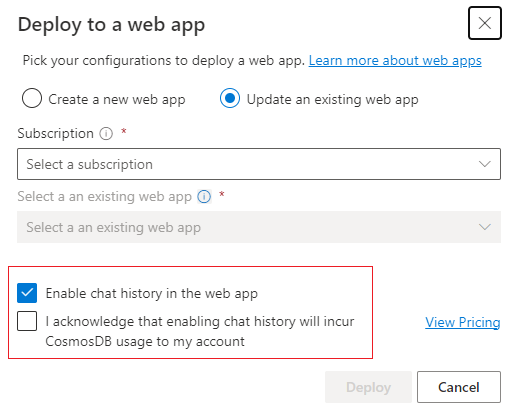
Note: There is also the possibility of publishing or republishing the solution, enabling the chat history from the conversation. This is configurable within the ‘Deploy to a web app’ pop-up window and will incur CosmosDB usage to the specific subscription and account. This part is beyond the scope of the article.
As I announced in the previous post, in addition to the integrated deployment option, the solution can be integrated by using the API from the appropriate SDK. It’s part of the auto-generated code suggestion I showed in the Chat Playground post. On that note, it’s finally time to see some code.
For this purpose, I will be using Microsoft Visual Studio 2022 IDE and integrate the solution within an ASP.NET Core Web API application using the C# programming language. Let`s get started without much further ado.
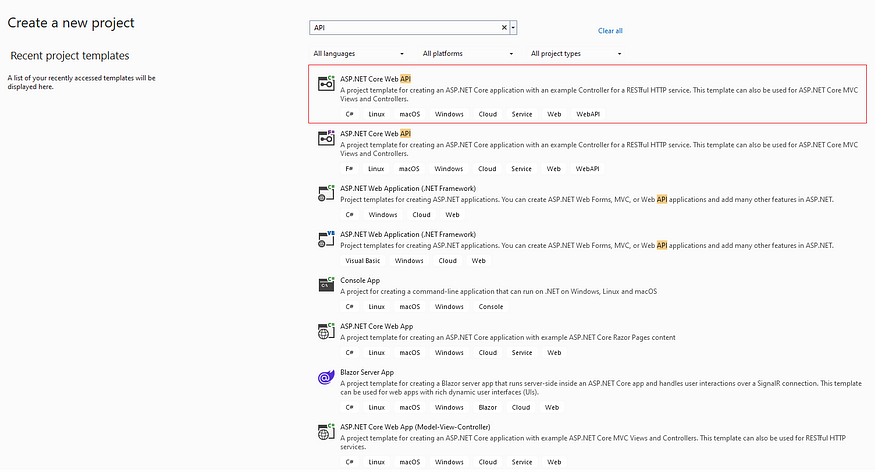
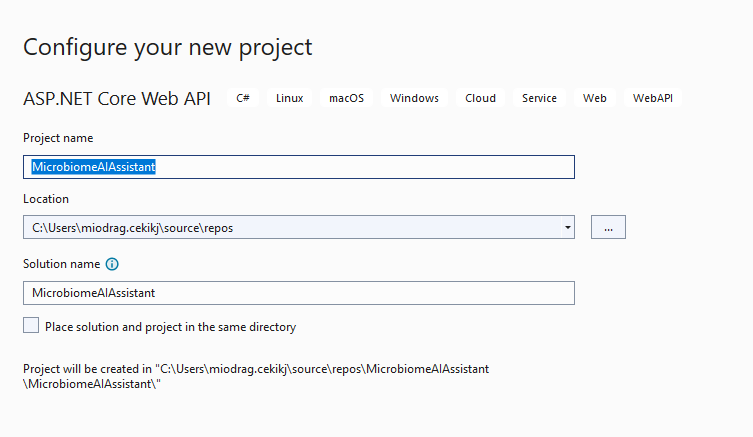
First, we need to create and name a new ASP.NET Core Web API project — we can do this by leveraging Visual Studio’s project templates.
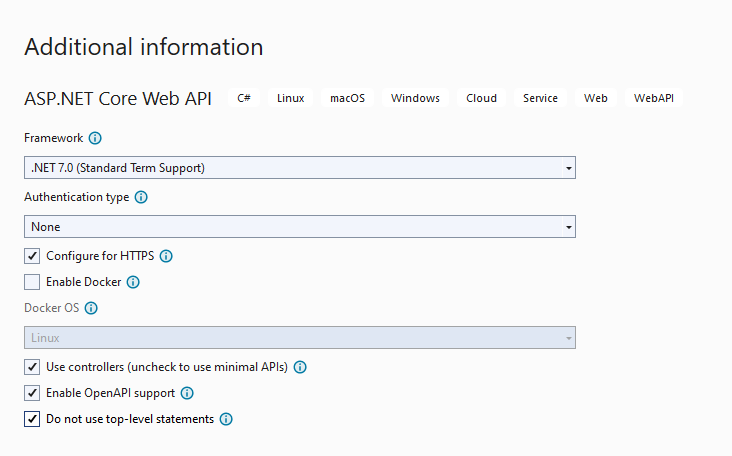
We will keep the default settings for the project and use the .NET 7.0 target framework. The concepts of minimal APIs, top-level statements and authentication providers are .NET-related topics that are beyond the scope of this article.
Note: I want to mention that I will not go into the principles of optimization and code organization or any practices related to software designs and architectures. I will present the solution in its basic form of integration within a single API endpoint. Also, I`m not going to cover any authentication or token based access to the API itself, since it is also a technique beyond the scope of this article.
After creating the template, we should get the following solution structure.
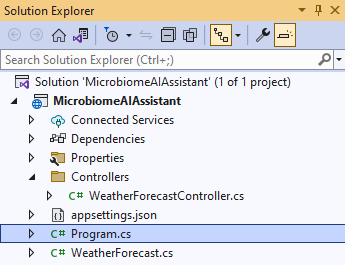
Note: We will delete the WeatherForecast based files that are provided as an example files from the API template.
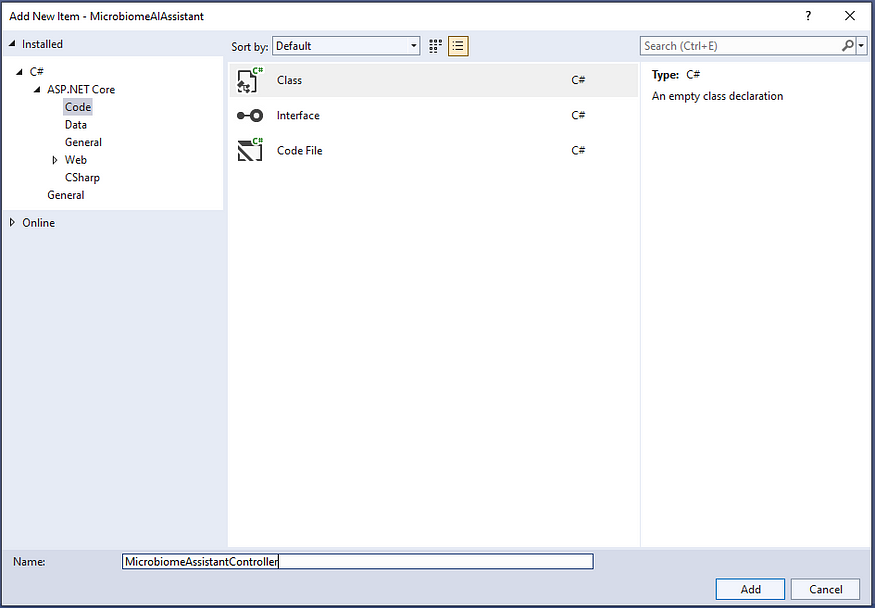
Then, we are ready to proceed and create the controller class for our microbiome assistant. We will use this class to develop and expose the HTTP POST API endpoint that will wrap the API call to our custom RAG-based solution.
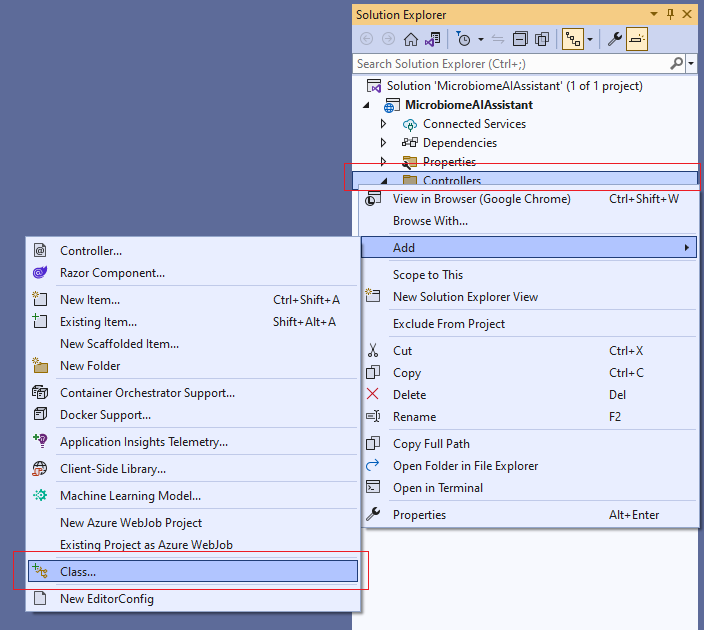
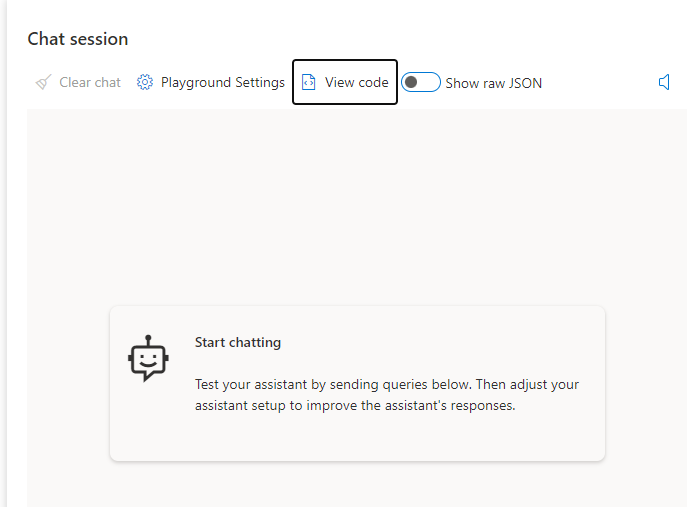
Next, let`s take the code snippet for C# programming language provided in the Chat Playground (‘View code’ functionality in the Chat session panel).
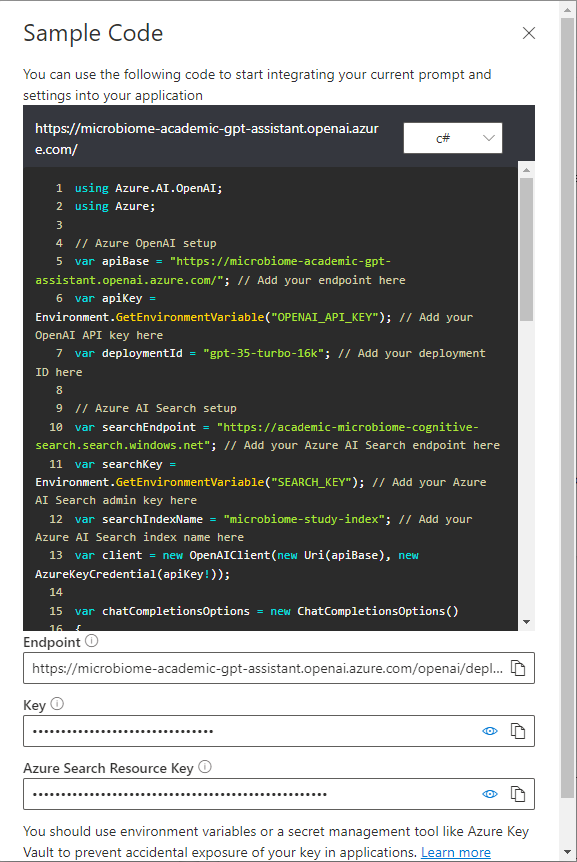
As stated, it is a sample code snippet for starting the integration and setup of our application. So, we will need some additional packages and adjustment.
Let`s start from the beginning and first deal with the using statements.
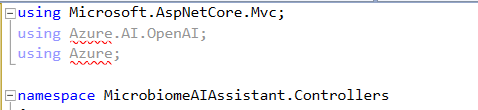
Obviously, we will need to install the packages providing the functionalities (methods) for integrating with the Azure OpenAI solution.
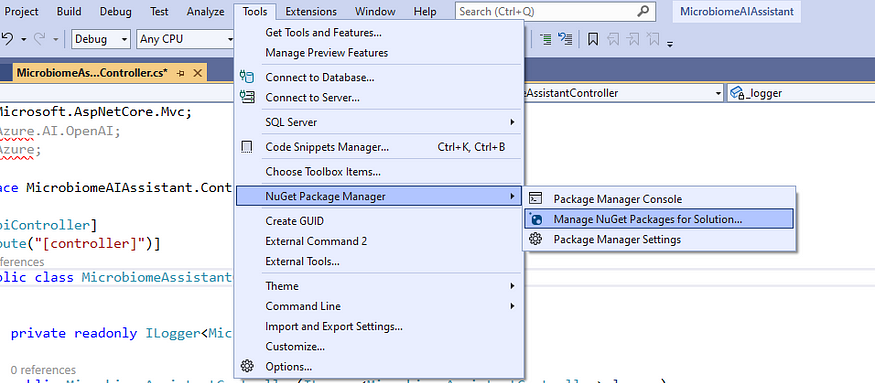
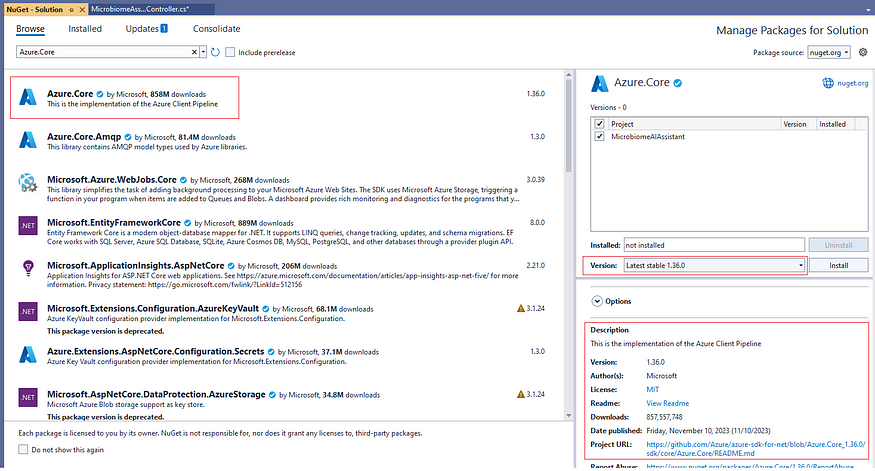
Therefore, the first package we need to install is the Azure.Core responsible for the implementation of the Azure Client Pipeline. I prefer using the built-in NuGet Package Manager for the solution within Visual Studio.
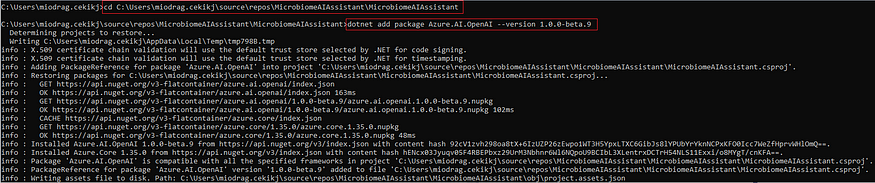
This will solve the Azure using statement requirements. We will still be missing the Microsoft`s Azure.AI.OpenAI package which by the moment I`m writing this article is still in its prelease beta version and therefore not available by default in the NuGet Package Manager. However, we can install it by using the .NET CLI in the Windows Command Prompt (CMD) terminal.
We can use the following commands for installing the latest 1.0.0-beta.9 SDK version:dotnet add package Azure.AI.OpenAI –prereleasedotnet add package Azure.AI.OpenAI –version 1.0.0-beta.9
dotnet add package Azure.AI.OpenAI --prerelease
dotnet add package Azure.AI.OpenAI --version 1.0.0-beta.9
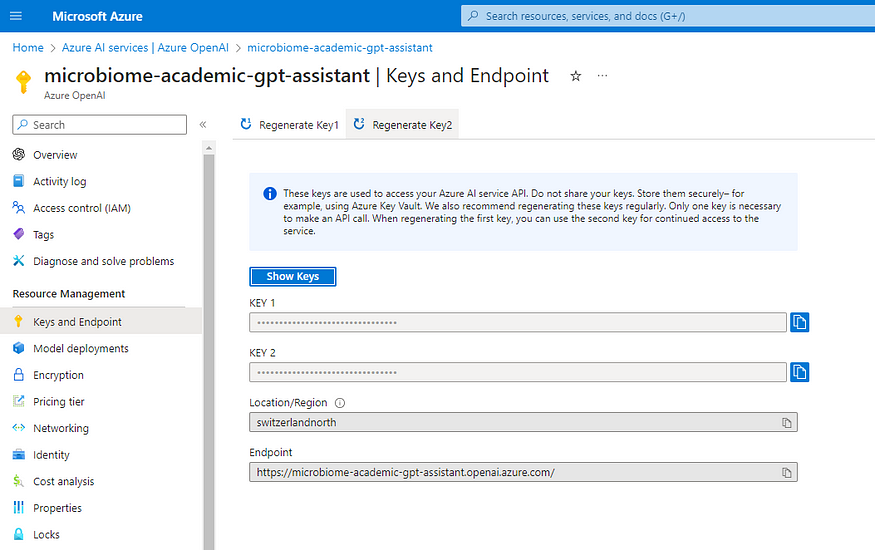
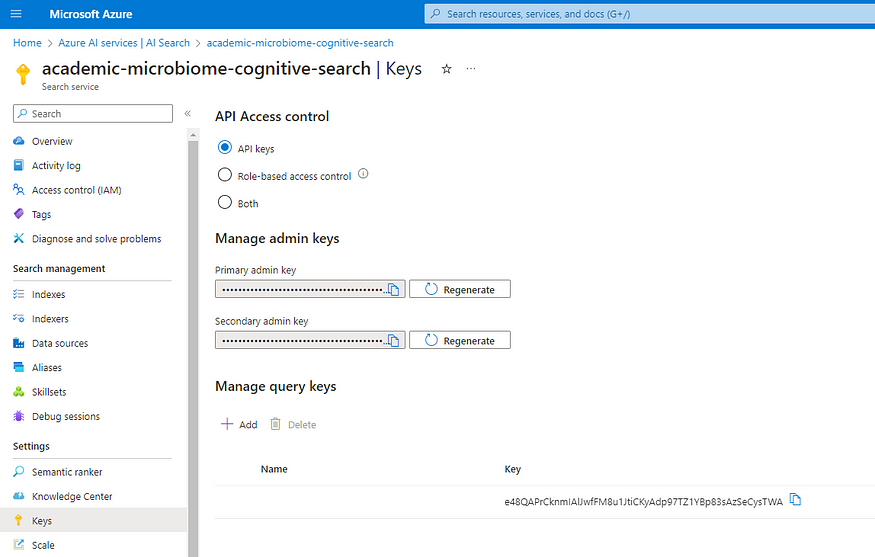
Next, we will need the corresponding Azure OpenAI instance key and Azure AI Search (aka Cognitive Search) instance API key. These are also marked in the code snippet as “OPEN_API_KEY” and “SEARCH_KEY”.
Let`s finally drill down some code now.
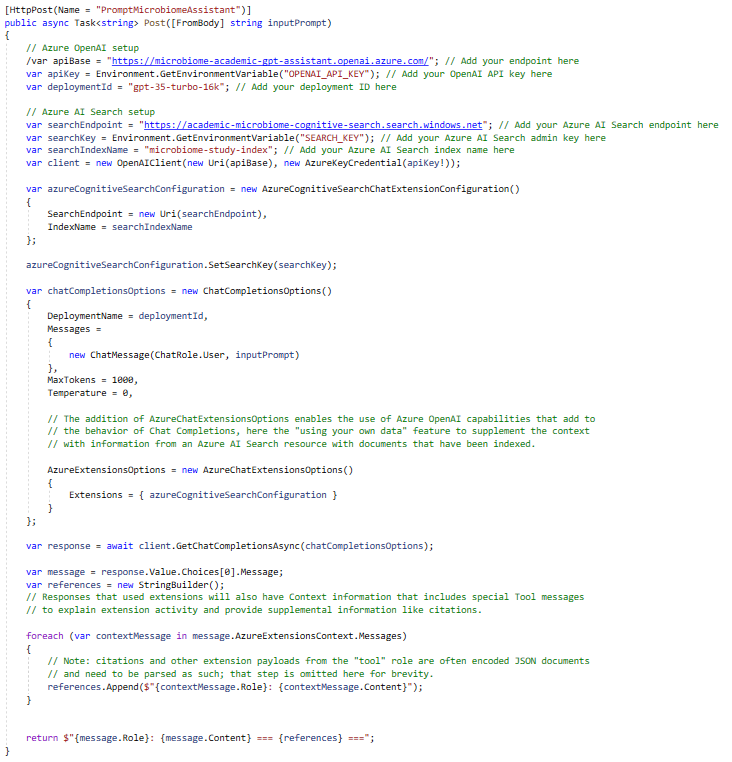
Initially, we will create a standard API controller setup for exposing HTTP POST endpoint mapping only the user query (input prompt) from the request body. Then, we will initialize all Azure AI Search and Azure OpenAI client variables, including the keys we mentioned before.
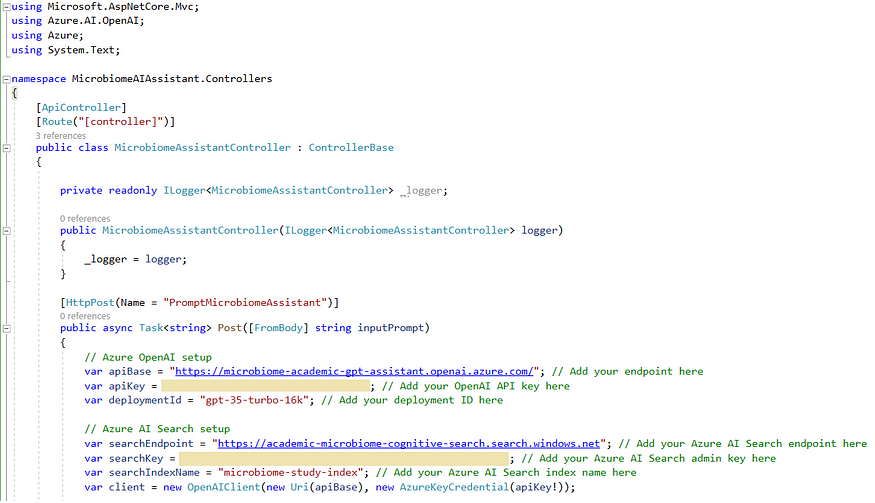
Note: The keys/API keys are directly used within the solution. However, this is just for the demo, otherwise, I recommend using the environment variables, application configuration settings on Azure, or Azure Key Vault instance for the production environment. Any method will serve the purpose, except keeping the keys as part of the source code.
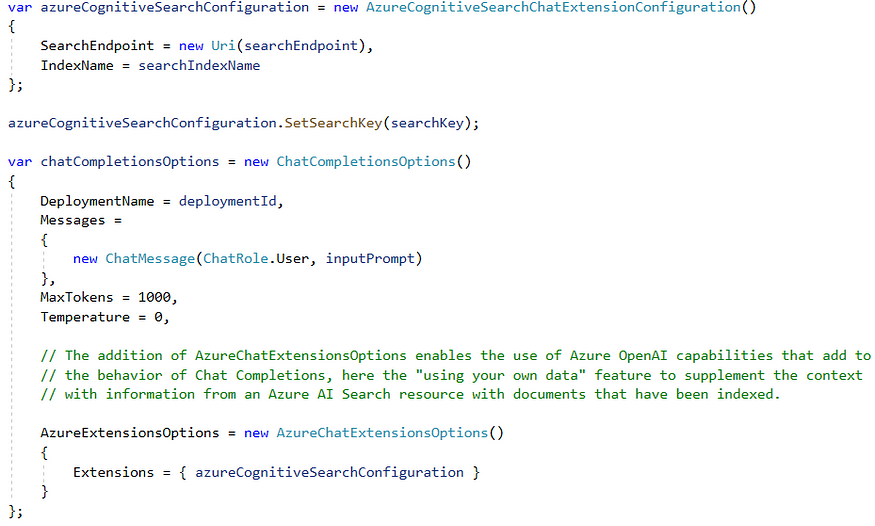
The next step will be creating the Azure cognitive search configuration, which, in fact, is the configuration needed to make the solution work on custom data, in our case, the microbiome research study. This configuration variable stores the search endpoint, index name and the API key from the Azure AI Search instance. If we omit it, the solution will still work by using the model’s general purpose without considering any custom data we included in the index.
Then, we can proceed to create the chat completion options object where we are specifying the Azure OpenAI deployment name/deployment id, message history (for instance, we can set here our system message) containing the user query (input prompt) and some of the model parameters we changed (‘MaxTokens’ and ‘Temperature’). This object is holding the previously mentioned cognitive search configuration as another extension option (Azure Chat Extensions Options).
The final step will be to call the GetChatCompletionAsync method, followed by the previously defined completion options. We can then parse the output message and include the citations or references from the keyword-based search on the most relevant documents to the input prompt.
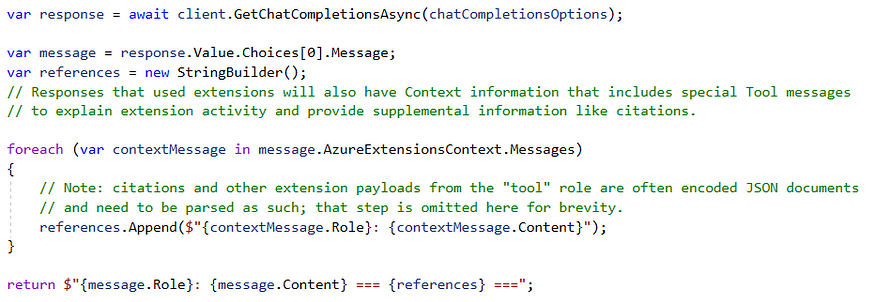
The final code structure for making the interaction with our Azure OpenAI instance is the following:
The GitHub repository containing the full API project is already available in the end of the article.
Finally, we can try our assistant by simply starting the application locally via Visual Studio. Referring to the default swagger selection before creating the project, we can now interact with the API endpoint using the Swagger UI.
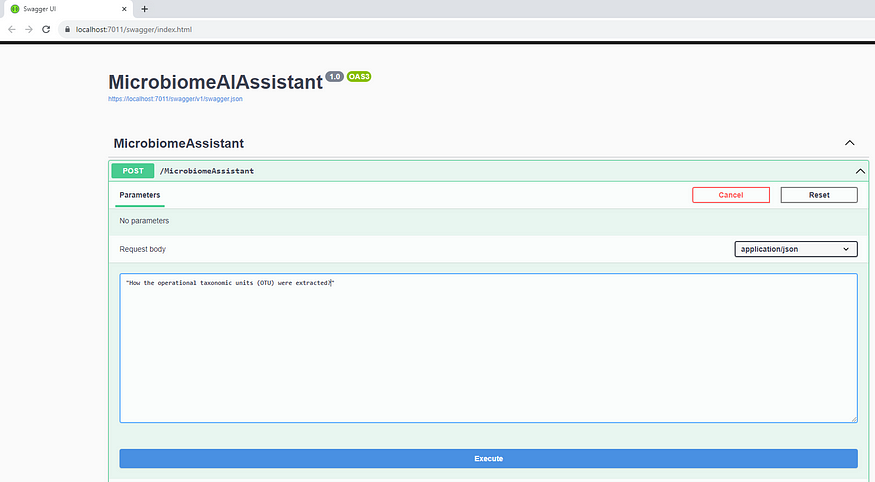
So, trying a specific microbiome study user query provided the following output:

Obviously, it is very relevant output, followed by set of valid citations coming from our reference index study data.
And, that`s pretty it, we have just successfully integrated our Azure OpenAI instance and gpt-3.5-turbo 16K model in our ASP.NET Core API.
Note: I have also worked with integrating RAG-based solutions within Python and JS-powered environments following the same principles and practices. The only difference will be the appropriate SDKs for the specific programming languages.
I sincerely believe that you enjoyed the content and that it will help you with your intention to deploy LLM-based solutions created with Azure OpenAI quickly. With this, we have completed the cycle of design, configuration, creation and publication of an RAG-powered solution based on OpenAI GPT models exposed through Microsoft Azure. I will continue the series with the Azure AI Search (aka Cognitive Search) instance, which is the main component for retrieving the relevant documents. In the meantime, feel free to ask a question, open a discussion or just share your experience or thoughts on this topic. Your contribution is highly appreciated.
You can also find the complete ASP.NET Core Web API GitHub repository here.
Stay enthusiastic, stay tuned.