
Do you need to migrate an entire server room from local to the cloud? You have a configuration that is very complex and it’s almost impossible to replicate? After reading this guide you will understand that it’s not that hard to migrate to the cloud.
Before we continue with this guide, first we need to create snapshots from our current state to make sure that nothing will be lost in the process of migration.
NOTE: For importing the images we are going to use AWS CLI.
I’m using Oracle VM VirtualBox Manager for this guide. There are many programs that you can use to create snapshots and convert them to a recommended format that you can import to AWS. These are the recommended formats that you can import to AWS: Open Virtualization Archive (OVA), Virtual Machine Disk (VMDK), Virtual Hard Disk (VHD/VHDX). As I said before I’m using Oracle VM for this guide so the exporting will be very easy.
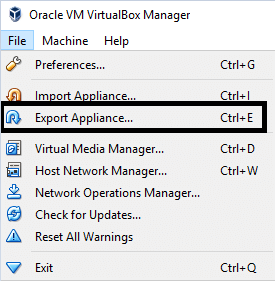
Click on the File > Export Appliance…
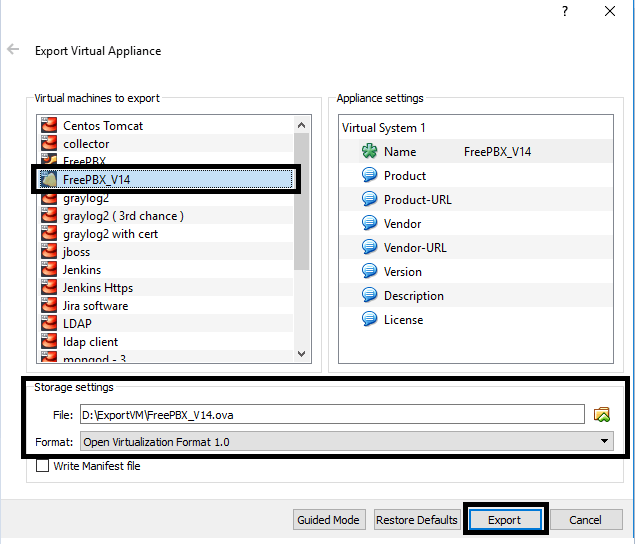
All your Virtual Machines created on Oracle VM are shown here. All you need to do is select your desired machine, pick a destination where the exporting image needs to be saved, select format and click export.
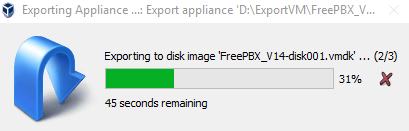
Wait for the exporting process to be completed.
After exporting is successfully completed now it’s time to proceed on AWS and prepare to upload the image on S3.
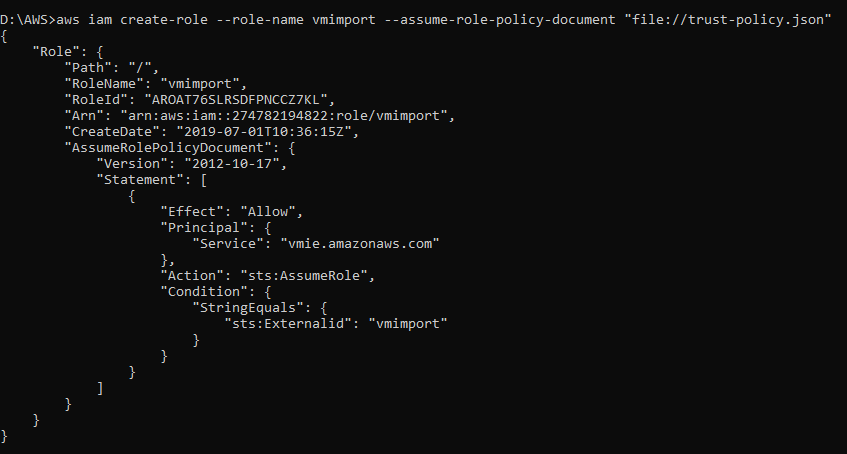
Before we continue with uploading of the image to S3 first it’s required to create a service role.
- Create a file named trust-policy.json with the policy below:
Save the file on your desired location but remember it because you will need to use it in the next step.
After the file is successfully created start CMD and type the following command. In our case, all files we are creating will be located in D:\AWS\ and CMD is started on that location.
The next step is to create a file named role-policy.json, with the policies written in it, and freepbx-v14 is the bucket where you will upload your image. This bucket needs to be created in the S3 with your desired name. To do that login to AWS Console > go to S3 Buckets and Create Bucket.
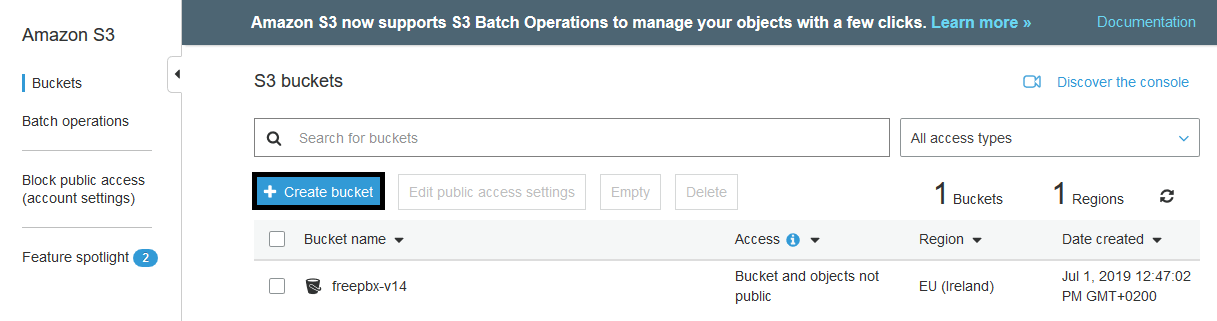
Based on the above picture I have already created a Bucket with the name freepbx-v14.
Use the bellow command to attach the policy to the vmimport role we have created before.
We are completing all steps with creating roles and policy, and our snapshot is ready to be uploaded into S3.
NOTE: First we create S3 Bucket and after that, we upload the snapshot. These two steps can be completed when creating your Bucket, but I want to show you that for the role-policy it’s important to have a created bucket, and the snapshot doesn’t have to be uploaded.
First, go to your S3 Bucket and upload the image you have created.
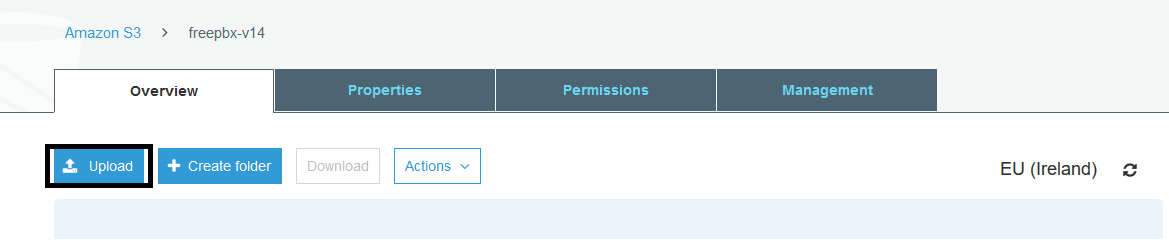
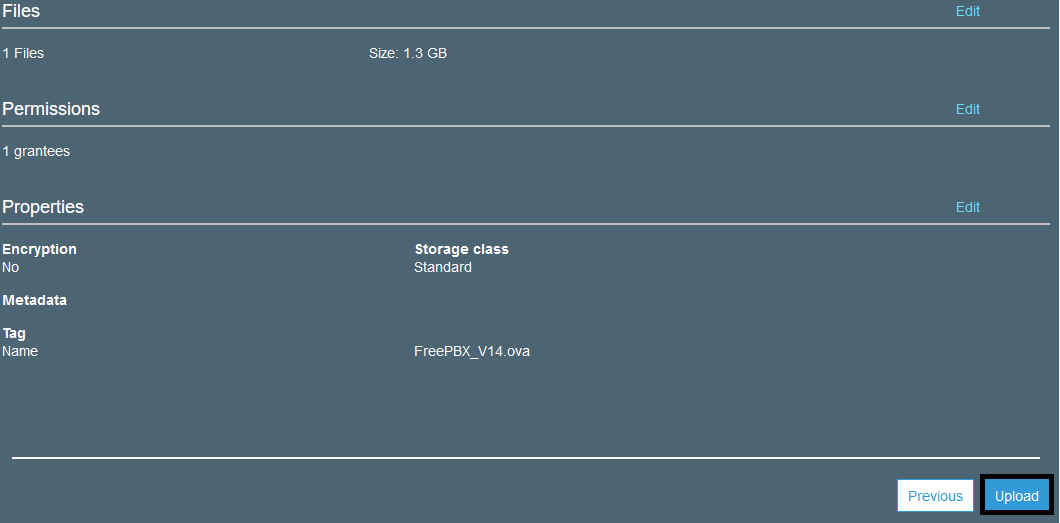
Follow the steps to upload your image to S3 and hit the Upload button
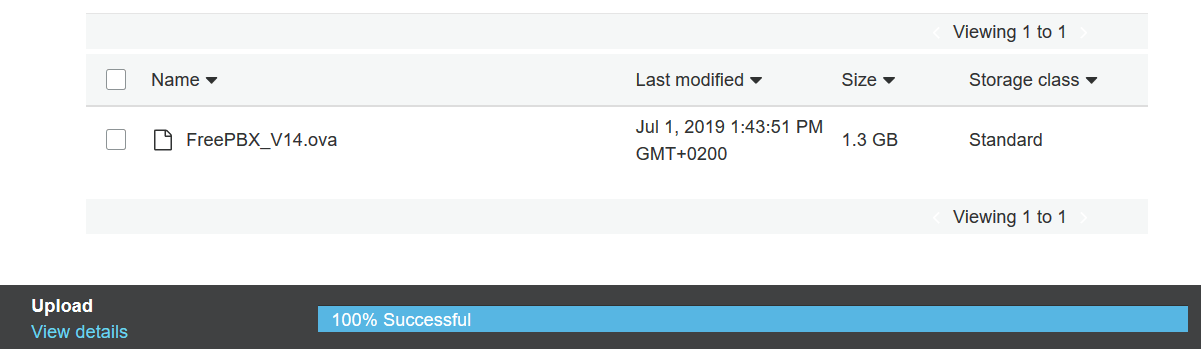
This is the state after the image is uploaded.
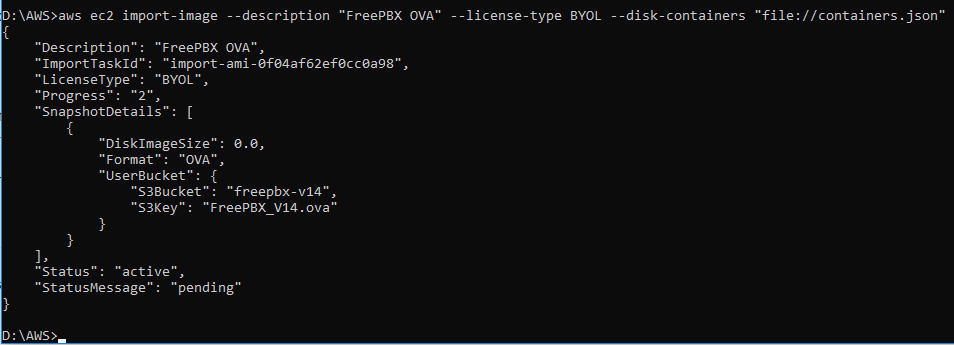
To start with the importing you need a containers.json file created with your Description, S3Bucket, and S3Key. Also if you are using different Format please change it to reflect your format.
Short information: S3Bucket is the name of your bucket and S3Key is the snapshot you have uploaded.
Please check what license type your OS has when importing to AWS. Here are the licensing options:
When you create a new VM Import task, the possible values for the –license-type parameter include:
- Auto (default)
Detects the source-system operating system (OS) and applies the appropriate license to the migrated virtual machine (VM).
- AWS
Replaces the source-system license with an AWS license, if appropriate, on the migrated VM.
- BYOL
Retains the source-system license, if appropriate, on the migrated VM.
Note: If you choose a license type that is incompatible with your VM, the VM Import task fails with an error message. For more information, see the OS-specific information below.
Leaving the –license-type parameter unset is the same as choosing Auto.
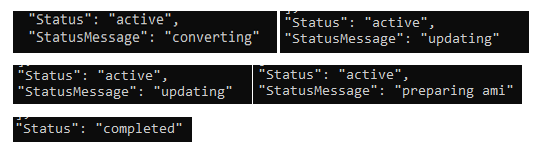
Check the Status of the Import Task
Status values include the following:
- active — The import task is in progress.
- deleting — The import task is being canceled.
- deleted — The import task is canceled.
- updating — Import status is updating.
- validating — The imported image is being validated.
- validated — The imported image was validated.
- converting — The imported image is being converted into an AMI.
- completed — The import task is completed and the AMI is ready for use.
Change 0f04af62ef0cc0a98 color to reflect your import ami.
The importing of the image is completed successfully. Now it’s time to create the instance using the imported AMI we just added.
You can check your AMI’s under Services > EC2 > IMAGES > AMIs
Here are all your listed imported images.

To Create EC2 Instance go to Instances > Launch Instance > My AMIs and select your AMI
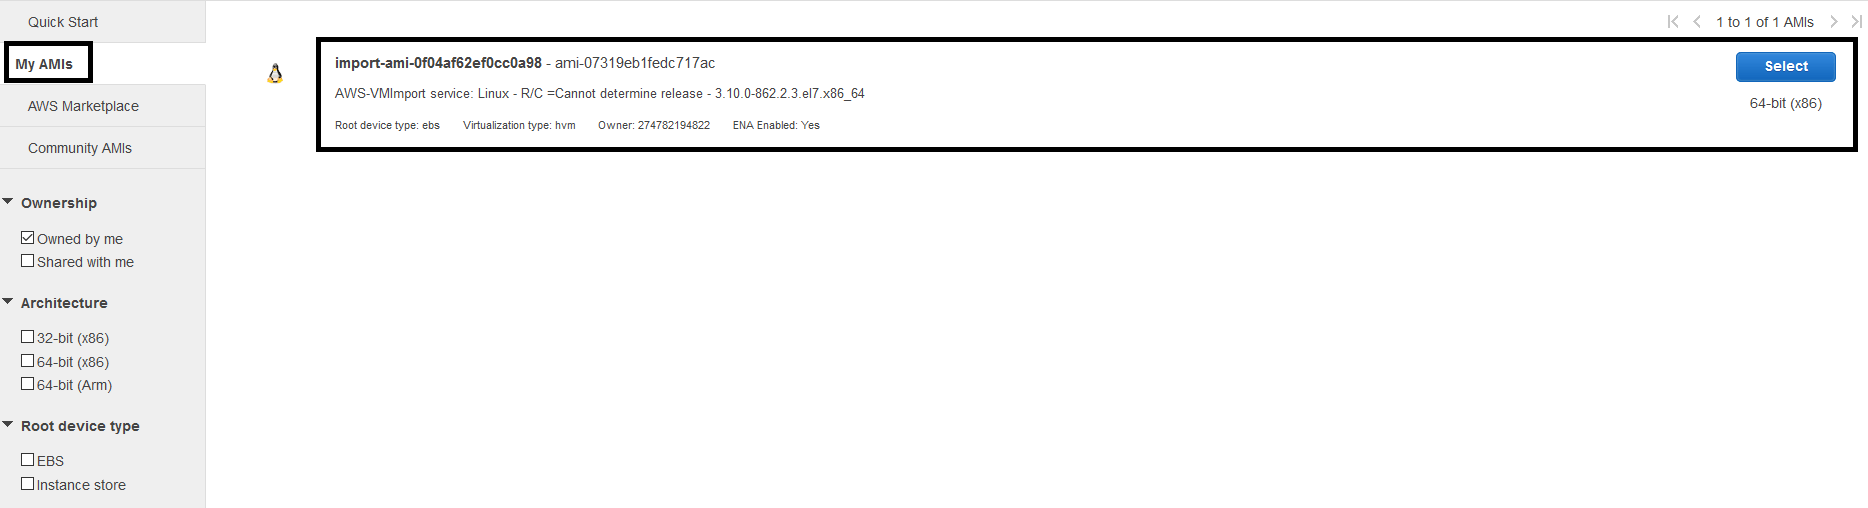
And follow the steps for creating your Instance after selecting your own image created from the instance.
That’s it, you just migrate your on-premises instance to the cloud. Using this method, you can fully migrate your entire infrastructure from a local network to the cloud without losing any configuration you have done in the past several years.
Using this guide, you can also migrate from another cloud provider to AWS. The only different step is creating snapshots but you can always convert to the accepted format that AWS works with.