
1. Introduction
We have finally reached the last part of our mini-tutorial.
Thanks for following up so far!
Now comes the easy part, the integration of Stripe for payments in our e-commerce platform.
Stripe builds the most powerful and flexible tools for Internet commerce. Whether you’re creating a subscription service, an on-demand marketplace, an e-commerce store, or a crowdfunding platform, Stripe’s meticulously designed APIs and unmatched functionality help you create the best possible product for your users. Millions of the world’s most innovative technology companies are scaling faster and more efficiently by building their businesses on Stripe.
Stripe has easy-to-follow documentation that a developer from any level can understand and implement.
Let’s get down to business.
2. Installation and setup
The first thing we need to do is create a stripe account.
https://dashboard.stripe.com/register
Stripe has numerous ways of checking out – a predefined checkout platform or Stripe Elements, which you can customize to your liking.
The first thing we need to do is set the API keys in the environment file which are provided in the Stripe admin panel.

Then we simply follow the documentation listed here:
https://stripe.com/docs/payments/accept-a-payment
3. Moving on to the Code
3.1 Setting up views and JS
We chose Stripe for the payment implementation because of its ease of use and because it’s so popular.
First what we need to do is set up the JavaScript (JS) for the payment.
The Stripe Element when loaded gets a single-use token which we send into the backend so we can complete the payment. The JS on our page looks like this:
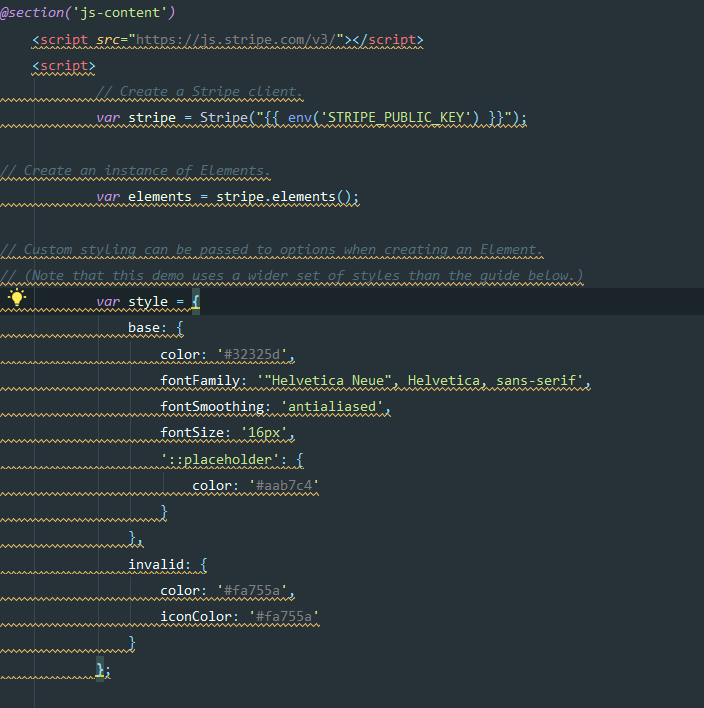
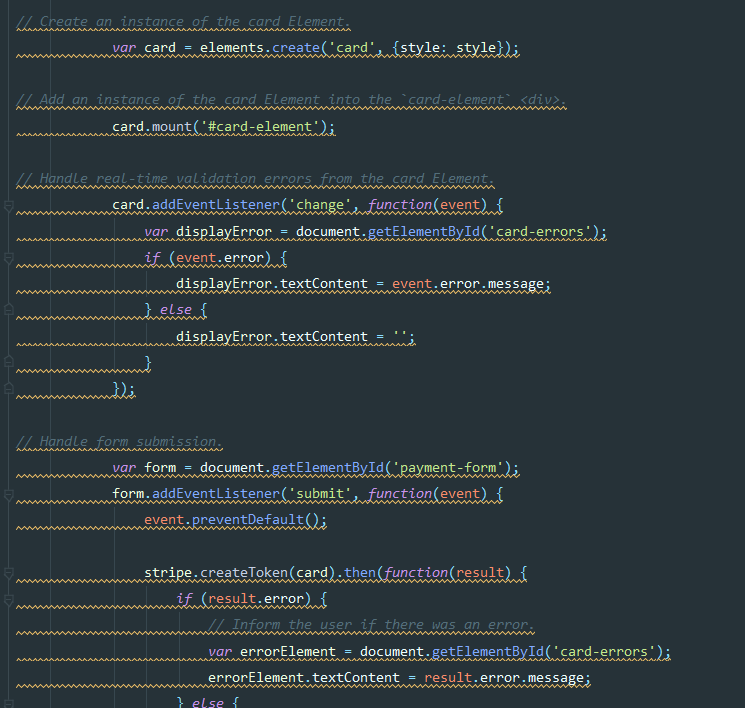
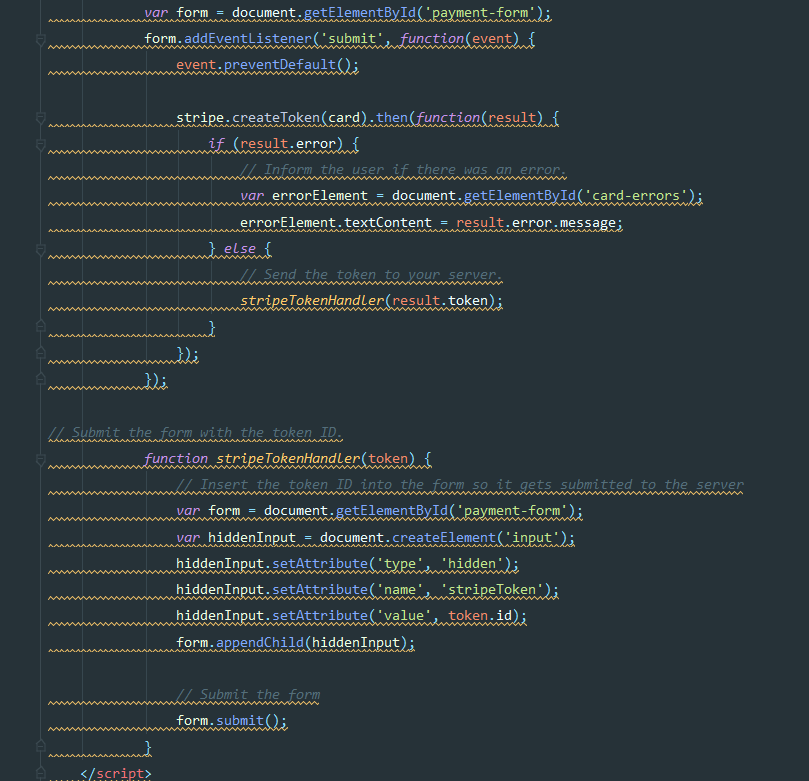
The code in the pictures can be found in the documentation of Stripe.
You can surely see that the script binds itself in an element and renders the form for submitting to Stripe by inserting your credit card details.
The next thing we need to do is create the form which will submit our info.
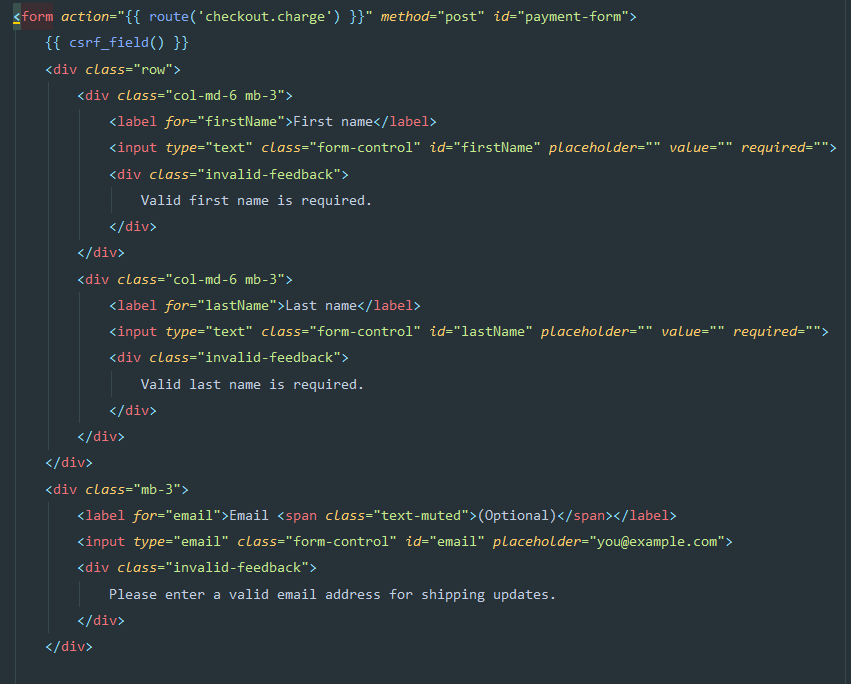
You can post to any route you wish with any additional info you would need, but the form must contain the code in the screenshot. Of course, that code is also provided by Stripe.
3.2 Setting up Routes
We are posting to a route that we called checkout.charge and it’s defined like so:

You can notice there are two routes in place, one is for displaying the actual form and the other one is where we post the form with the single-use token.
3.3 Moving on to the Controller
The next step in the charging process is actually receiving the data in the controller and sending it to the service to be processed. As you can see in the picture below there are two methods.
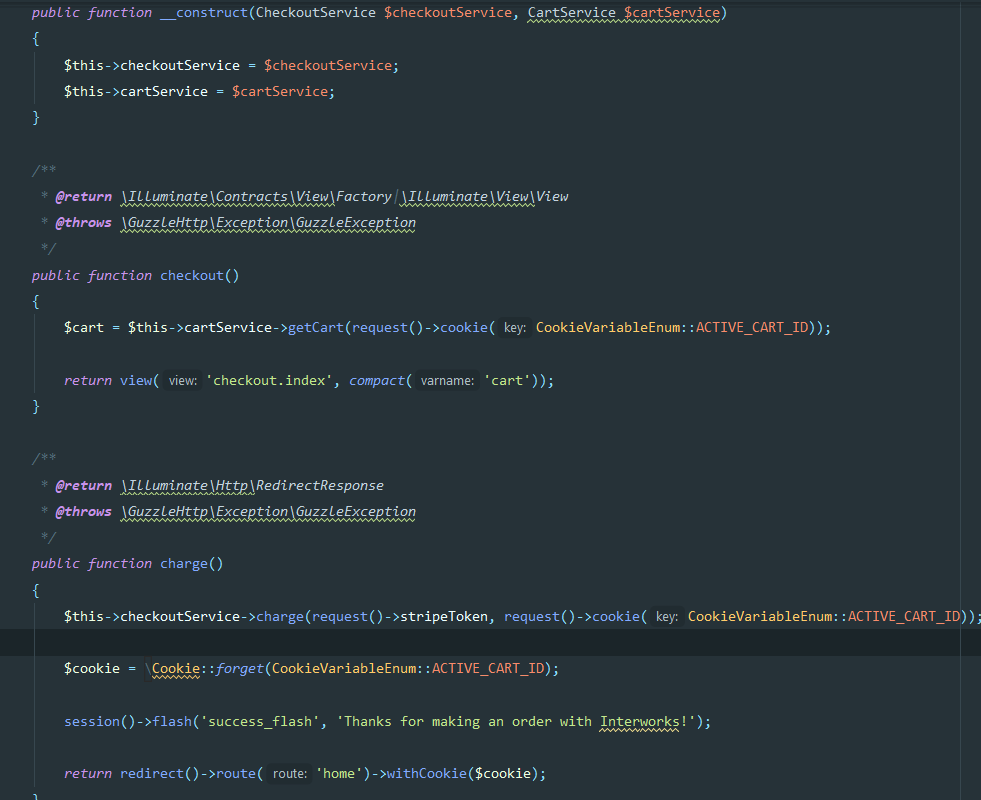
The initial method named checkout is used for fetching the cart and just iterating in the view to show the cart before the user actually submits the checkout. Nothing fancy.
The second method in this controller is the charge method. The charge method takes the token and the active cart from the cookie and sends it to the checkout service to be charged to the customer.
After it’s finished it forgets the cookie where the cart_id is stored and flashes a message to the user that the payment is complete.
3.4 The Checkout Service
After the controller picks up the parameters sent via the form, it passes them to the charge method in the CheckoutServiceClass and this is the integration layer where we do our business logic.
We would advise not to use the type of request passing as in the screenshot above. It’s just made for presentation purposes.
In reality, you should ALWAYS validate your data. It’s good practice to validate data on the client’s side to give a better User experience and to reduce request traffic to the server. Server validation is also necessary – you don’t want any suspicious data coming in the backend and someone making a mess in your system. In some cases, if we control the database directly – DB rule (range) constraints are good practice.
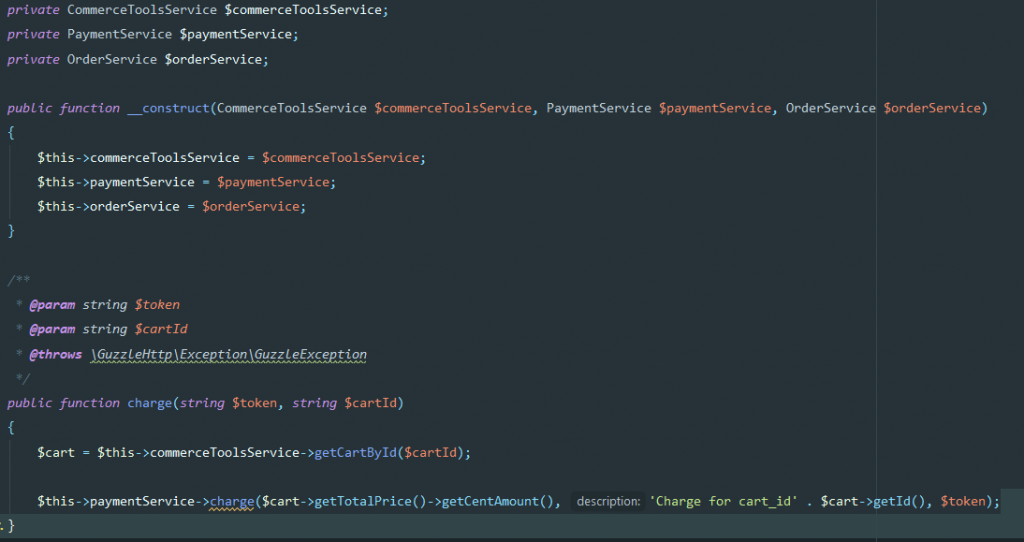
In the checkout service, we have only one method called charge.
The reason we’re not doing the payment in this class is that we want to separate the concerns of the classes. Basically, a charge service is an object that calculates how much we should charge and the payment service is the actual implementation of the Stripe SDK and the payment process. If you need to use multiple payment providers you should take a look at The Factory Design Pattern where you can construct appropriate provider classes during the run time. This means dynamic payment for every kind of payment method allowed in our system.
The charge method takes the cart from the commercetools API and sends 3 parameters:
- The total price in cents which the cart provides
- The description of the charge
- And the token we sent through the form
As the code progresses through we reach the final phase of the payment which is actually sending the charge through the Stripe SDK.
3.5 The Payment Service
To do this we have called the charge method on the PaymentService from the CheckoutService.
The charge method looks like this:

To use the Stripe and the Charge classes you need to install the Stripe SDK using Composer with the following command.
composer require stripe/stripe-php
First, we need to set the API key, and then using the charge::create method we need to pass the parameters for the charge. Beware that this is a void method and if something happens during the call it will crash. So be sure to invent a better scenario than this.
After the process is completed the charge is complete and the customer successfully has finished an order.
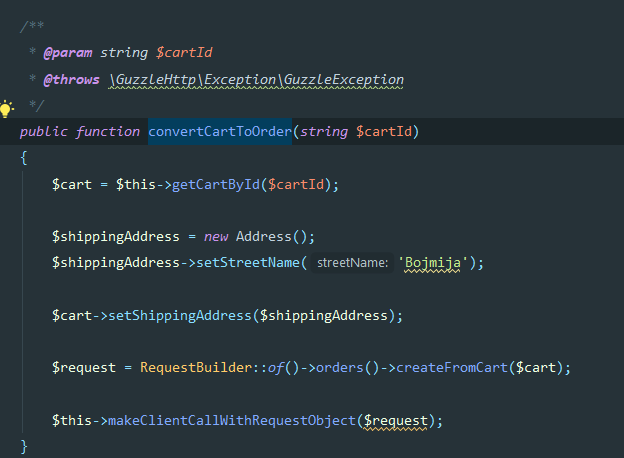
The last step for our little eCommerce demo is to actually create an order that contains what has been ordered and where.
Doing this is dead simple.
You just take the Cart ID returned by the CommerceToolsService and call it once again using this method which you will need to create in the class:
4. Conclusion
We have successfully made a starter eCommerce application using Laravel and commercetools.
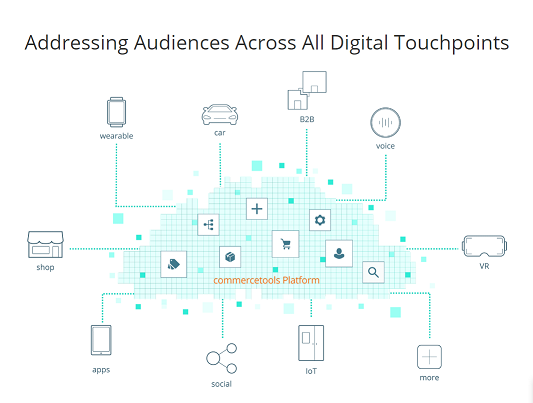
A couple of last words must be said for the commercetools platform.
We are only scratching the surface of its capabilities. There is so much more to achieve with it. It offers enterprise-grade features at a great cost. It offers anything from AI for learning the behavior of the customers to other various integrations.
We hope with this tutorial we captured your imagination on what can be done in a really short amount of time and the power that the platform provides.
Live long and prosper.
Related articles: