
Introduction
Hey there, and welcome to part 2 of our “How to make an eCommerce application using Laravel and commercetools”. In the first part, we have finished the fetching and displaying of data related to categories. For this part, we will be tackling the cart functionality of the system.
Shopping cart software is a piece of e-commerce software on a web server that allows the visitors of an Internet site to select items for eventual purchase. A cart is a must-have of any e-commerce software. It allows the user to replicate a shopping experience with that of an offline store. There is so much more that can be added to make the whole e-commerce experience complete but we will just stick to anonymous carts for this project.
Just for reference, if you decide to build upon this skeleton project you can easily transfer the cart to a registered user using the commercetools PHP SDK.
There are a couple of things we need to do to provide the cart functionality.
- Setting up cart-related views
- Making the cart system with cookies
- Connecting our cart system to create carts in commercetools.
- Cart product update
Let’s start!
1. Setting up cart-related views
As we know Laravel the PHP framework follows the MVC design pattern. In this part, we are going to talk about views but with a given focus on the functionality of the cart system part.
At the same start, we should make an appropriate layout that will be shown for the needed page.
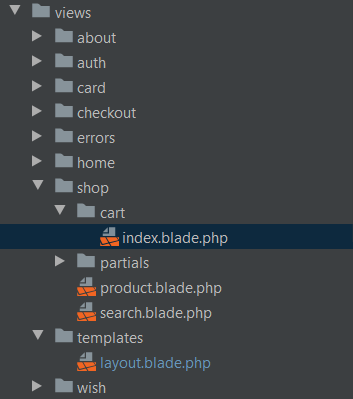
What we see here is the file organization in our view part of our project. Every folder contains a different view and parcel view to display its own logic. Now let’s look at the code in the layout and shop/cart folder.
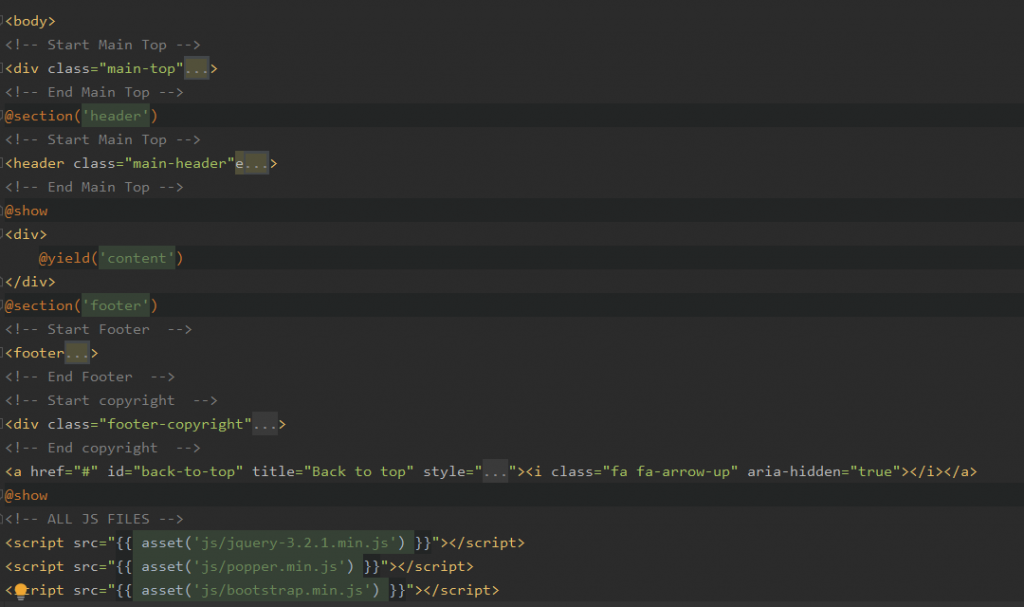
We use this layout on almost every page of our project. Here we see only the part in the body where we have “@yield(‘content’)” that helps us to easily render the whole layout when cart view is called to be shown for example.
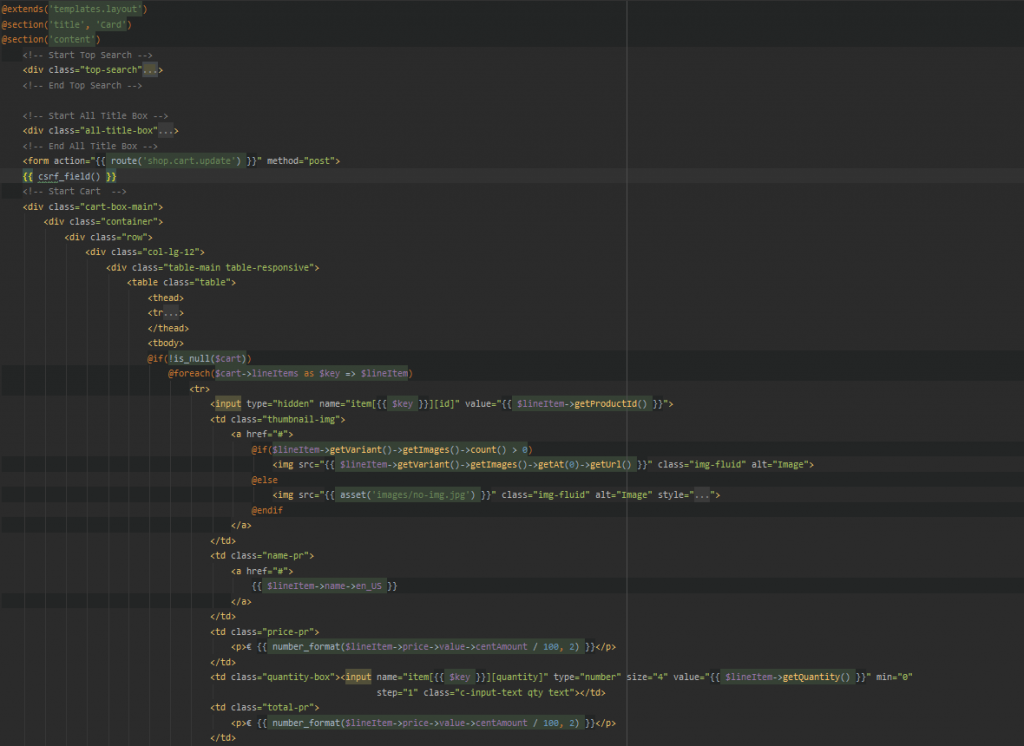
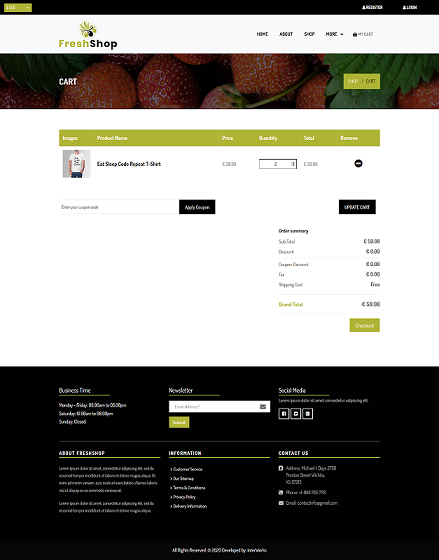
In the cart folder, we have an “index.blade.php” file. To call the layout we need to extend “@extend(‘template.layout’)”, this command will look for a “/template/layout.blade.php” to be rendered here. Also, “@yield(‘content’)” from “/template/layout.blade.php” is mapped to “section(‘content’)” in “cart/index.blade.php” file. The same principle is used for the title in the cart page. But what about loading the data? Okay, you should think about it more abstractly. The data is taken before the view is loaded. But we will come back to that later. For this moment, we know that we have an array of Objects to be shown in the view. Here we use the “@foreach()” to loop try products in cart view.
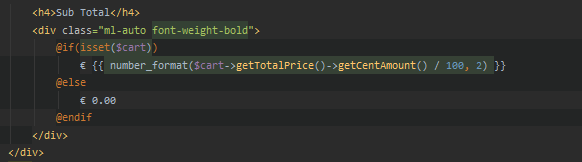
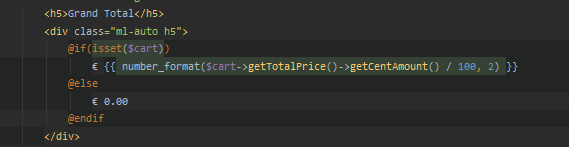
Also, we need to display the subtotal and grand total. Laravel templating engine (Blade) is smart in recognizing objects and gives us the possibility to use its methods. If everything looks good and we do not see any errors the entire page will be rendered.

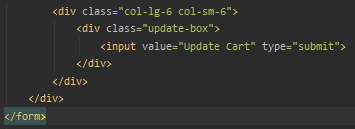
To make the quantity part workable for every product let’s wrap all products and the “UPDATE CART” button in the form and make the button submittable. Once we have done this, we can send the quantity to our backend which will give us the new costs on the cart page with the updated quantity for products.
It’s a good practice to look at the “views” more on the domain side. This gives us information about the scalability of the project and how the project is organized and advanced.
2. Making the cart system with cookies
When a user visits our eCommerce store we need to provide him/her with a way of shopping that does not require him to log in. The initial attempts at making an online cart were not as refined as modern-day systems. After all, who wants to give personal info if the person is just browsing?
That’s where the Anonymous cart comes in!
The only way of tracking is via making cookies for the user, so our app “remembers” which the user’s cart is without having the user log in or keep things in a session. At one point in time, when the user adds the first product you need to create a cart in the commercetools system and set the cookie to the user. To achieve that we need an API controller that can be called with an Ajax action that will send the “product_id” to the backend where commercetools will create the cart.
Let’s take a look at the appropriate JS, route, and action in the controller.
We can start by defining the on-click function while we iterate the products in the category shop index page. Also, we need to pass the product id so we can properly send it via an Ajax call. Next comes the JavaScript part where “addToCard()” function is called by the click event.
What we do here is simply send an AJAX call to the Cart product to add a route which we define as you can see in the “api.php” file:

This route uses the “api\ShopCartController@productAdd” action. We can see how the Controller is defined in the following image:
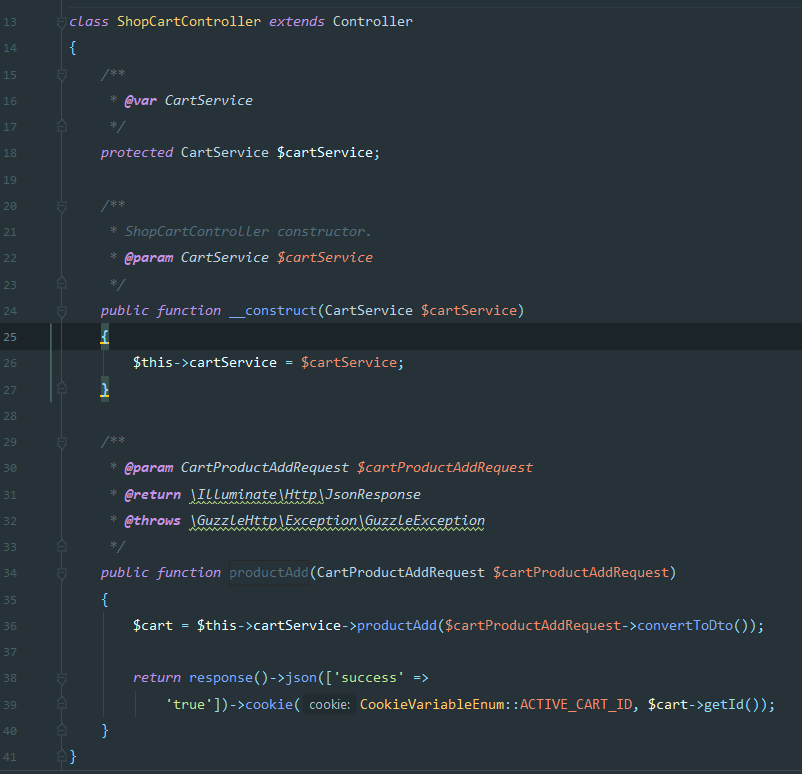
What we can see here is that we bind a certain “CartService” class when the controller is called (remember the integration layer from part 1) which serves as a layer for storing our business-related code in the app and allows reusability. We can also see that the “productAdd” method is defined which just takes in the “CartProductAddRequest” which further checks if a product ID is present and passes the data onto the cart service.
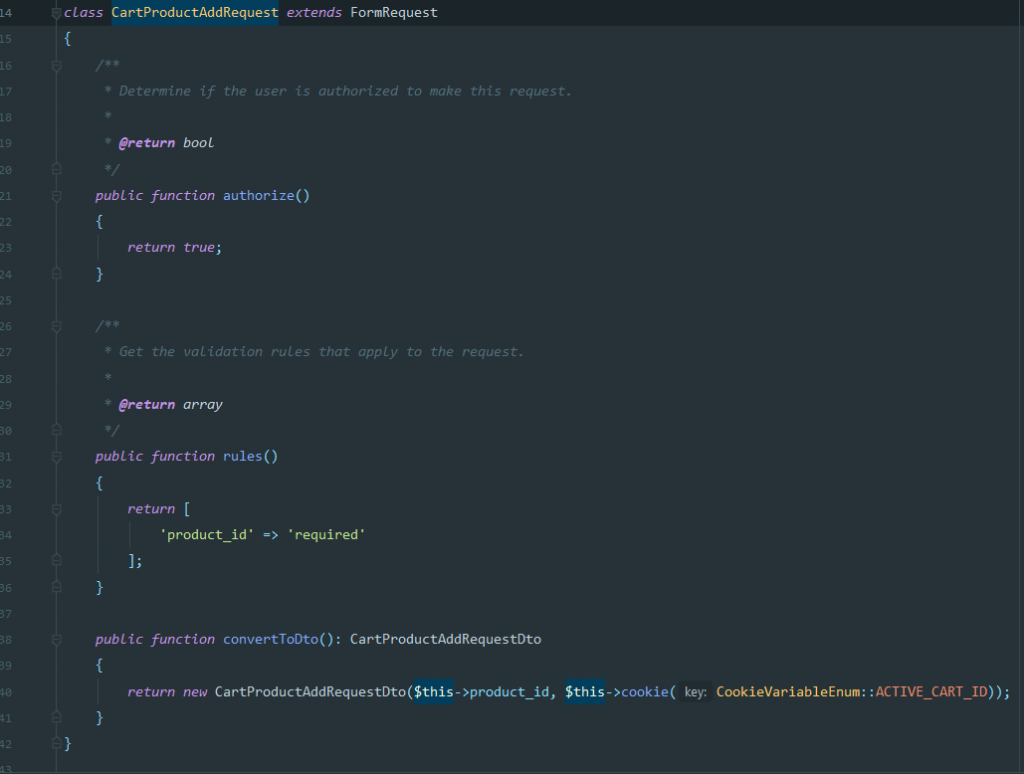
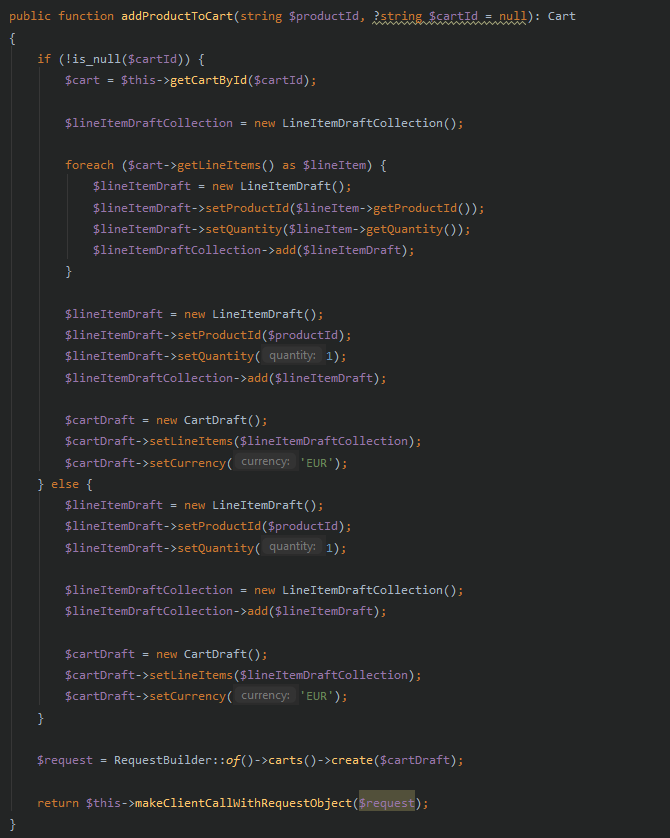
When the cart service call has finished its course (more on it in the next section) it will return a Cart object from the commercetools PHP SDK. We use the cart object to get its generated ID and set it as an ACTIVE_CART_ID cookie.
Note: We use objects for passing the request values to the service instead of passing the whole request object. We think it’s just a clearer way of transferring data from processes and it also eases the unit testing due to building the object. Plus, it’s a clear way of separating the concerns. The services do not need to know anything HTTP-related.
3. Connecting our cart system to create carts in CommerceTools
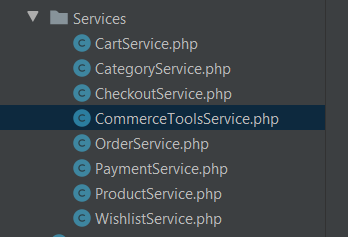
We use PHP/SDK for commercetools for integration. When we want to use the power of commercetools, we think of it as a service. In the Laravel folder structure, all services are stored in app/Http/Services. So, our logic for commercetools integration lies there.
Next, to initialize and connect to the CommerceToolsService, we set out configuring the try CommerceToolsService constructor.
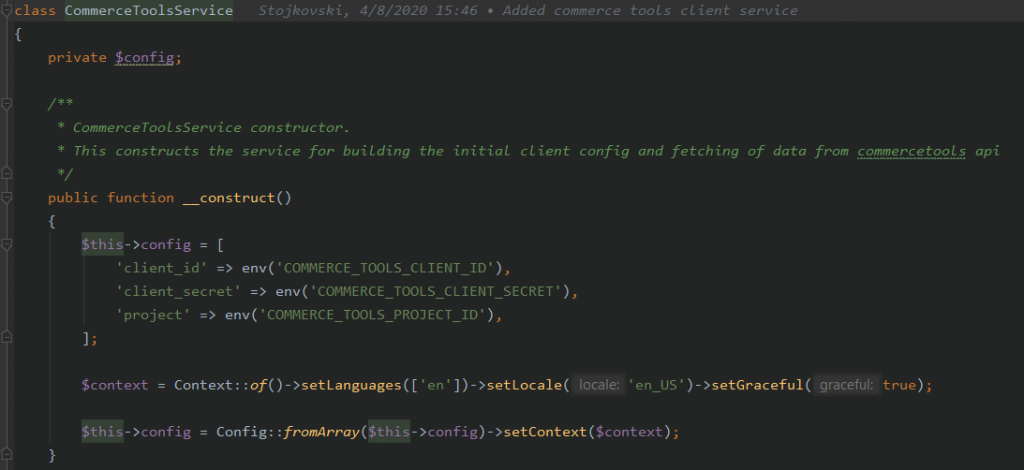
This helps us whenever we create an object from this class in any place of our program, because we have access to any implemented method that communicates with CommerceToolsService. In our case of implementing the cart system we need methods for:
- Adding the product to cart
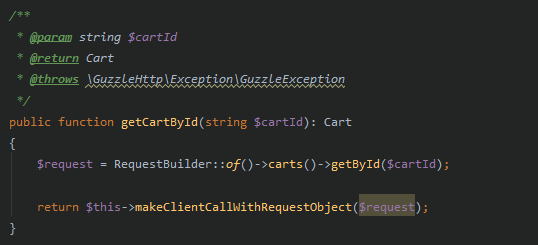
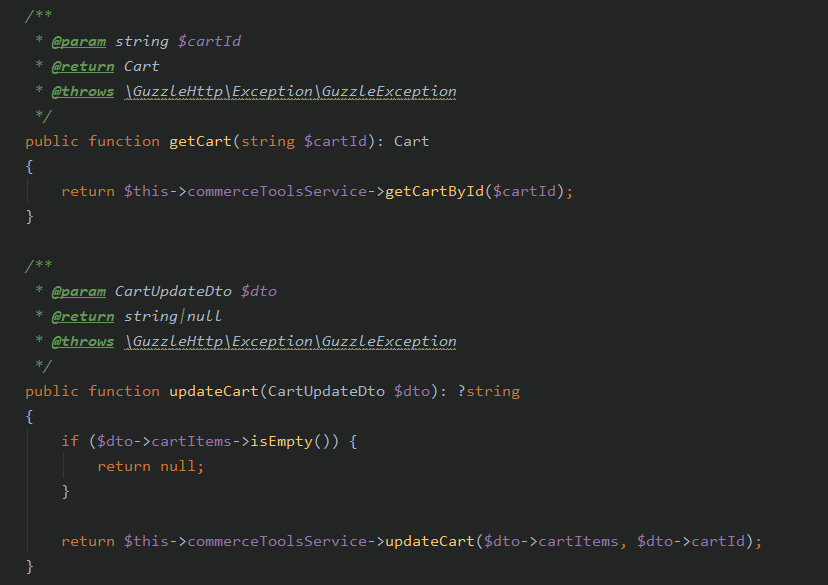
- Get an appropriate cart by ID
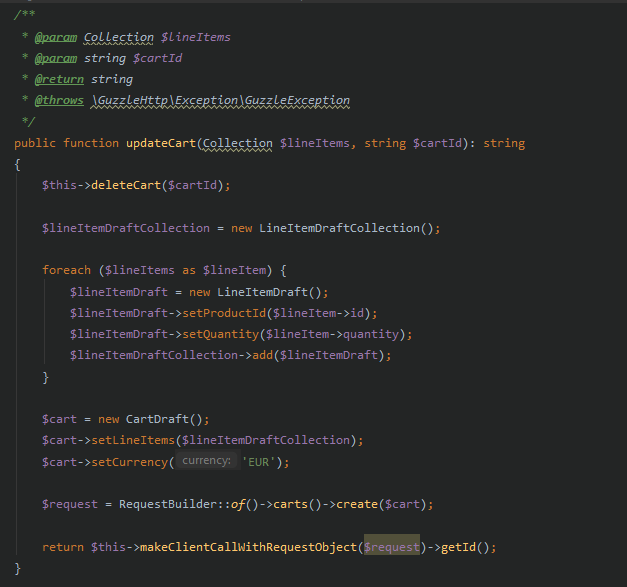
- And update the cart content
For now, all this looks good but what’s next? Are we done yet? This is a good start, and the application in the future will definitely grow, so we need a good organization of all things. It’s messy whenever you call the CommerceToolsService and you need to load only the cart logic to have access to all methods belonging to the service. For example, CommerceToolsService should also give All Categories for products or for the picked category. Let’s think more on the domain side and separate the logic into “subservience”.
All logic for the cart part will belong to “CartService”, for categories into the “CategoryService”, and so on. Separating the code will help us better understand our code, which is also good for the new people who join the project when they have a first look.
Let the power of beauty be on our side.
Now, let’s look at the “CartService” defined in “app/Services/CartService.php”
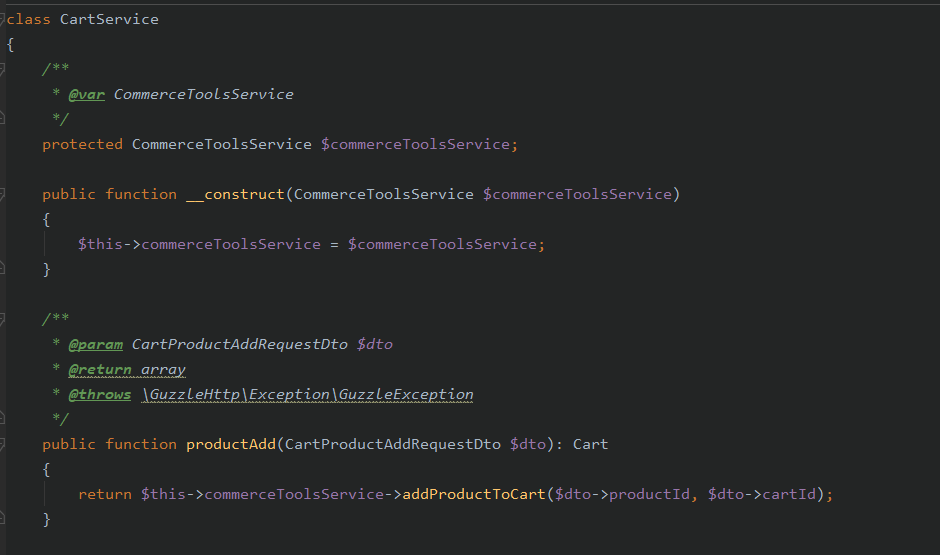
We define a constructor that helps us take the logic from the CommerceToolsService instance. For example, if we need to set some other services we initialize them here. Also, under the constructor, we can see the “productAdd” method that uses CommerceToolsService to add the products to the cart.
These methods are easy to implement and easy to follow for more complex logic implementations. Next, on the list is to check whether the “ShopCartController” is located in “app/Http/Controllers/” and “ShopCartController” is located in “app/Http/Controllers/Api/”.
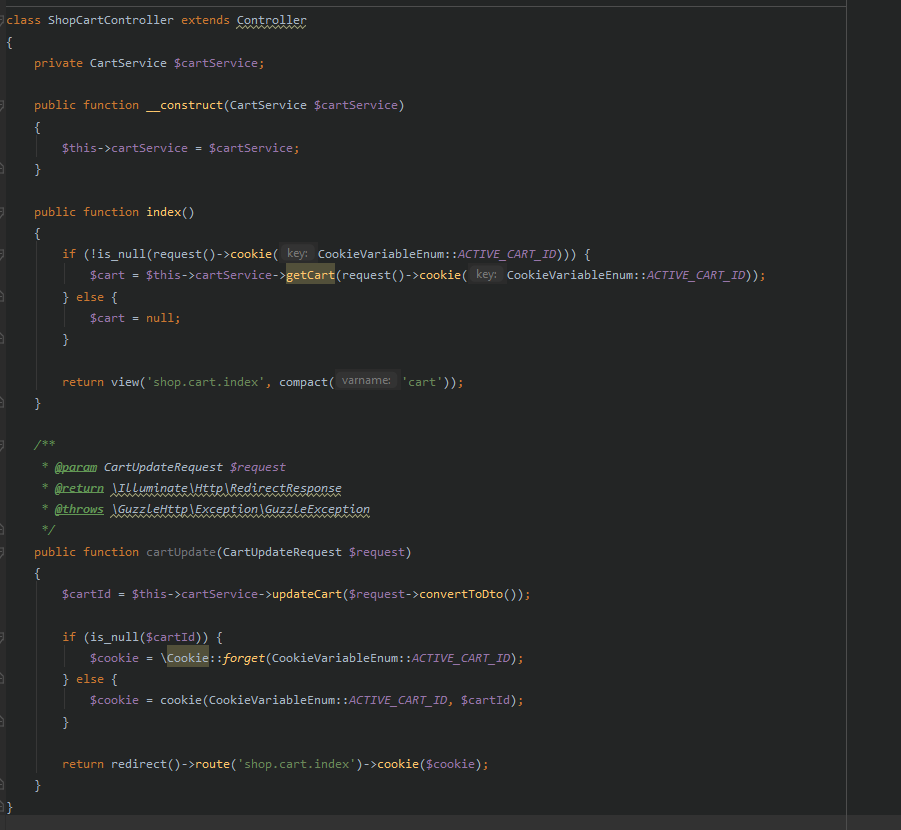
Now, we are in the part where the logic flow is controlled and prepared to be shown on the view. Laravel is one of the most popular frameworks and offers us Dependency Injection with auto-wiring. It’s a smart mechanism that knows which dependencies class should be used. We are implementing DI try constructor injection. In the picture below, you can see in the code that we use a Cart service instance to get Cart products and display them to a given view. For the state of the cart, we handle it by trying a cookie. A similar principle is for the “cartUpdate” method.
Next, let’s look at the “ShopCartController” but in the “App\Http\Controllers\Api” namespaces.
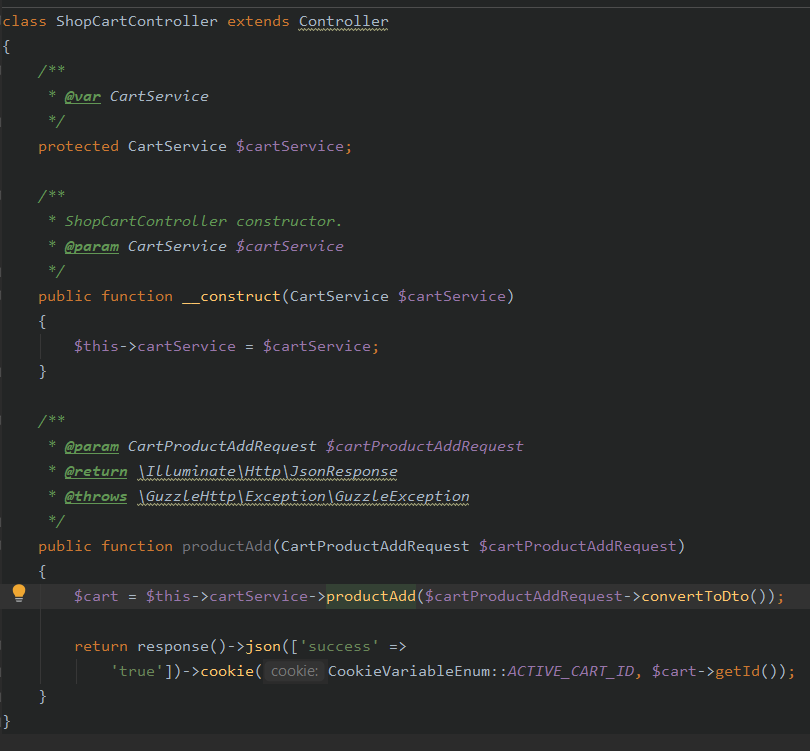
The same principle for the constructor part is used, but here we add products to the Cart and we call the method JavaScript. Because of that, we are not rendering a view but JSON message that the product is successfully added to the cart.
Conclusion
What did we do so far?
- We displayed products and categories fetched from the commercetools API
- We made an anonymous cart system in which the user can add products to the cart and we can successfully view items in the cart.
The next part that follows is connecting Stripe to our application so a user can successfully checkout, pay, and have an active order in place.
Related articles: