

1. Introduction
An indication of good enterprise eCommerce software is the modularity and the ability to scale on demand without drawing too many resources.
In this blog post series, we will take a look at building a fully maintainable and scalable eCommerce application using Laravel and commercetools.
In this eCommerce application, we will use commercetools as a highly scalable cloud platform that gives us building blocks for making a modular eCommerce solution. In the background lies a modern microservice-based architecture and the nice thing about it is that the platform supports a lot of programming languages anywhere from PHP to Java and they have an SDK for all of them. You can check what they offer on their web page.
Today we will use their PHP SDK and connect it to a Laravel application but it doesn’t mean you need to use it, commercetools is a headless concept so you can use pretty much anything you want.
Here we go!
2. Installation and Setup
As we have already mentioned, the framework that we will be using is Laravel, so the first step is installing the Laravel application. You can install Laravel by using their easy-to-follow documentation and you can use multiple ways to achieve this.
In our case, we will be using PHP Version 7.3 and Laravel Version 7, so the complete installation can be found on the following link: https://laravel.com/docs/7.x/installation
Since our next important thing is commercetools, after we have installed Laravel we need to pull in the Commercetools PHP SDK.
The easiest way to achieve this is using composer by running the following command:
composer require commercetools/php-sdk
After we have pulled in the package, to be able to access and use this, we need to open an account on commercetools. To get up and running, create a free test project (EU located or US located) on the commercetools platform. To generate your API credentials, go to EU Merchant Center or US Merchant Center (Menu “Settings”->” Developer Settings”->” API Clients”->” Create New API Client”). You need to select the template for the “Admin client”.
Basically, this creates an account that allows access and generates tokens for authenticating with the API, which afterward will be used in the Laravel application to make the calls.
3. Moving on to the Code
There are a couple of concepts to wrap our heads around.
- Setting up views
- Setting up Controllers and routes
- Making the integration layer
- Binding the API results to the views
For each of these points, we will have a separate section to elaborate and explain in detail what we need so we can achieve the final goal.
3.1 Setting up views
To speed up the process, we took a free eCommerce HTML template and transferred it to the blade syntax which is applicable to Laravel syntax.
Since we want our eCommerce site to look modern and nice, we are going to create several views that will convert our idea into a professional solution. The views are as follows:
- Layout page
- Home page
- Product index page
- Product detail page
3.1.1 Layout page
The master file for our application contains most of the boilerplate code used throughout the system. We insert anything reusable here such as headers, CSS, and JavaScript files. In reality, this view is just the main layout on which all other views will be created. This will allow us to speed up the process and create other views in a standardized and unique way.
3.1.2 Home Page
The homepage for our application is the landing page when the user navigates to. It will provide easy access to some sample categories, navigation to the other pages, etc.

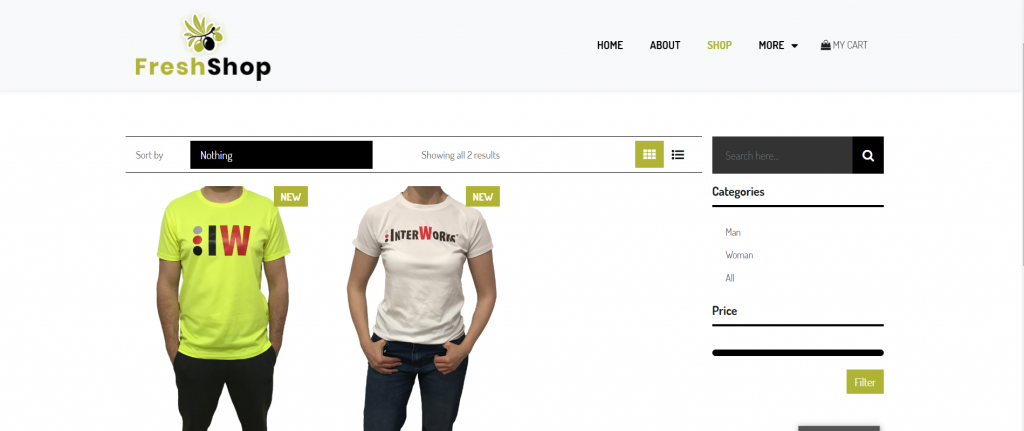
3.1.3 Product Index page
This page will be used to display any product that is configured in the application and we can filter through the categories so we can easily find the desired product. To make it more attractive, we will allow the listing of the products to be as blocks or lists:
3.1.4 Product details page
Our next page is the product details page. This page will be used for displaying the specifications of the products in our system. You can display multiple variants of a product and customizations. Also, a nice touch is to have at least multiple pictures of the product so the customer can get a better understanding of what he’s buying:
3.2 Setting up controllers and routes
For the first post in our blog series, we are going to set up only the basic product & category functionality. To do this we need to define our routes and controller actions.
First on the list is the category-related actions, we opted for a simple page to display the functionality of the platform.
We need a route for fetching certain category products or all of them if nothing is chosen.
First, we define our route in the web.php route list:

We can see here the route is wrapped in a shop noun. We purposely defined it as such because we want to keep all our shop-related logic in that route group.
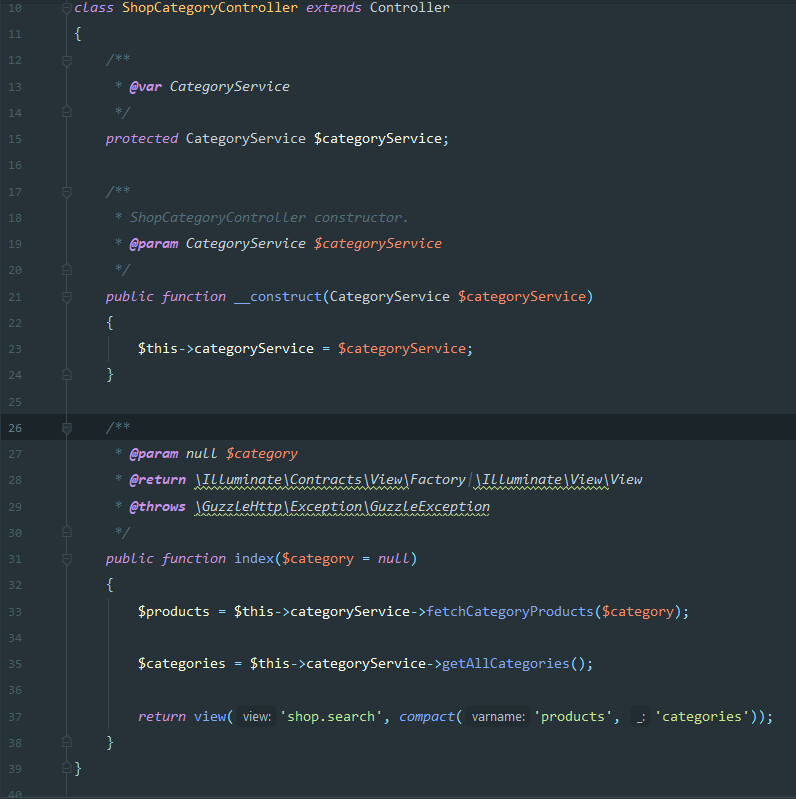
This route will call the ShopCategoryController @ index method which will provide us with the products used in the category and the categories in our shop so we can list them as hyperlinks. Also, we use a named parameter instead of an optional ID.
If no noun is passed in the URL we will fetch all products from the Shop.
Using the IOC container of Laravel we can type-hint the dependency in the constructor and use a class from the integration layer where the business logic is contained and we build the SDK Client (more on that later in this text).
Next comes the product detail route and controller and they are defined as such:

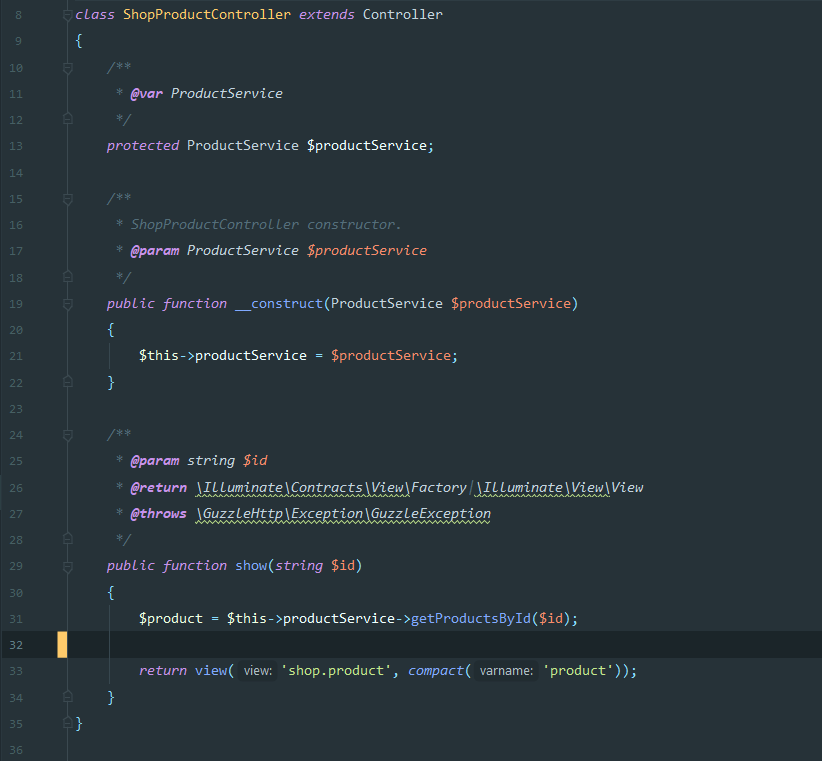
The ID parameter is a unique_id which is generated by commercetools so we can fetch the products easily and show them appropriately.
3.3 Making the Integration Layer
Before starting on this I made sure the views and controllers are looking the way I want them to with dummy data. I always start working on an app from the front end, it’s just helping me visualize the product.
You don’t have to follow my pattern it’s just a personal preference. You can do it in any way you’re comfortable.
The integration layer consists of a variety of service classes. I created a new folder in the App namespace called services. Here we will insert all business logic for our application. It will also allow us to reuse code instead of building the SDK over and over again.
3.3.1 Commercetools service implementation
The first service we’re taking a look at is the CommerceToolsService. This class will construct the SDK for commercetools and help us interact with its API.
In the constructor of the class, we build the client that the SDK uses, we define a private property named config and insert the credentials which are provided in the Commercetools admin page.
After setting the config parameters we set the language of the items fetched.
And lastly, we initialize the Config class provided in the SDK Vendor folder. After doing this we are ready to build the request for the client.

When building a request note that the SDK uses RequestObject specific for the action you’re trying to perform. You can read about each Request Object in the CommerceTools Documentation.
For instance, here is a method that builds the request for fetching of a product by its ID.
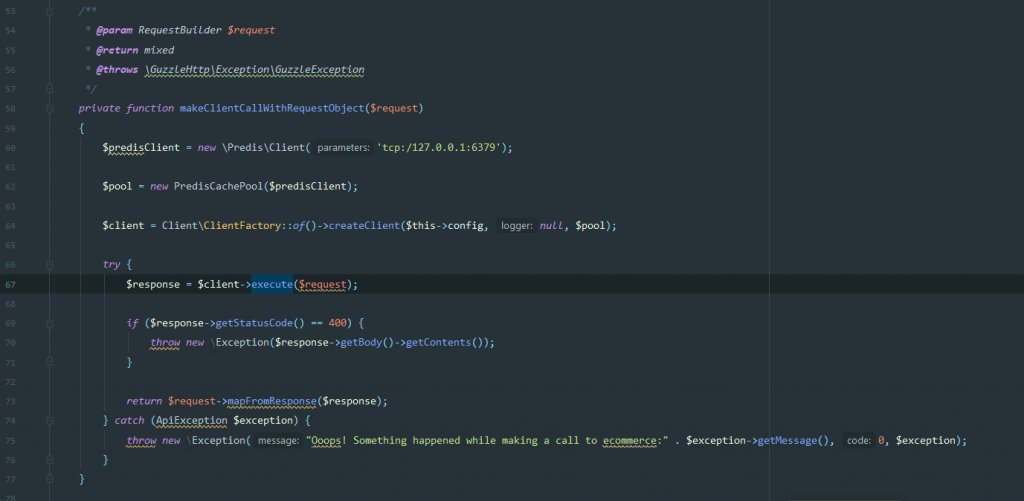
Redis is an open-source, in-memory data structure store, used as a database, cache, and message broker. It supports data structures such as strings, hashes, lists, sets, sorted sets with range queries, bitmaps, hyperloglogs, geospatial indexes with radius queries, and streams.
What’s important in this method is that it invokes the Redis cache – one of the requirements for instantiating the API. As an entry parameter, it receives one of the request objects that commercetools SDK Provides.
As a return value, it maps the response from the API into a very nice object-oriented map. The SDK provides a container object for everything fetched.
3.3.2 Product/Category Services Implementation
Here we will create a service and will use them to provide a wrapper logic for fetching the appropriate items and separating the logic into domains.
The product service is responsible for fetching products from our provider. It has a level of abstraction so we can make a modular solution that allows us to change the dependency and easily adapt our eCommerce system to every kind of requested change. In the constructor for both Product and Category service, we need to inject the CommerceToolsService class as so:
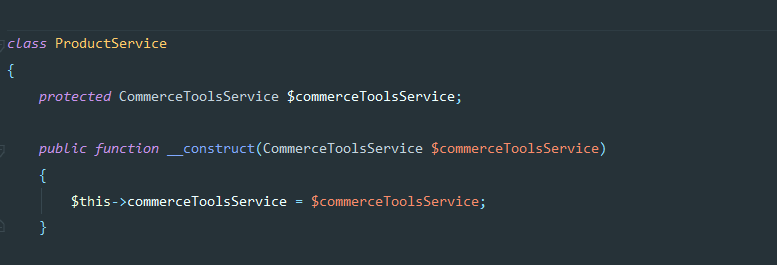
By doing this, we now have access to the CommerceToolsService and all methods that are defined in it, so we can simply call it whenever we need in the following way:
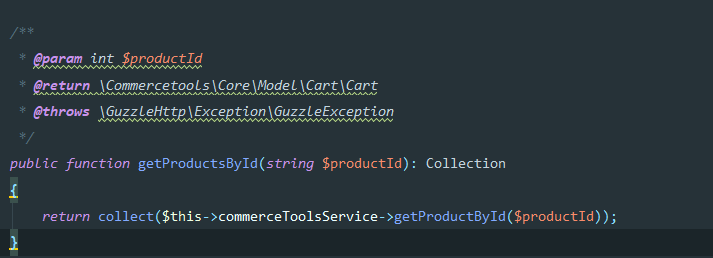
What this method will do is just call the CommerceToolsService and wrap the results in a Collection Object.
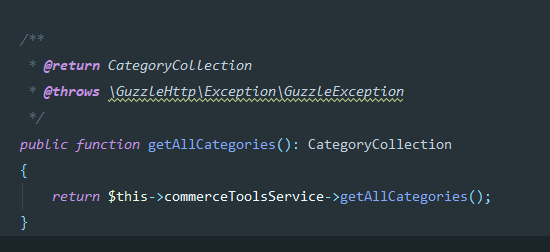
Next, we have the CategoryService class which is the same as the ProductService. Again in the constructor, we have the dependency injection of the CommerceToolsService and after that, all methods related to this class are specific to the Category entity:
3.4 Binding the API results to the views
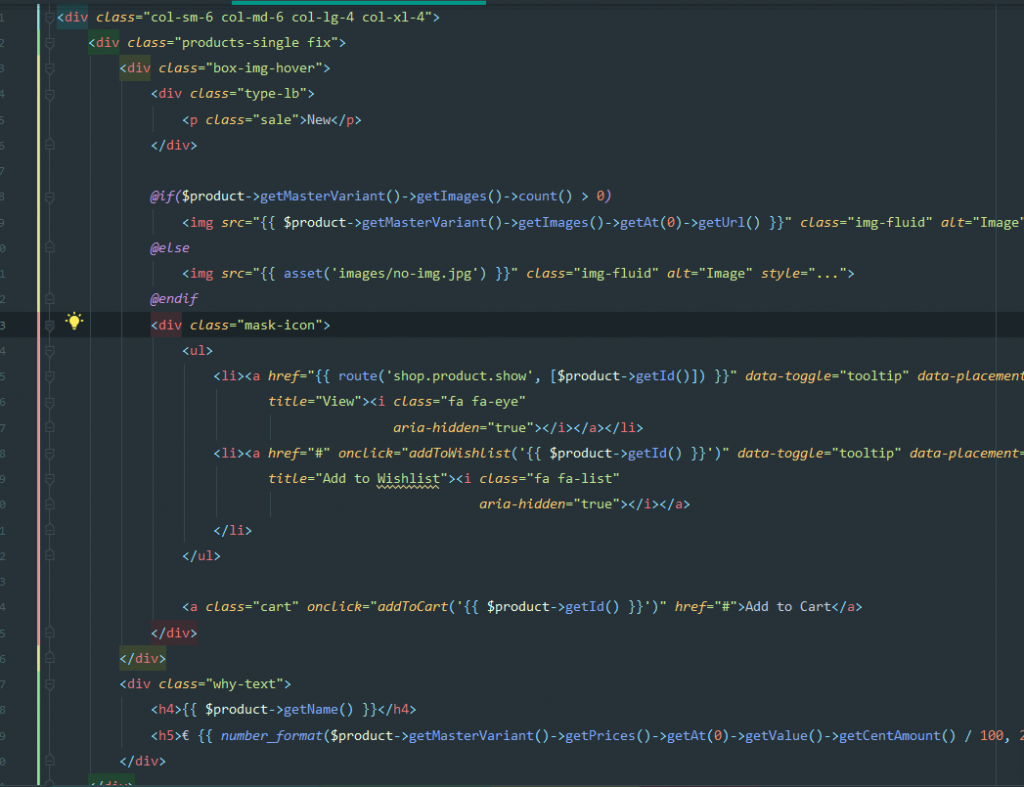
After we have fetched our items from the API we can easily display them in our views. Almost everything has a setter and a getter in the SDK. So, you can just test it out and if you use an IDE such as PhpStorm you can see the available methods and properties on the objects.
Here is one example of our Category Index View where we list all available categories with images and name
4. Conclusion
We have successfully fetched categories and a single product from commercetools and displayed it in our application. We should now have a basic system in which we can filter by categories and display product details.
Part 2 of our tutorial will display how we made the functionality for the cart system and part 3 will wrap our functionalities with a payment made for the cart to the Stripe API.
I hope you found this useful and see you soon for the next part!
Related articles: