
In this blog, we will be analyzing the (iwPiWeather) python package, and its source code, and explain how to set up your Raspberry Pi, connect it to a 16×2 LCD display, and display the current weather data for the current location of the device using this package.
For this integration we will need the following prerequisites:
- Raspberry Pi (we will be using Raspberry Pi 3 b+ for this example)
- Generic 16×2 LCD display
- Prototype breadboard and jumper cables (or PCB where you can wire everything)
- OpenWeatherMap account and valid API token
- Internet connection
Wiring and connection
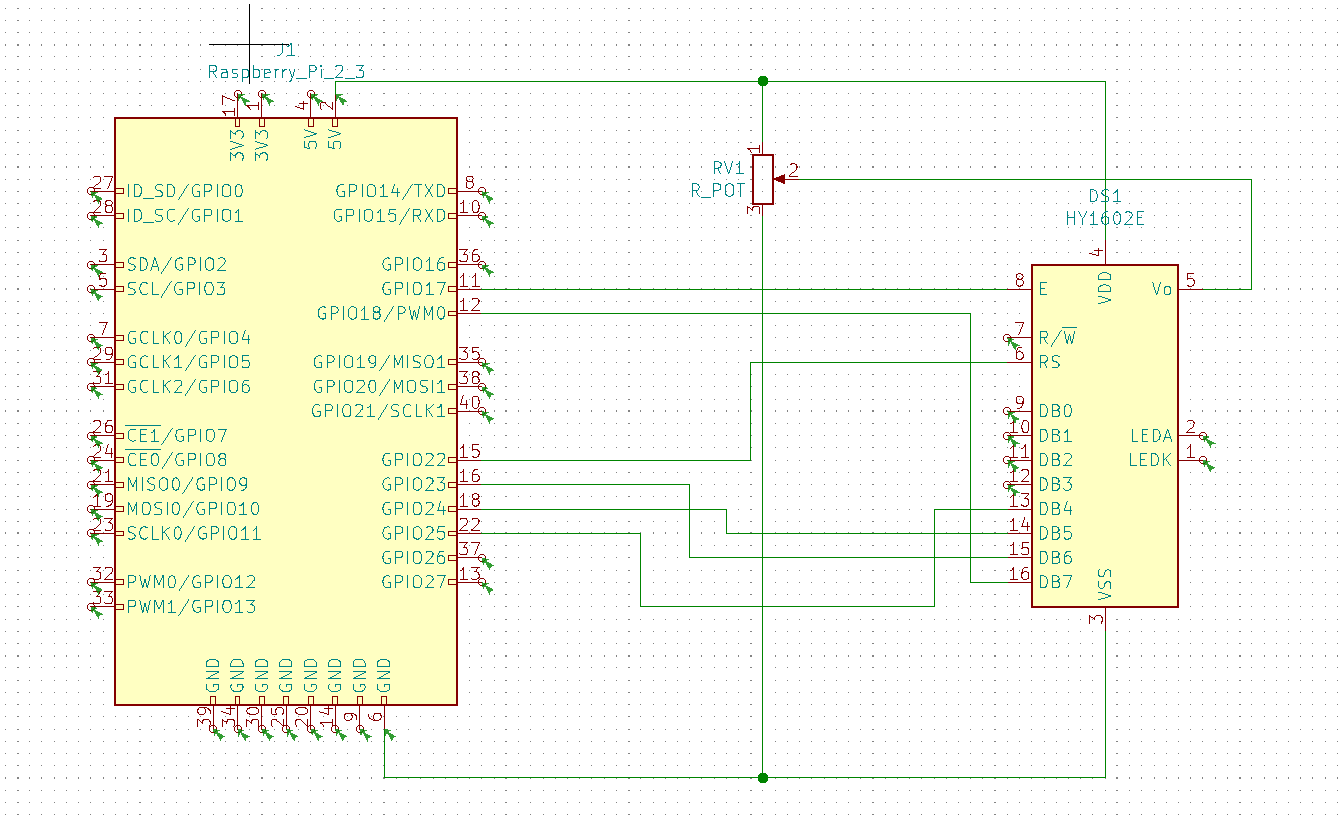
First we will start by defining which ports we will be using for the display and creating proper wiring diagrams.
The raspberry Pi 3 b+ will have the following wiring diagram to the display:
By default, we will connect the pins in the following way:
Display pin D7-> Raspberry Pi pin 18
Display pin D6-> Raspberry Pi pin 23
Display pin D5-> Raspberry Pi pin 24
Display pin D4-> Raspberry Pi pin 25
Display pin E-> Raspberry Pi pin 17
Display pin RS-> Raspberry Pi pin 22
The arrangement can be changed but when initializing the application however the pin layout will have to be provided in the code.
For the display contrast manipulation, we will also need a potentiometer connected to the V0 pin.
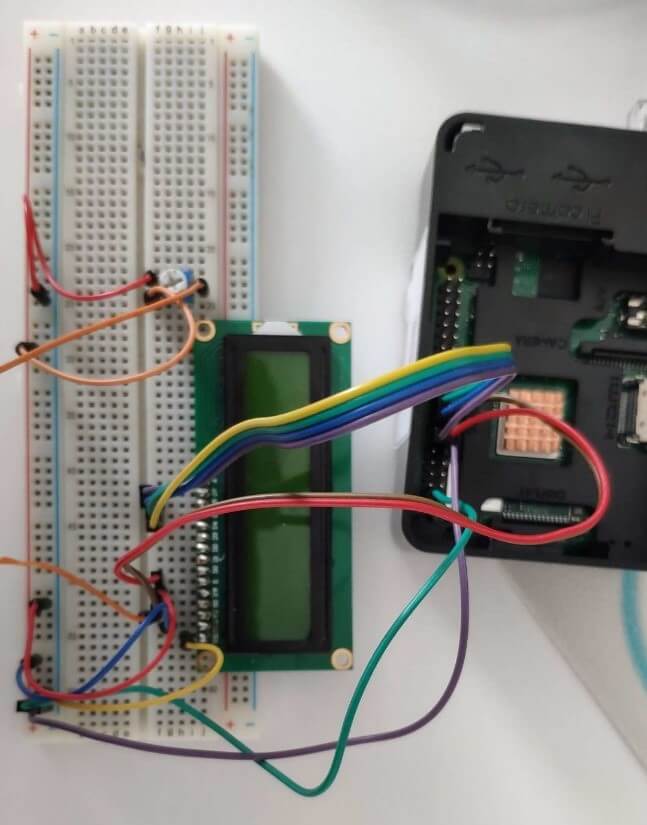
The arrangement will look something like this:
Usage
Since this package is available on PyPI you can use pip to fetch the package, and simply just use the package after connecting the pi to the display.
To get the package on your raspberry pi you will have to use pip. For python3 and pip3 you can run:
The usage example would be:
For the constructor arguments that will pass, you will have to provide your OWM API key. You can also control the rate for which the calls are made to the OWM API (using the poolRate argument), and you can also specify a different pinout, in the case you are not using the default one (dispPins). You can also set the autoStart variable to false to prevent the thread from automatically starting and have it run in sleep mode at the beginning.
The created weather object will be actually a thread, which runs in the background meaning that you can integrate this functionality in your application and it will run as a background process in a separate thread while you can also do something else in the meantime.
You can temporarily pause the display update thread by calling:
which will allow you to stop pooling and displaying the weather data on the display so you can use the display for something else in your integration.
To restart the thread and keep reprinting the weather data you can use
To stop the thread and clean up the object you can call
This will kill the thread and you can safely stop the application.
The code explained
The source code for the package is available on Github and PyPI. The package has the following additional package requirements which are fetched automatically for you in the background:
- pyowm,
- geocoder
- Adafruit_CharLCD
- GPIO
Looking at the source code, at the very top we have the following imports:
The package is wrapped in the weatherDisplay thread class which has the constructor or init function. First we will take a look at the class constructor:
What we do in the constructor is set the required properties, the initial values which we will use later on, then we initialize the display and start the thread, all while having a logger initialized which might help the user with debugging when integrating the package in its own application. The sleep_lock sleep_cond and runThread properties allow us to control the thread status later on.
In the constructor we are actually making a call to the _initDisplay method which defines the display for us.
For the display initialization we are using the Adafruit_CharLCD package to initialize a new display object:
All the operations later on will be done with this object.
Next we will need a method which will call the API and store the obtained information in a property. This API will be called every X amount defined by the poolRate property.
The method makes a call to the geocoder API and gets the current location of the raspberry. It will grab the coordinates by checking the IP location. Next, we will create the OWM observation for the specific location and obtain the weather information.
After that we are building the strings for the Location and temperature + pressure for the display and store them in the displayLocation and displayString properties, followed by calling the function recursively using a timer with delay of the poolRate value.
Another method that we need to define is the method which will redraw the screen for us using two strings for the upper and lower line.
This is done with the following:
This will clear the display, and set each of the lines specifically.
All threads in python will always start with the run method being triggered. The run method in our case looks like this:
We start the thread by starting the _fetchWeather recursion. This will update the information from the API. After that we will initialize the iteration variable which helps us with the scrolling text. The thread code will be wrapped in try finally block. The try block will always run while the runThread condition is met. This condition will later be toggled by the stopThread method so we can stop the thread.
If the runFlag is set to false we will put the thread to sleep with the following lines of code:
The runFlag will be toggled on and off using the startWatch and stopWatch methods accordingly.
After that we have a small algorithm to make the bottom line scroll with the text moving from right to left and redrawing the screen on a 1 second delay. We take advantage of the iteration variable and the mod operation to split the text that is shown on the screen and shift it for one letter every second.
In the final code we are clearing the display and finishing with the run method, in essence killing the thread.
The stopWatch, startWatch and stopThread are the methods the user can take advantage of when using the package. These methods control the thread status.
The methods control the thread state by using the runFlag runThread properties and sleep_lock object.
In this case the stopWatch will cancel the timer making the _fetchWeather recursion halt and set the runFlag to false which will put the thread to sleep.
The startWatch will set the runFlag to true, restart the recursion of _fetchWeather and waking the thread from sleeping.
The stopThread should be called when you want to safely kill the thread and maybe stop your application from running.
End result and conclusion
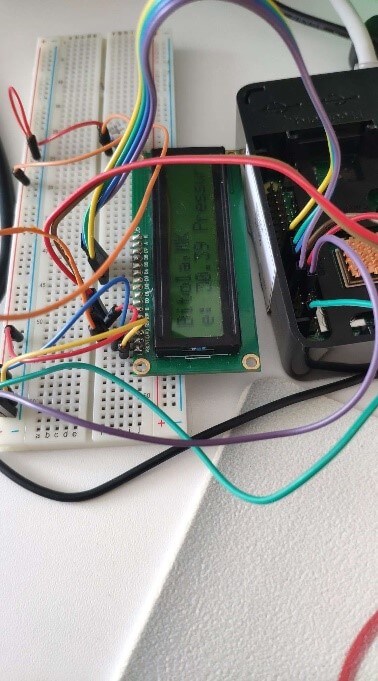
On the picture below you can see how the package works in action.
The package can create your background process for the display for your raspberry pi. You can integrate this weather functionality in your own IOT application using the raspberry just by using this package in the way described.