

MuleSoft’s Anypoint Platform™ is the world’s leading integration platform for SOA, SaaS, and APIs. It provides excellent business agility for companies by connecting applications, data, and devices, both on-premises and in the cloud with an API-led approach. Mule ESB, CloiudHub iPaaS, API Manager and over 120 SaaS and on premise connectors are the building blocks of the unified connectivity platform for integration that allows companies to deploy their integrations in a hybrid environment, connecting to both SaaS applications and on-premises systems seamlessly.
In this article we will explain two different ways of deploying a MuleSoft application on the environment.
1. Deploying an application through the Anypoint Platform
This way of deploying a MuleSoft application is mostly used when we have CM – DevOps person on the project who is responsible for deploying the applications on the environment. Then the developer is not responsible for the deployment of the applications and he just creates deployable zip archives which will be used later by the CM-DevOps person for deploying the application on the environment through the Anypoint Platform.
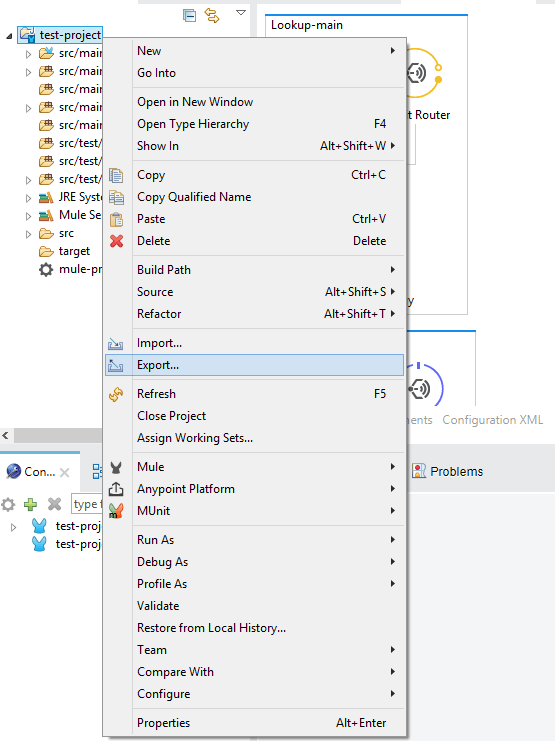
We will start by explaining how to create a deployable zip archive. First, we will open a project in the Anypoint Studio from which we will create the archive. After that the procedure is the following: right click on the project and choose the Export option from the drop-down menu.
After clicking on Export, open Mule drop-down menu and choose Anypoint Studio Project to Mule Deployable Archive (includes Studio metadata).
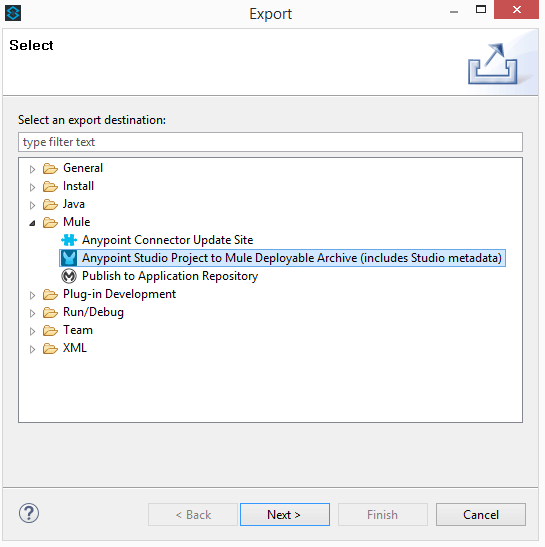
Then click the button Next and specify the location where the deployable zip archive will be stored.
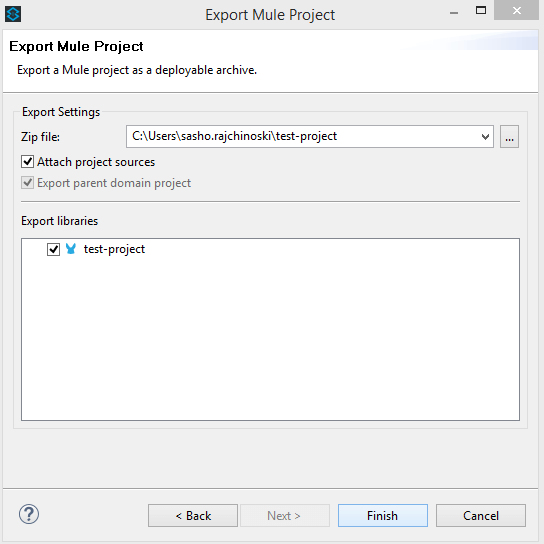
After specifying the location where the deployable zip archive will be stored click on the Finish button and the procedure of creating deployable zip archive is finished.
Once the deployable zip archive is ready to be deployed on the environment we are moving forward. The next step is signing in on the Anypoint Platform. Access the following URL:
https://anypoint.mulesoft.com/login/#/signin and use valid credentials for Username and Password to successfully sign in.
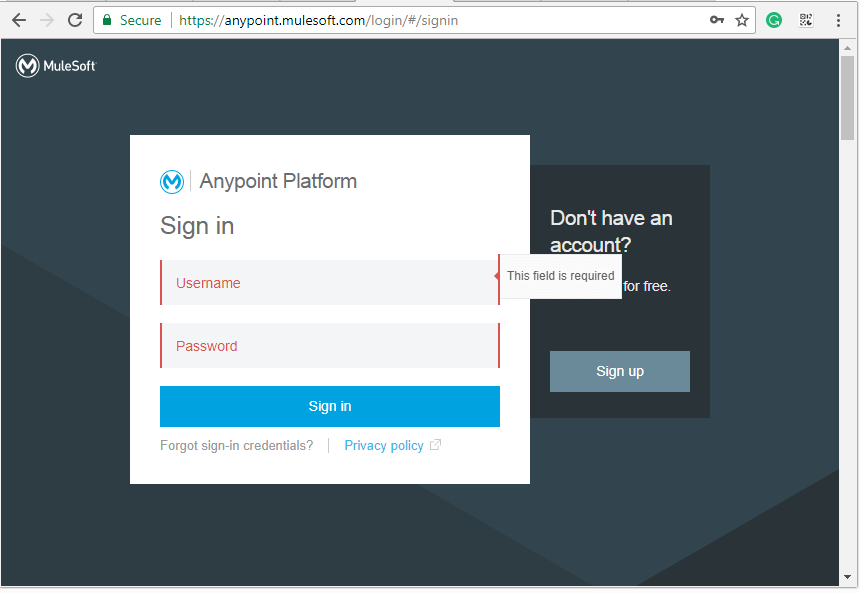
After singing in, the screen should look like on the picture below:
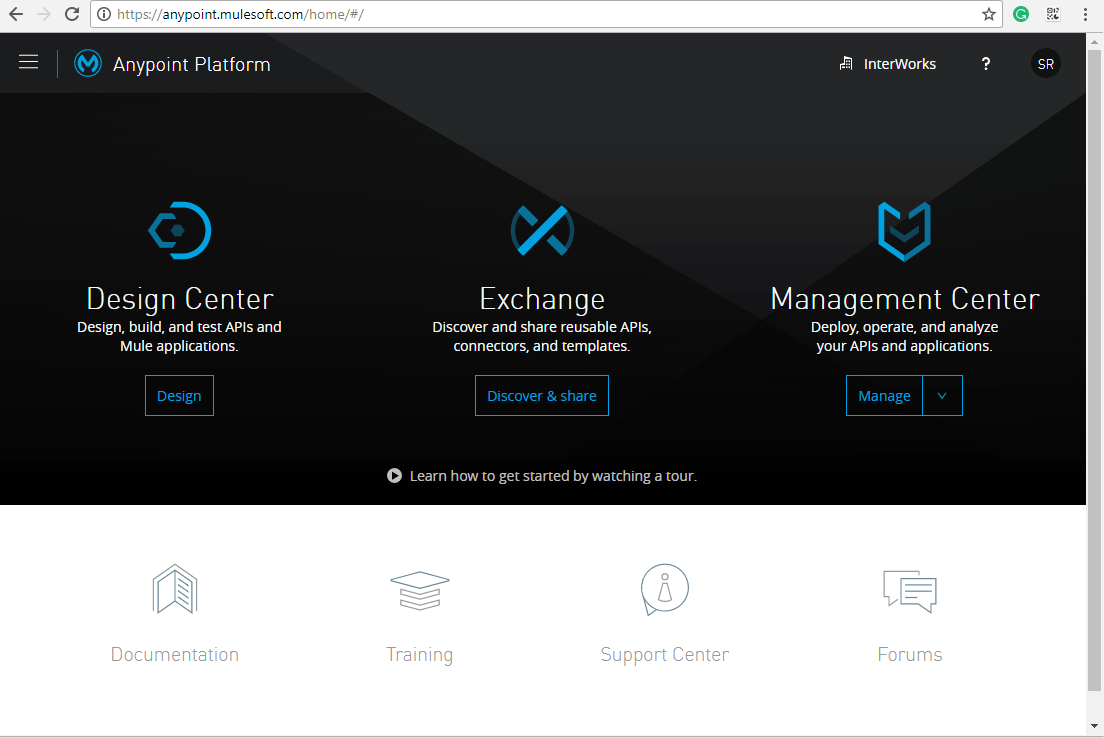
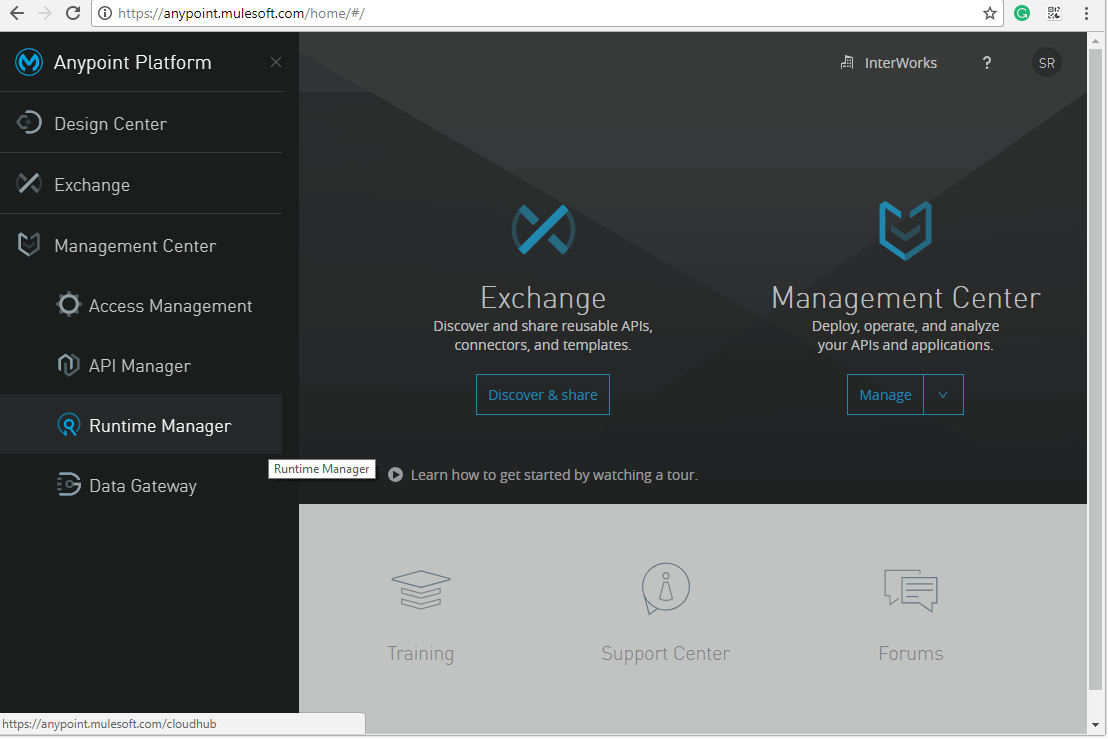
In order to open the Runtime Manager, click the button in the left corner which looks like three parallel lines one above the other one.
Once the Runtime Manager is opened, you can see a list of the already deployed applications and the Deploy Application button in the left above corner of the screen which is important for our further explanation.
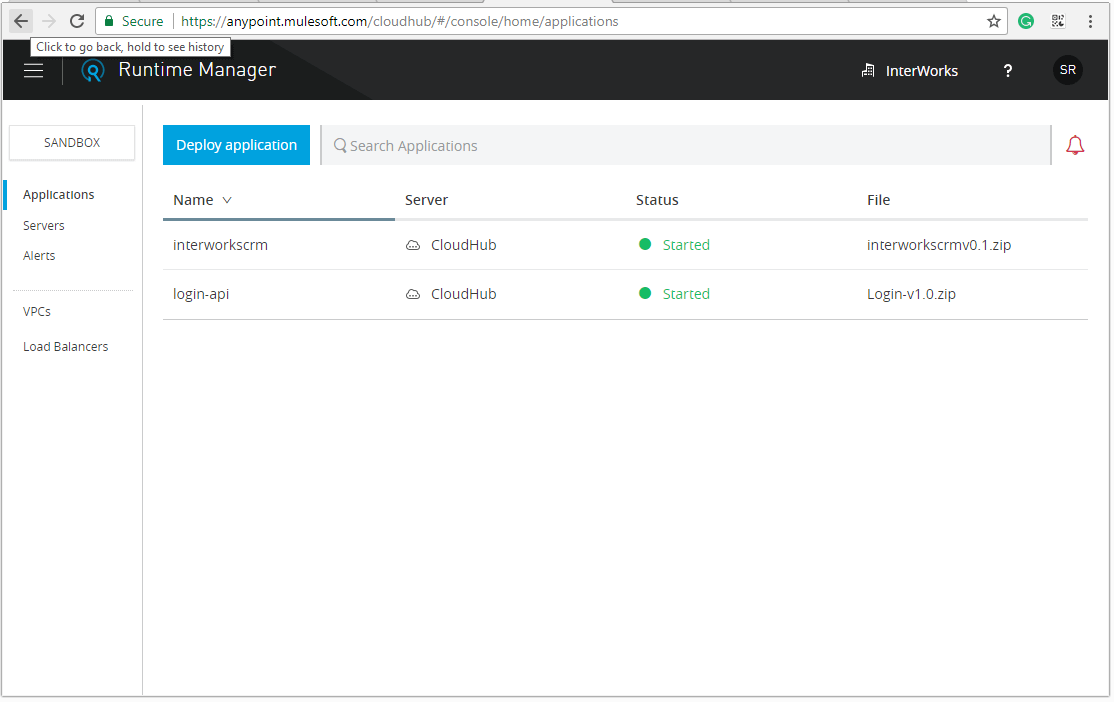
In order to start a procedure for deploying the application we need to click the Deploy application button and the following window will be opened.
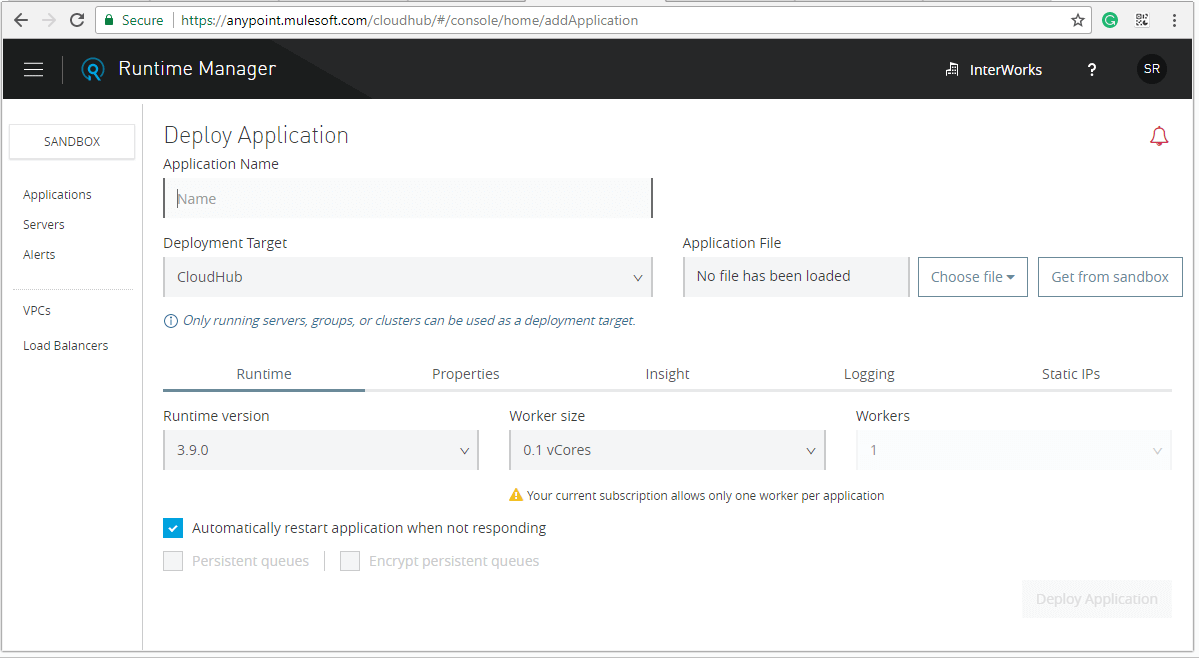
Now we need to specify Application Name which will be in our case “test-project-v1”. After that, we are choosing the file from the location where we have stored the file previously. Then we are clicking the Choose file button and from the options which are given we choose Upload file since it is stored locally on our machine. Once that is finished we need to specify the Runtime version, Worker size and number of Workers.
- Runtime version needs to be in sync with the runtime version which is specified while we are creating the project in the Anypoint Studio. If you are not able to find the appropriate version in the options of the drop-down menu you need to slide down and choose “Show old patch releases” and then you will be able to find each possible version.
- Worker size should be set to “ 0.1 vCores” since our application is not so big and there is no need to set greater value.
- Workers should have a value of “1”.
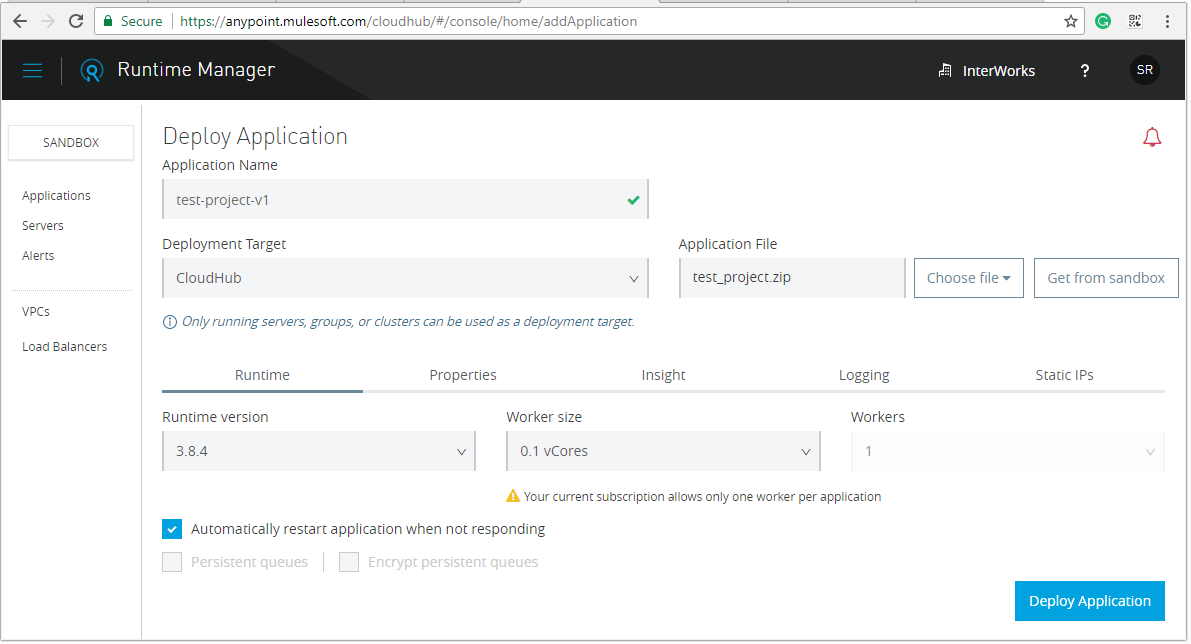
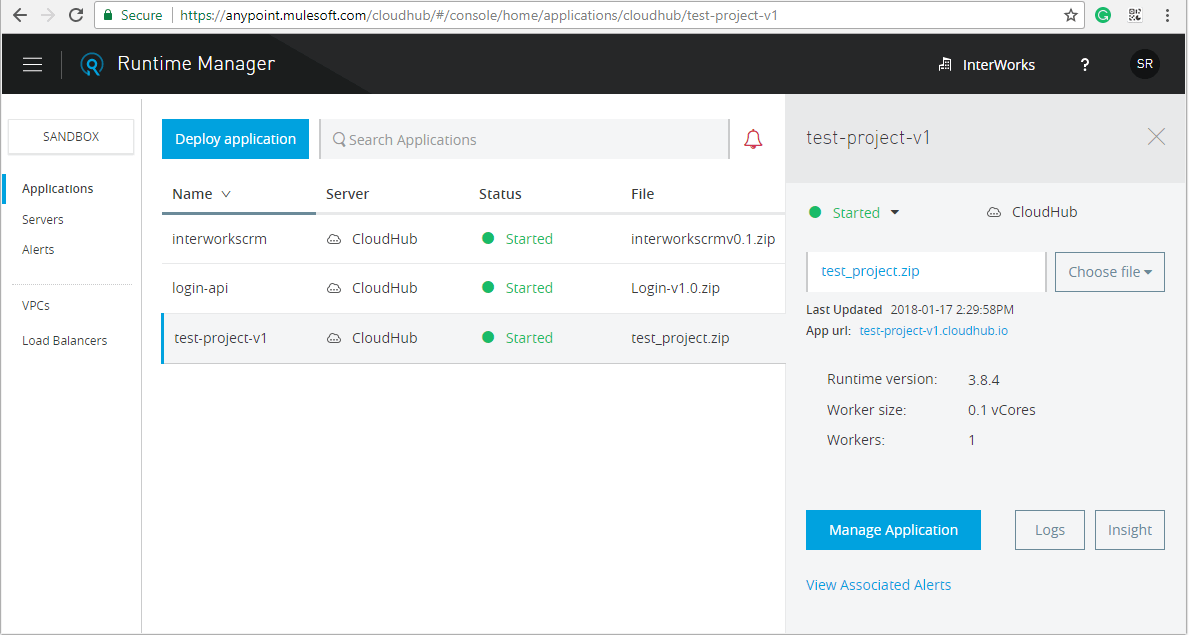
Once everything is set properly we should click Deploy Application button in the left down corner of the screen and wait for our application to be deployed and started successfully. Once all of that is done the following window will be opened:

As we can see from the picture our application named “test-project-v1” is deployed and started successfully.
2. Deploying MuleSoft application on CloudHub directly from Anypoint Studio
We should say that deploying an application on CloudHub directly from Anypoint Studio is an easy procedure like saving a Word document. So, when we are sure that we have an application which is ready to be deployed on the environment the procedure of deploying that application is following:
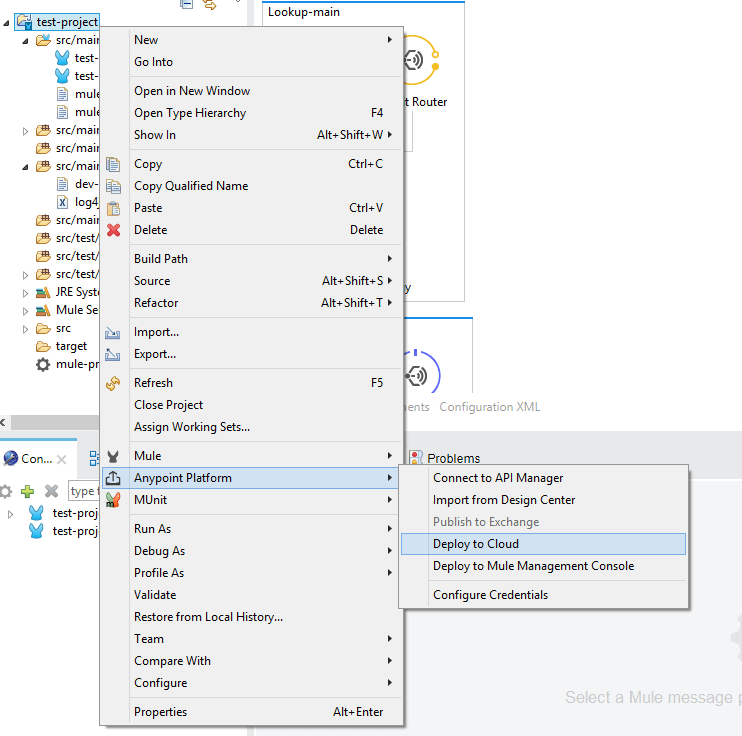
We need to have the project opened in the Anypoint Studio, then we go under the project name and right click there. From the drop-down menu we need to choose Anypoint Platform and in the second drop-down menu we are clicking on the Deploy to Cloud option.
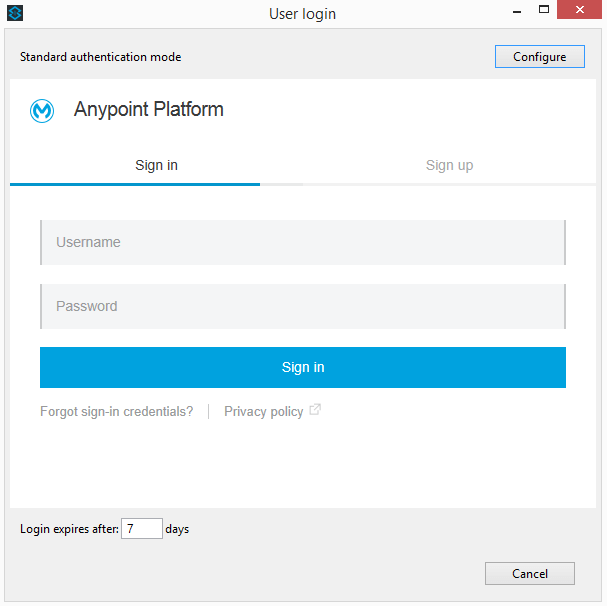
If we are not previously signed in to the Anypoint Platform, a window will be opened where we should fill in with our credentials from an active account.
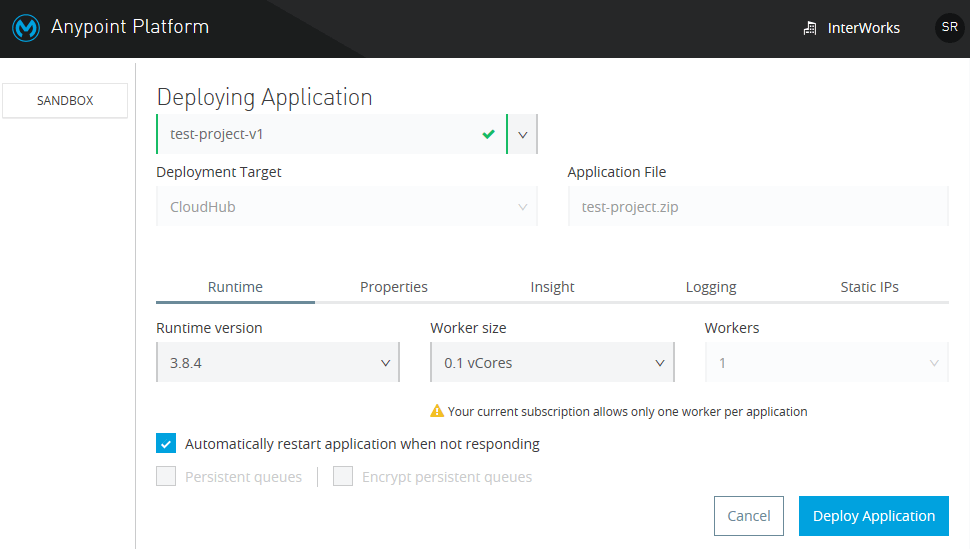
After adding the credentials, another window will be opened where the application name, runtime version, worker size and the number of workers should be specified. The procedure of setting all these parameters before deploying the application is explained in point one. The same should to be done here while we are deploying an application directly from Anypoint Studio. When all those things are completed we should press the Deploy Application button in the left down corner of the window. If everything is set properly the application will be deployed and started successfully.
As we have said before easy and simple, BUT very fast and powerful.