In my previous blog post, it was described how Selenium Grid and Appium can be used for creating local mobile device farms. In this blog is discussed Jenkins configuration that will support the built grid of mobile devices.
Jenkins installation and basic configuration
The latest version of Jenkins can be downloaded from the official site: https://jenkins.io/ . The easiest way to install Jenkins on Windows is using the Windows Installer Package (.msi). By default, Jenkins will be installed as a Windows Service that is started automatically. Jenkins web interface by default can be accessed using http://localhost:8080/ and in order to log in as administrator for the first time use admin as username and password can be found in the file initialAdminPassword on location: Jenkins_Instalation_Directory/secrets.
Before we get started, we do need to do a little configuration. More precisely, we need to tell Jenkins about the build tools and JDK versions we will be using for our builds.
Click on the Manage Jenkins link from the home page. This will take you to the Manage Jenkins page, the central one-stop shop for all your Jenkins configuration. From this screen, you can configure your Jenkins server, install and upgrade plugins, keep track of system load, manage distributed build servers, and more.
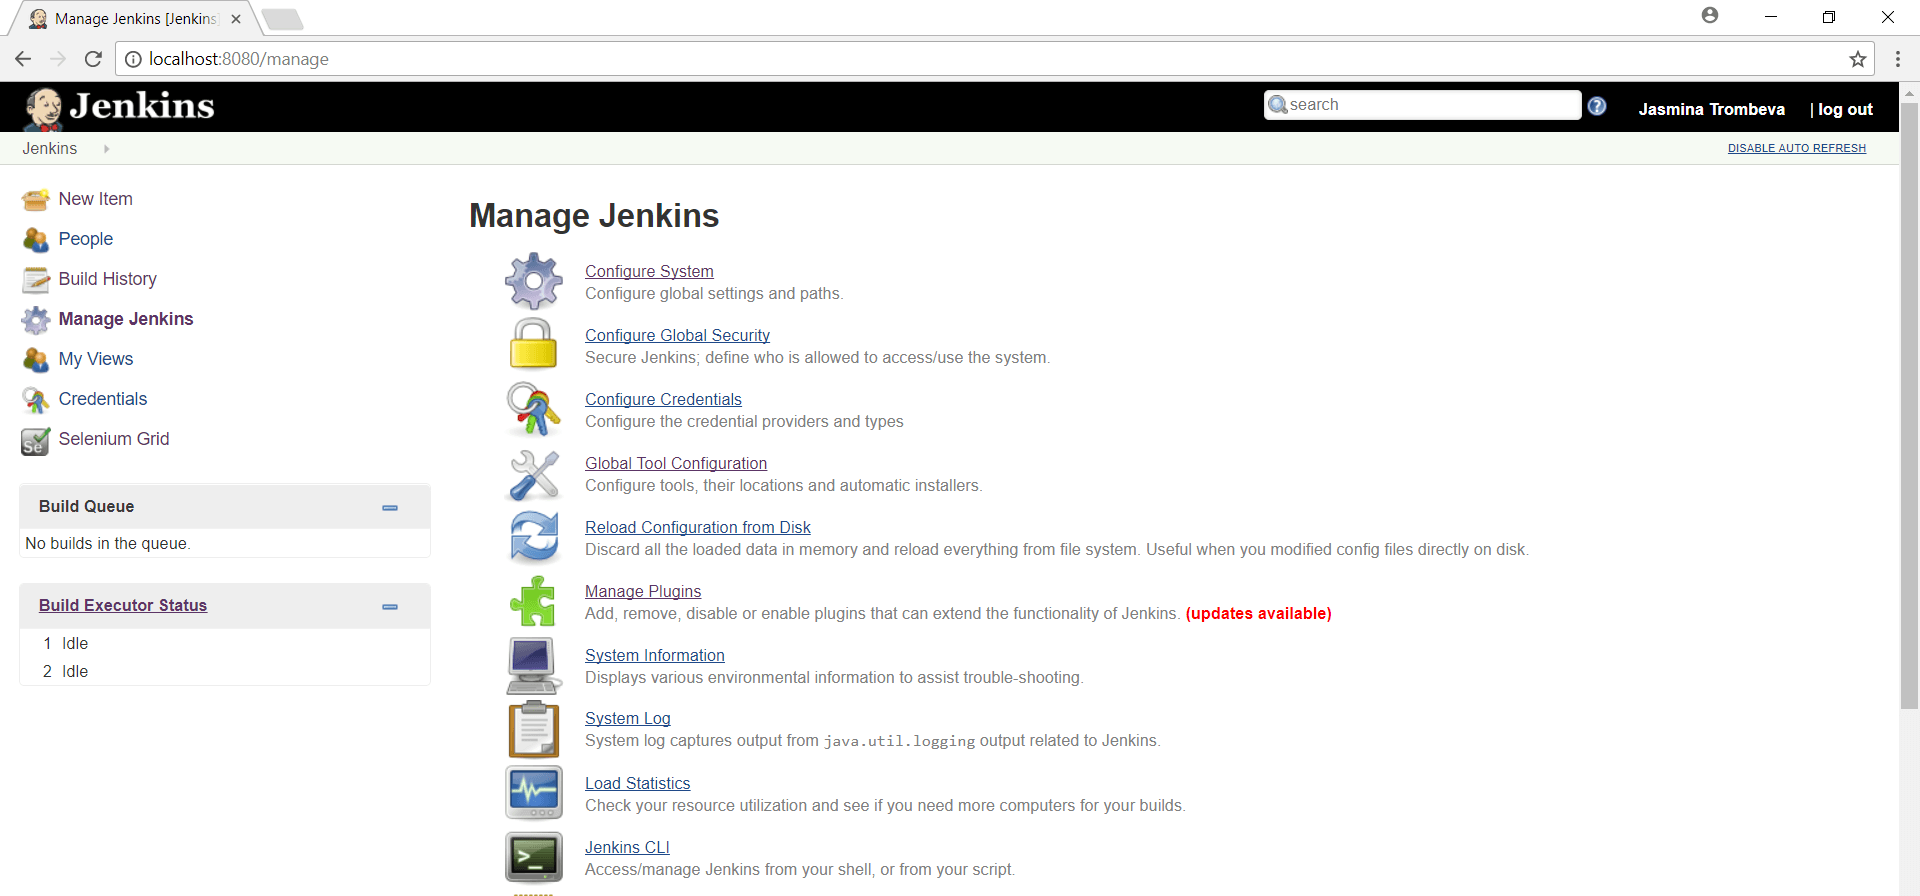
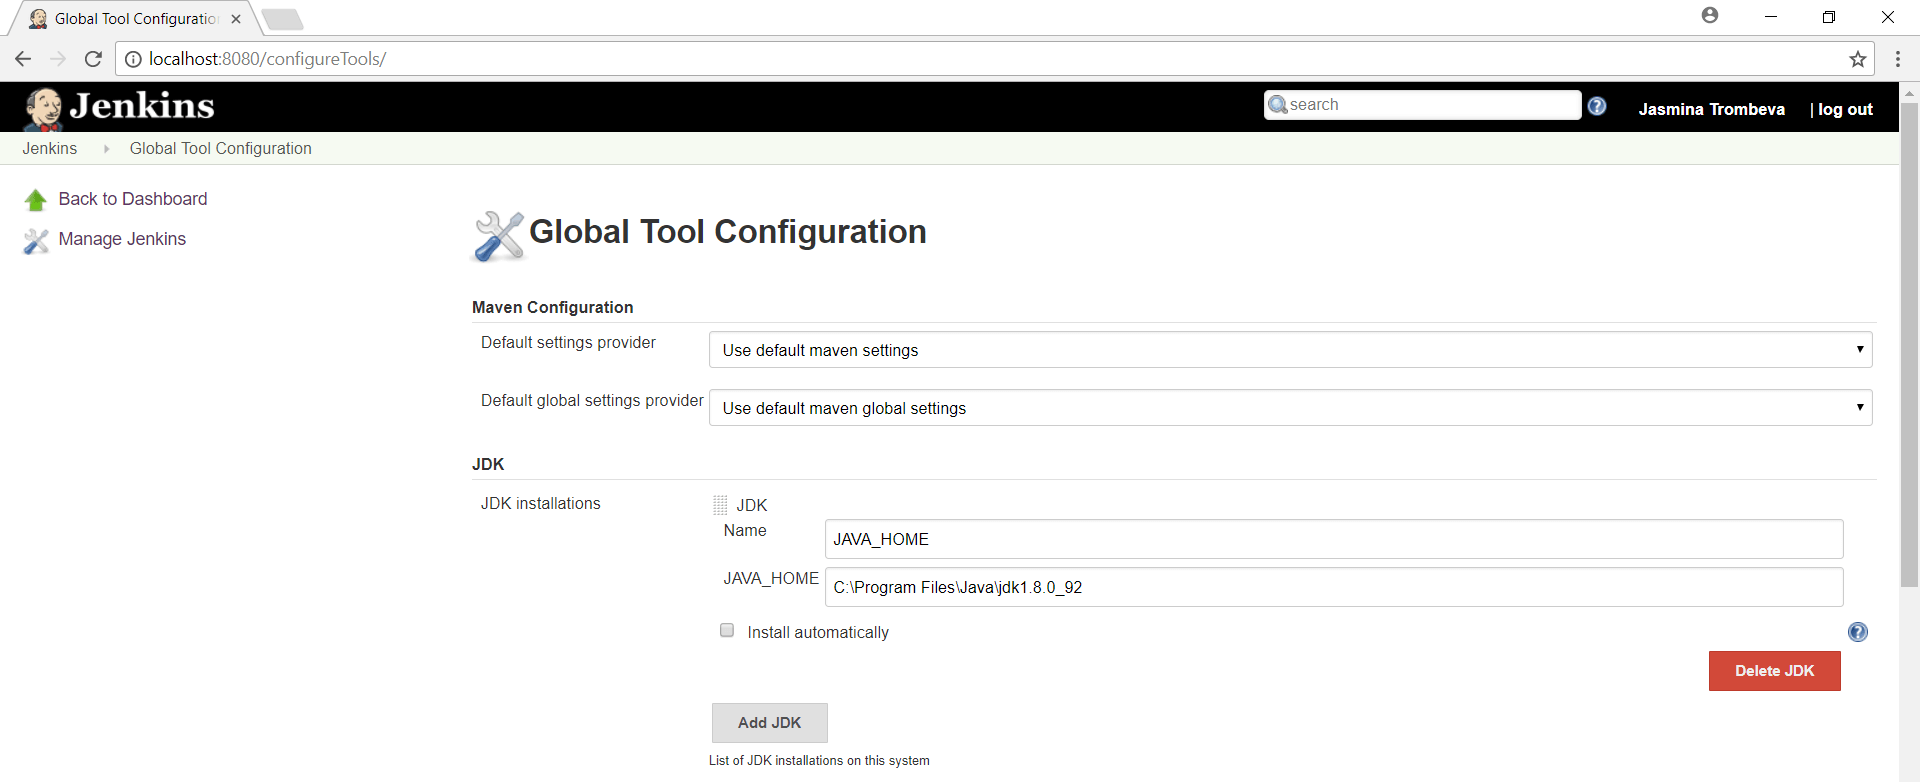
For now, you will just need to configure the tools required to build our sample project. The application we will be building is a Java application. So in this case, all we need to do is to set up JDK path on the local machine where Jenkins is installed. Manage Jenkins->Global Tool Configuration->JDK
Configuring Jenkins as Selenium Grid
Selenium plugin for Jenkins, turns the Jenkins server into a Selenium Grid hub, making it easy to turn Jenkins Slaves into Selenium Grid Nodes.
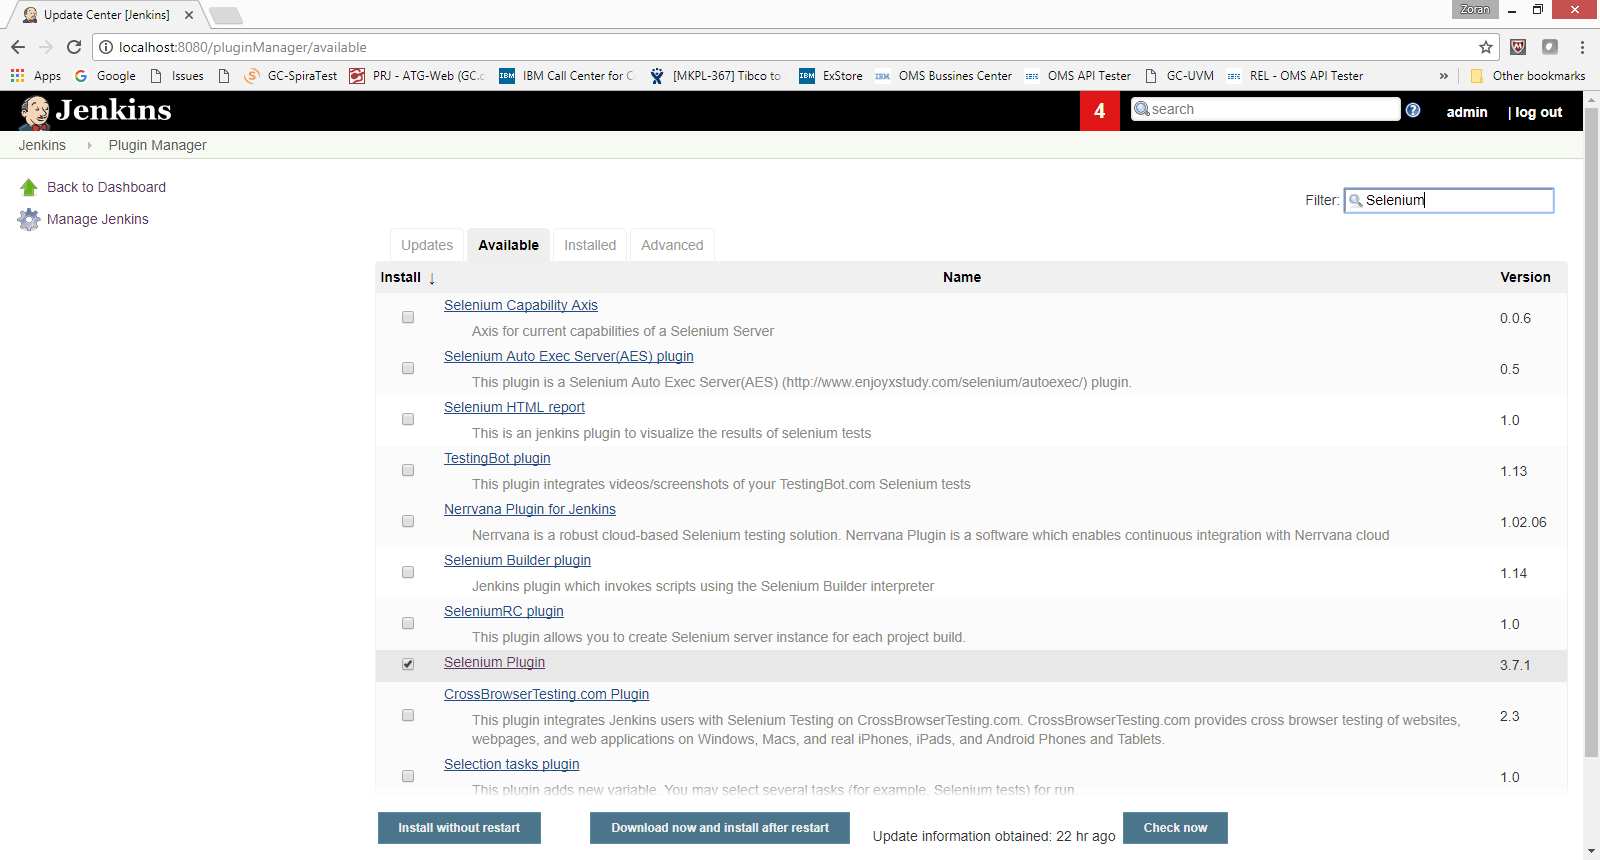
Step 1: Installation
Search for “Selenium” on Jenkins’s “Manage Plugins” screen, select the plugin, and click “Install without restart”.
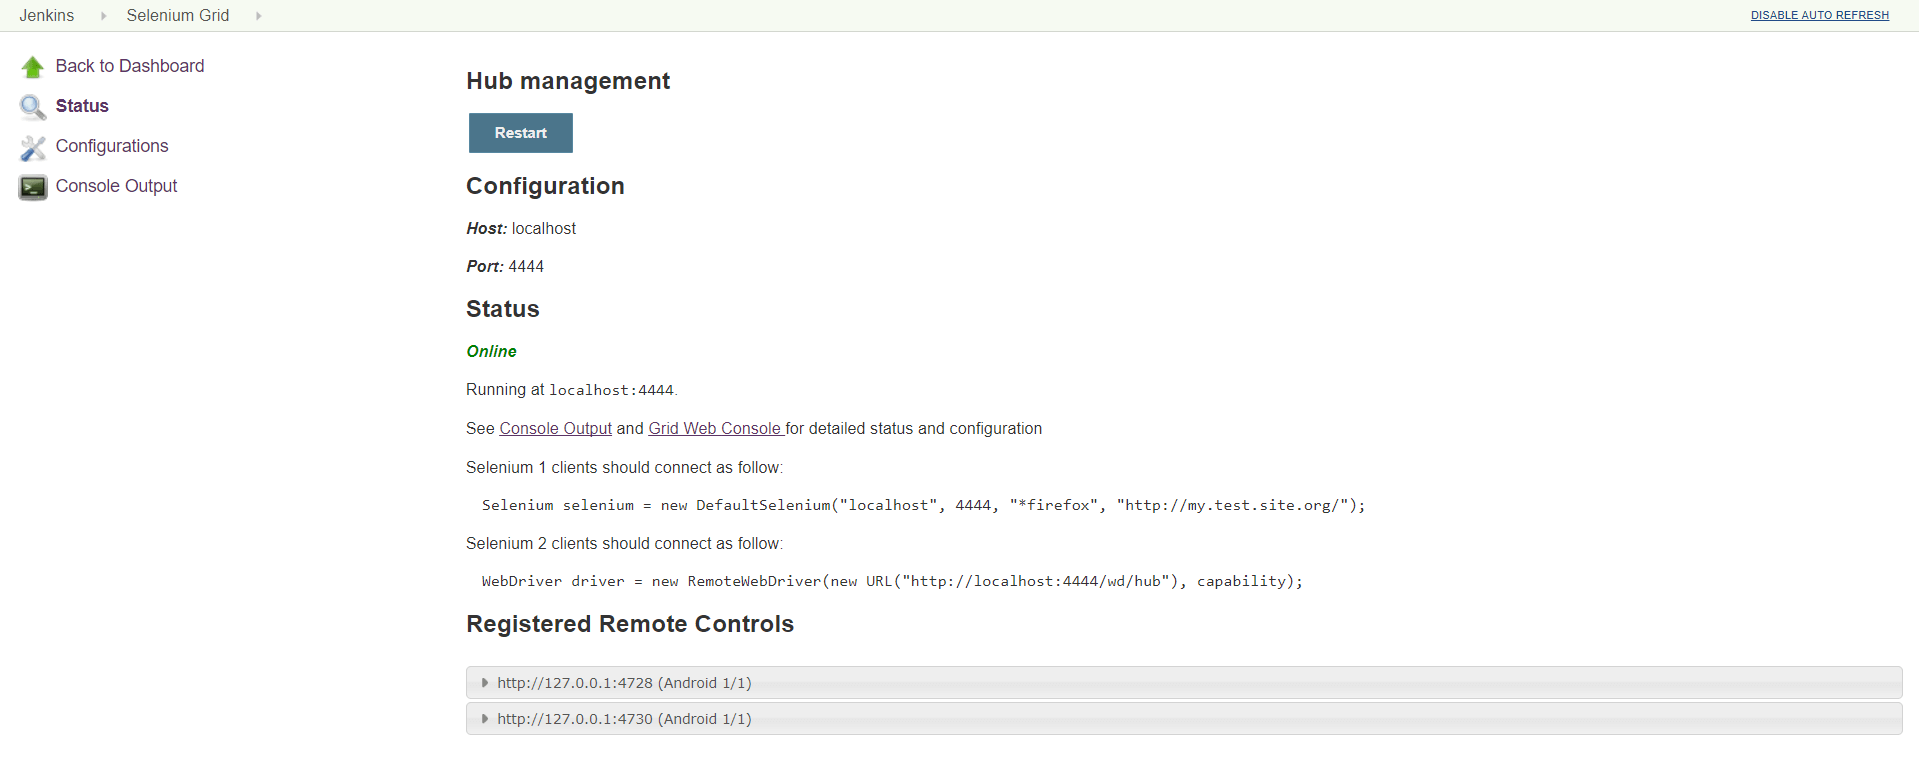
After installing the plugin, the Selenium Grid link will appear on the Jenkins Dashboard. Clicking on the link will open the Selenium Grid page. This screen gives an overview of the status of the Hub and links to the Grid consoles. Most importantly, it lists the commands on how to initialize WebDriver in your Selenium test code to utilize the Grid.
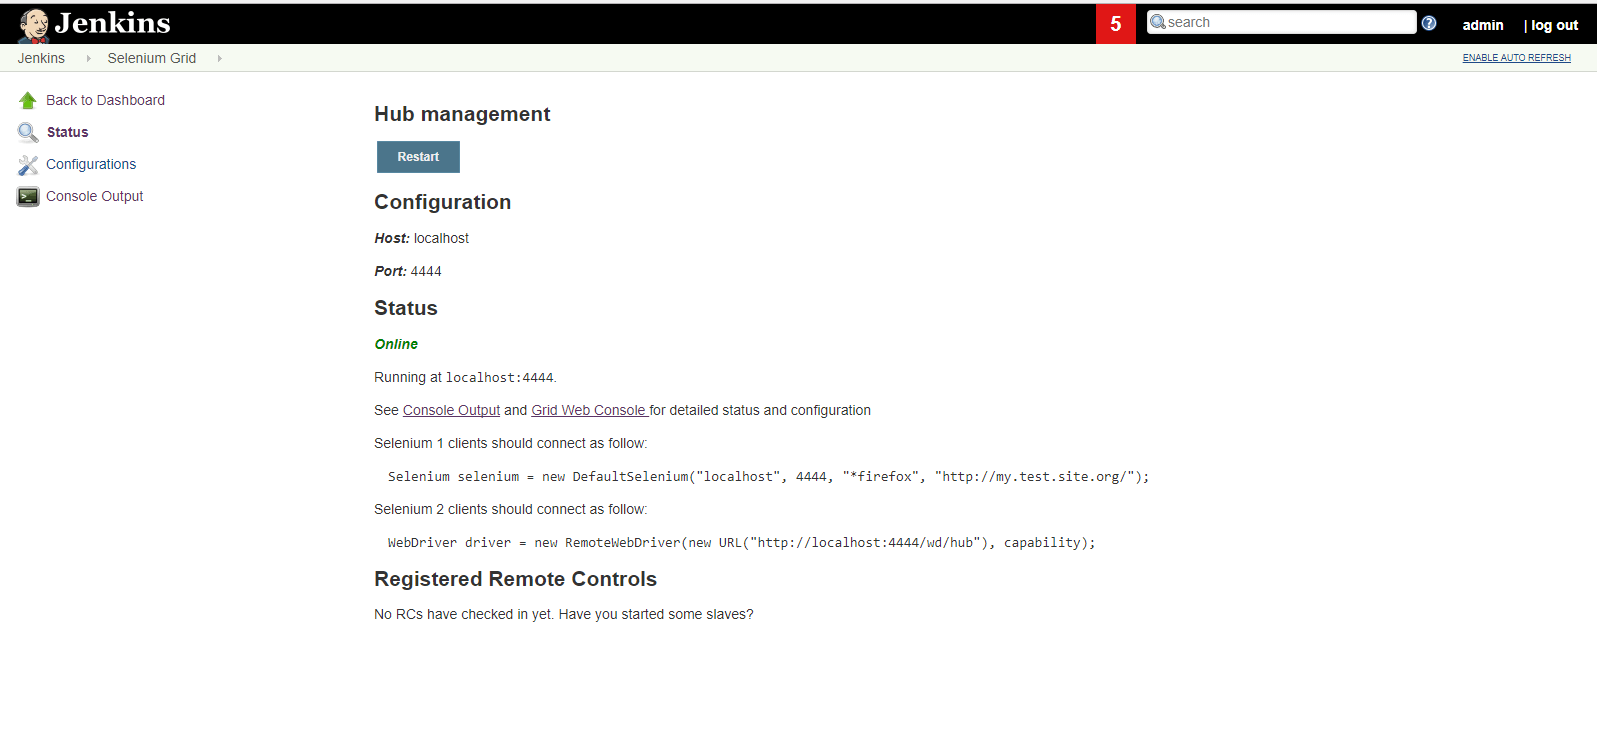
As you can notice, under Registered Remote Controls, there is a note that no nodes are registered, so further nodes should be registered to the Jenkins hub.
Step 2: Creating a Node Configuration
In order to create/register nodes, click on the Configurations link from the left-top menu. Since there is no registered nodes, on the displayed screen no nodes will be listed. Click the New Configuration link in order to create a new node configuration. On the displayed screen, at the bottom, there is an option to create node configuration using a JSON file. Actually, as a JSON configuration for the nodes in Jenkins, you can use the same configurations as in Part I of this blog.
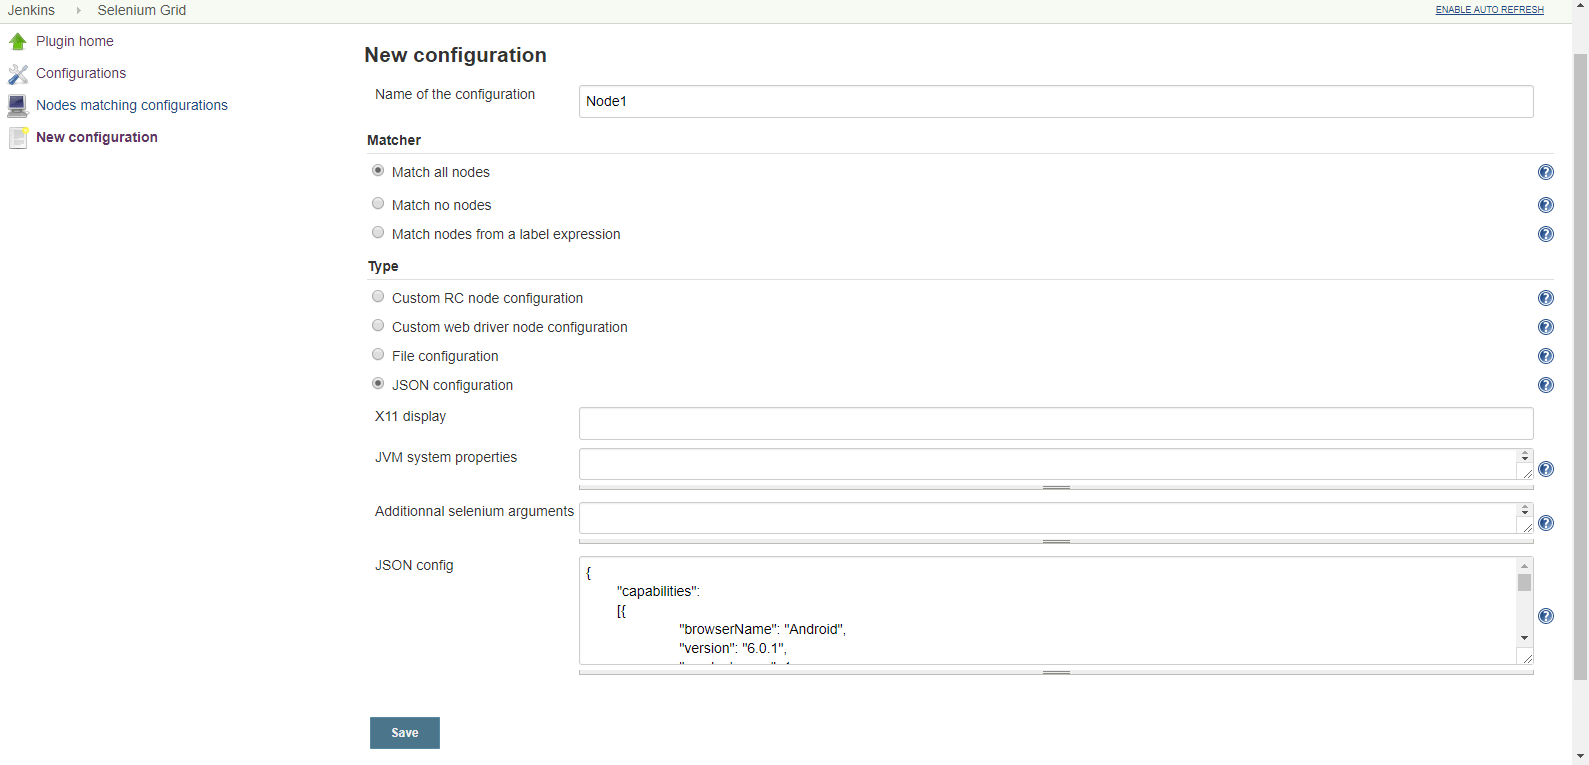
After configuring Node2 in the same way and clicking on the Nodes matching configurations link from the left-top menu, two registered nodes will be listed:

Step 3: Launching the Nodes
Once nodes are configured as per the above steps, start the two instances of the Appium server and connect the mobile devices to your computer, as it was described in Part1. In our example it was used two mobile devices, so after navigating to Jenkins > Selenium Grid, on the Hub info screen you can notice that under Registered Remote Controls two nodes appear, that actually are the two connected mobile devices.
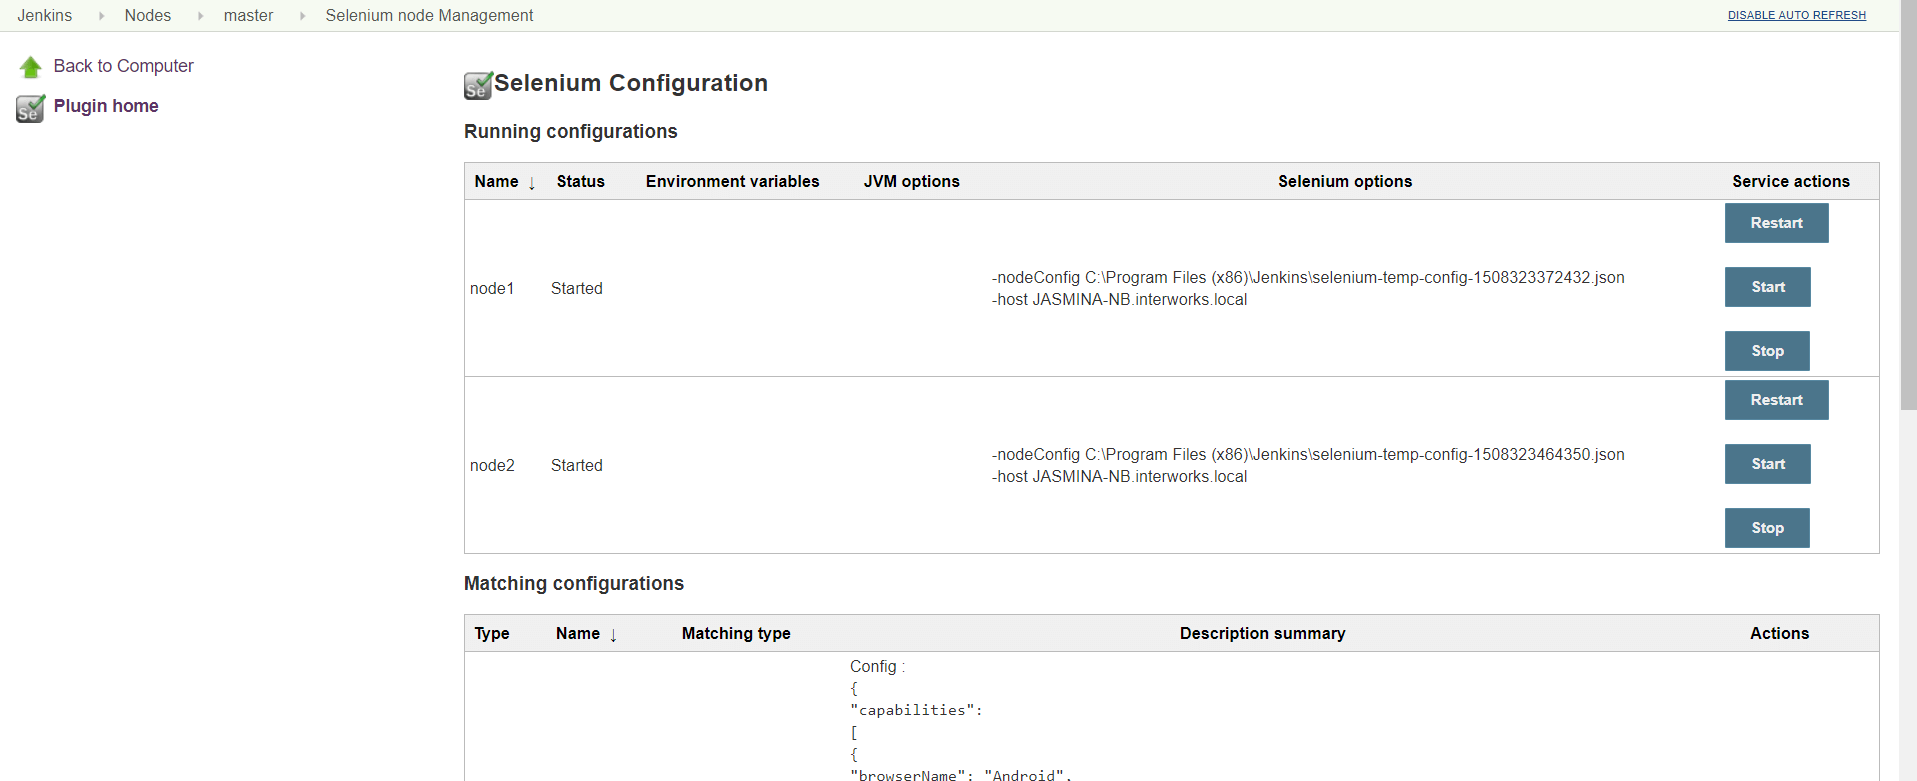
Also if you navigate to Jenkins > Selenium Grid > Nodes matching configurations (Figure 9) and click on the master link, you will be able to control connected and registered mobile nodes. Actually, with this configuration are configured two slave Jenkins nodes, that also can be accessed via Jenkins > Manage Jenkins > Manage Nodes.
Conclusion
In this blog as a continuation of the first part, it was described how Jenkins can be configured as a Selenium Grid for mobile automated testing. Utilizing Jenkins in this manner can enable Continuous Testing on locally built mobile device farms as an option for publicly available mobile device farms.

