Playwright integration with TestRail CLI
When it comes to keeping our software in tip-top shape, TestRail is like our trusty sidekick. It helps us manage tests and keep everything organized. Now, imagine teaming up TestRail with Playwright, a super cool automation tool for web apps. The result? A dream team for testing!
We’re talking about making TestRail and Playwright best buds using the TestRail Command Line Interface (CLI). This nifty tool lets us kick off Playwright tests, grab the results, and update TestRail runs—all with a few simple commands.
In this guide, we’ll break down how this integration works, why it’s awesome, and how to set it up. By combining TestRail’s test management prowess with Playwright’s automation magic, we’re on the path to smoother testing, better software quality, and faster releases. Let’s dive in!
Steps for playwright integration with TestRail CLI
The following documentation is for how to integrate Playwright with TestRail using TestRail CLI.
First, we need to configure the playwright.config.ts which is the default configuration file, but what you need to remember is that the TestRail CLI requires a Junit report to parse and send the test results to TestRail so I would like to highlight the reporter configuration:
reporter: [
 ['list'],
 ['html', {outputFile: 'reports', open: 'never'}],
 ['junit', {outputFile: './test-results.xml', embedAnnotationsAsProperties: true}]
 ],
This tells the Playwright to generate the reports described in the list:
- First a list reporter for the command line
- Second an HTLM reporter
- Third, as you can see, I’ve configured the Junit reporter to create a report file in the output file location.
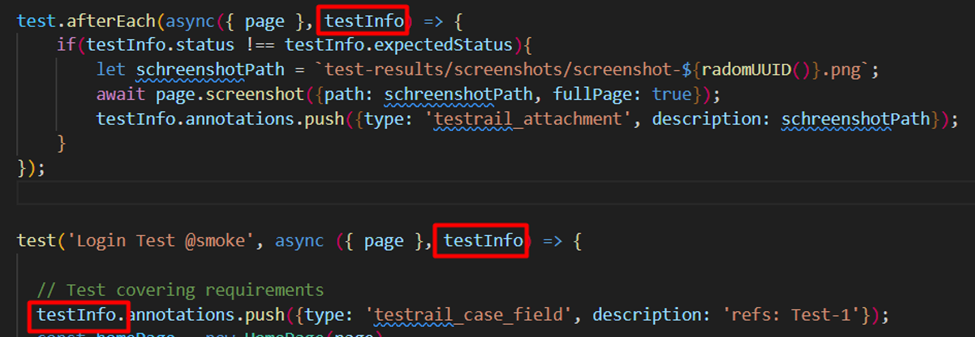
I also enabled the “Embed annotations as Properties” option, which allows you to save the test annotations in the report, enriching the test results uploaded with the TestRail CLI.
We also must inject the testInfo object to have access to the annotations.
The next step is to set/configure the following requirements on the TestRail side:
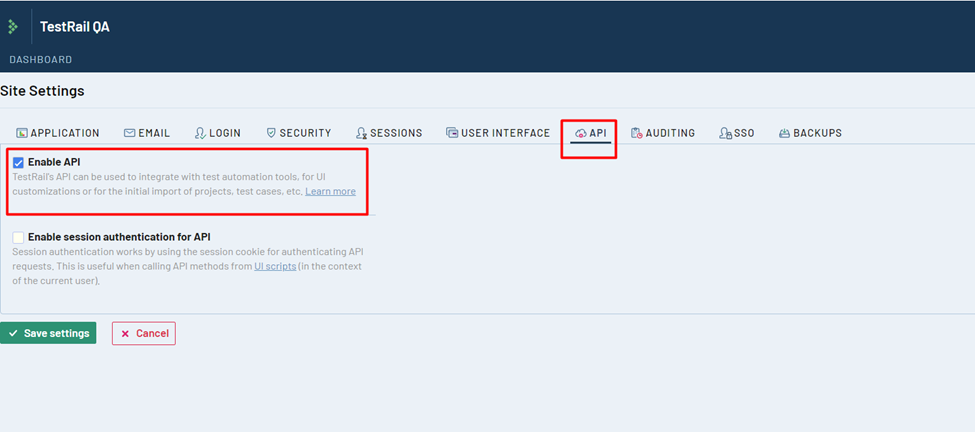
Navigate to ADMINISTRATION -> Site Settings -> API and check the Enable API checkbox.
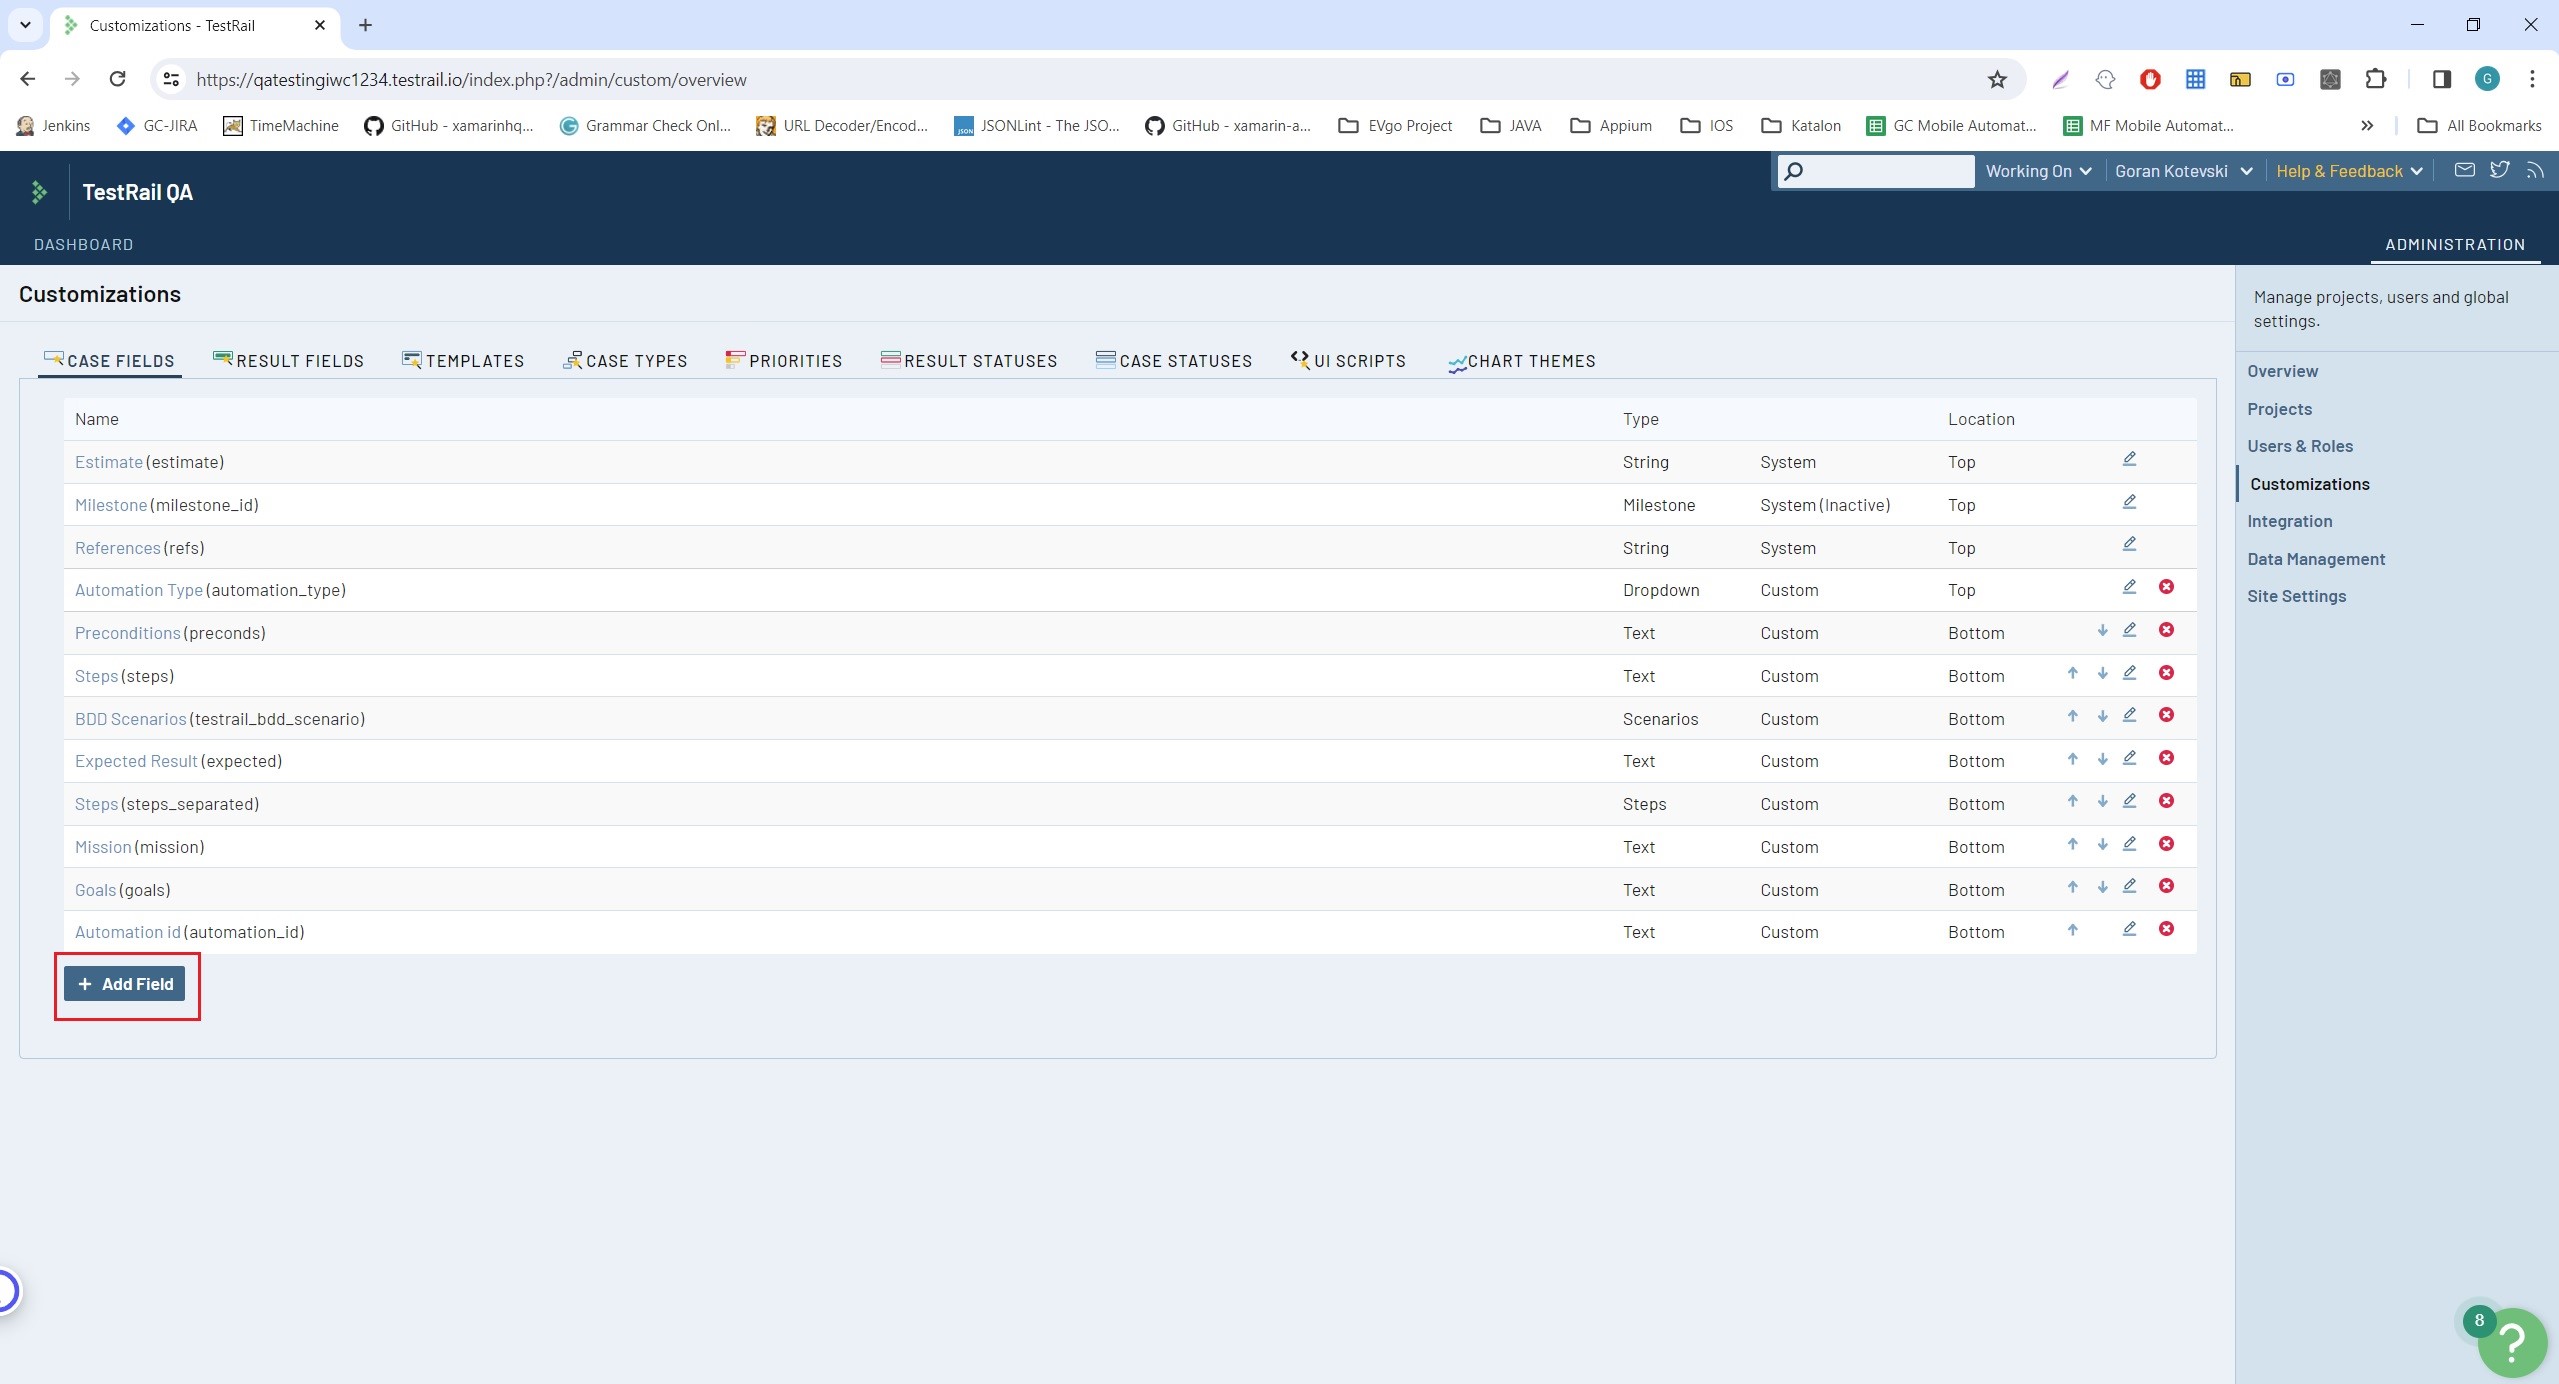
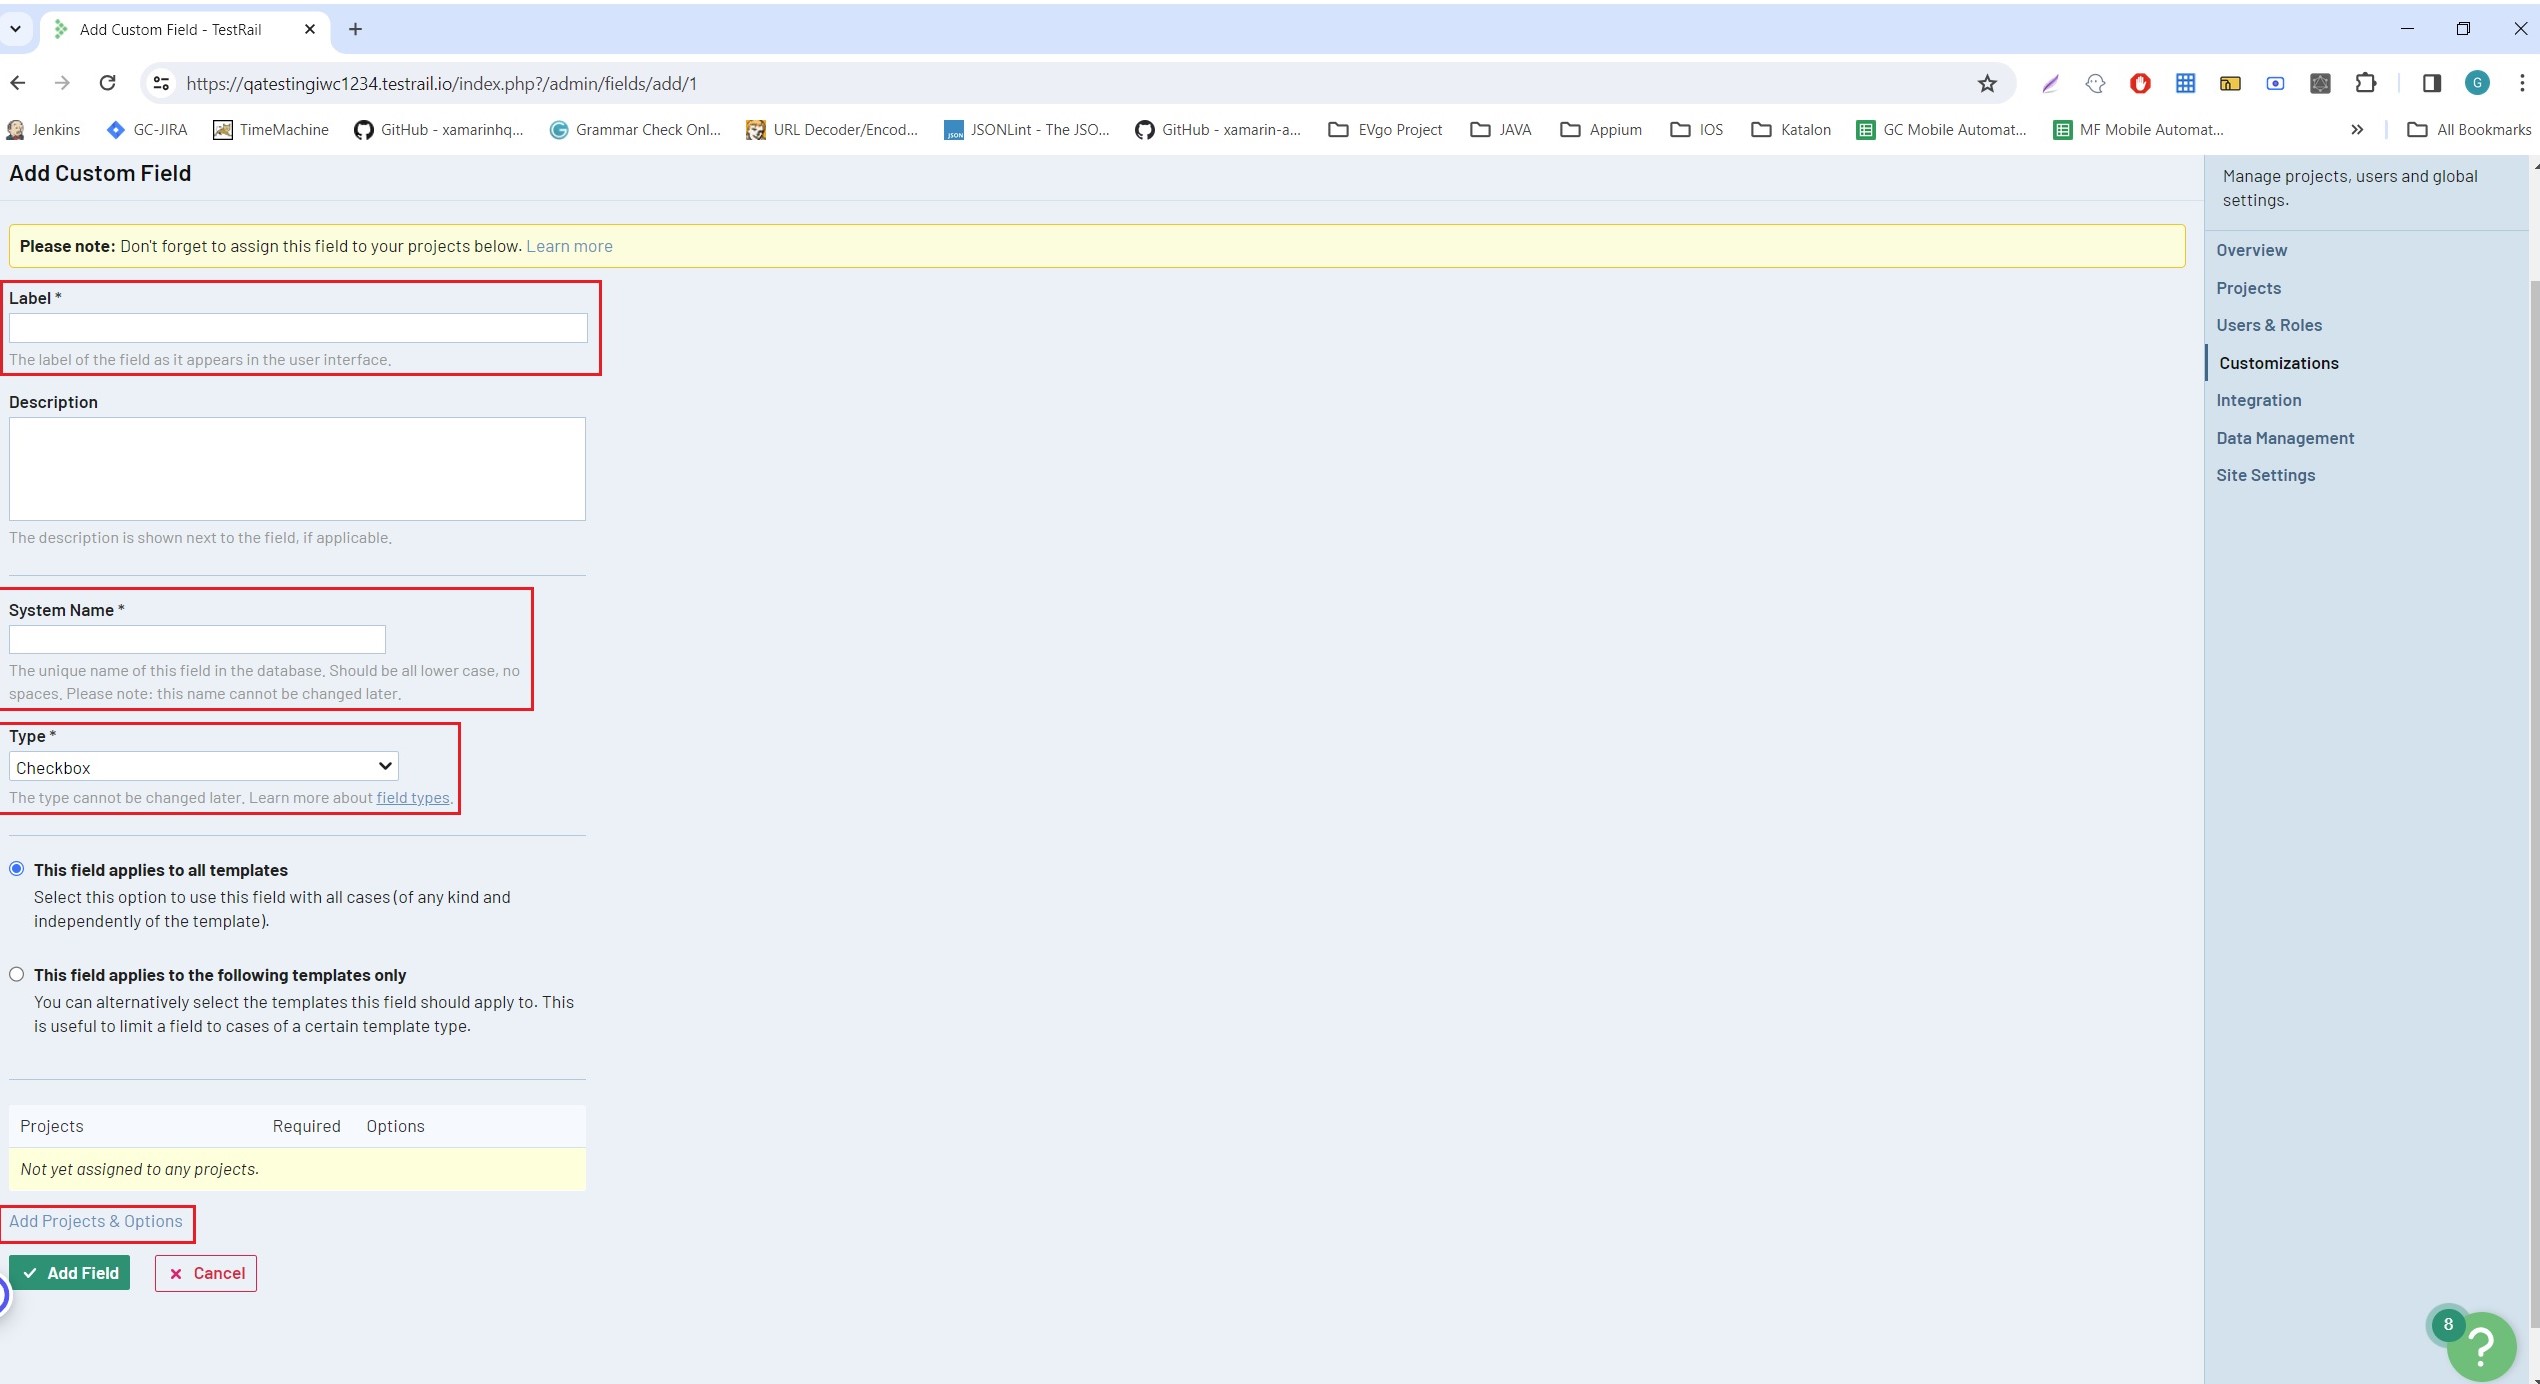
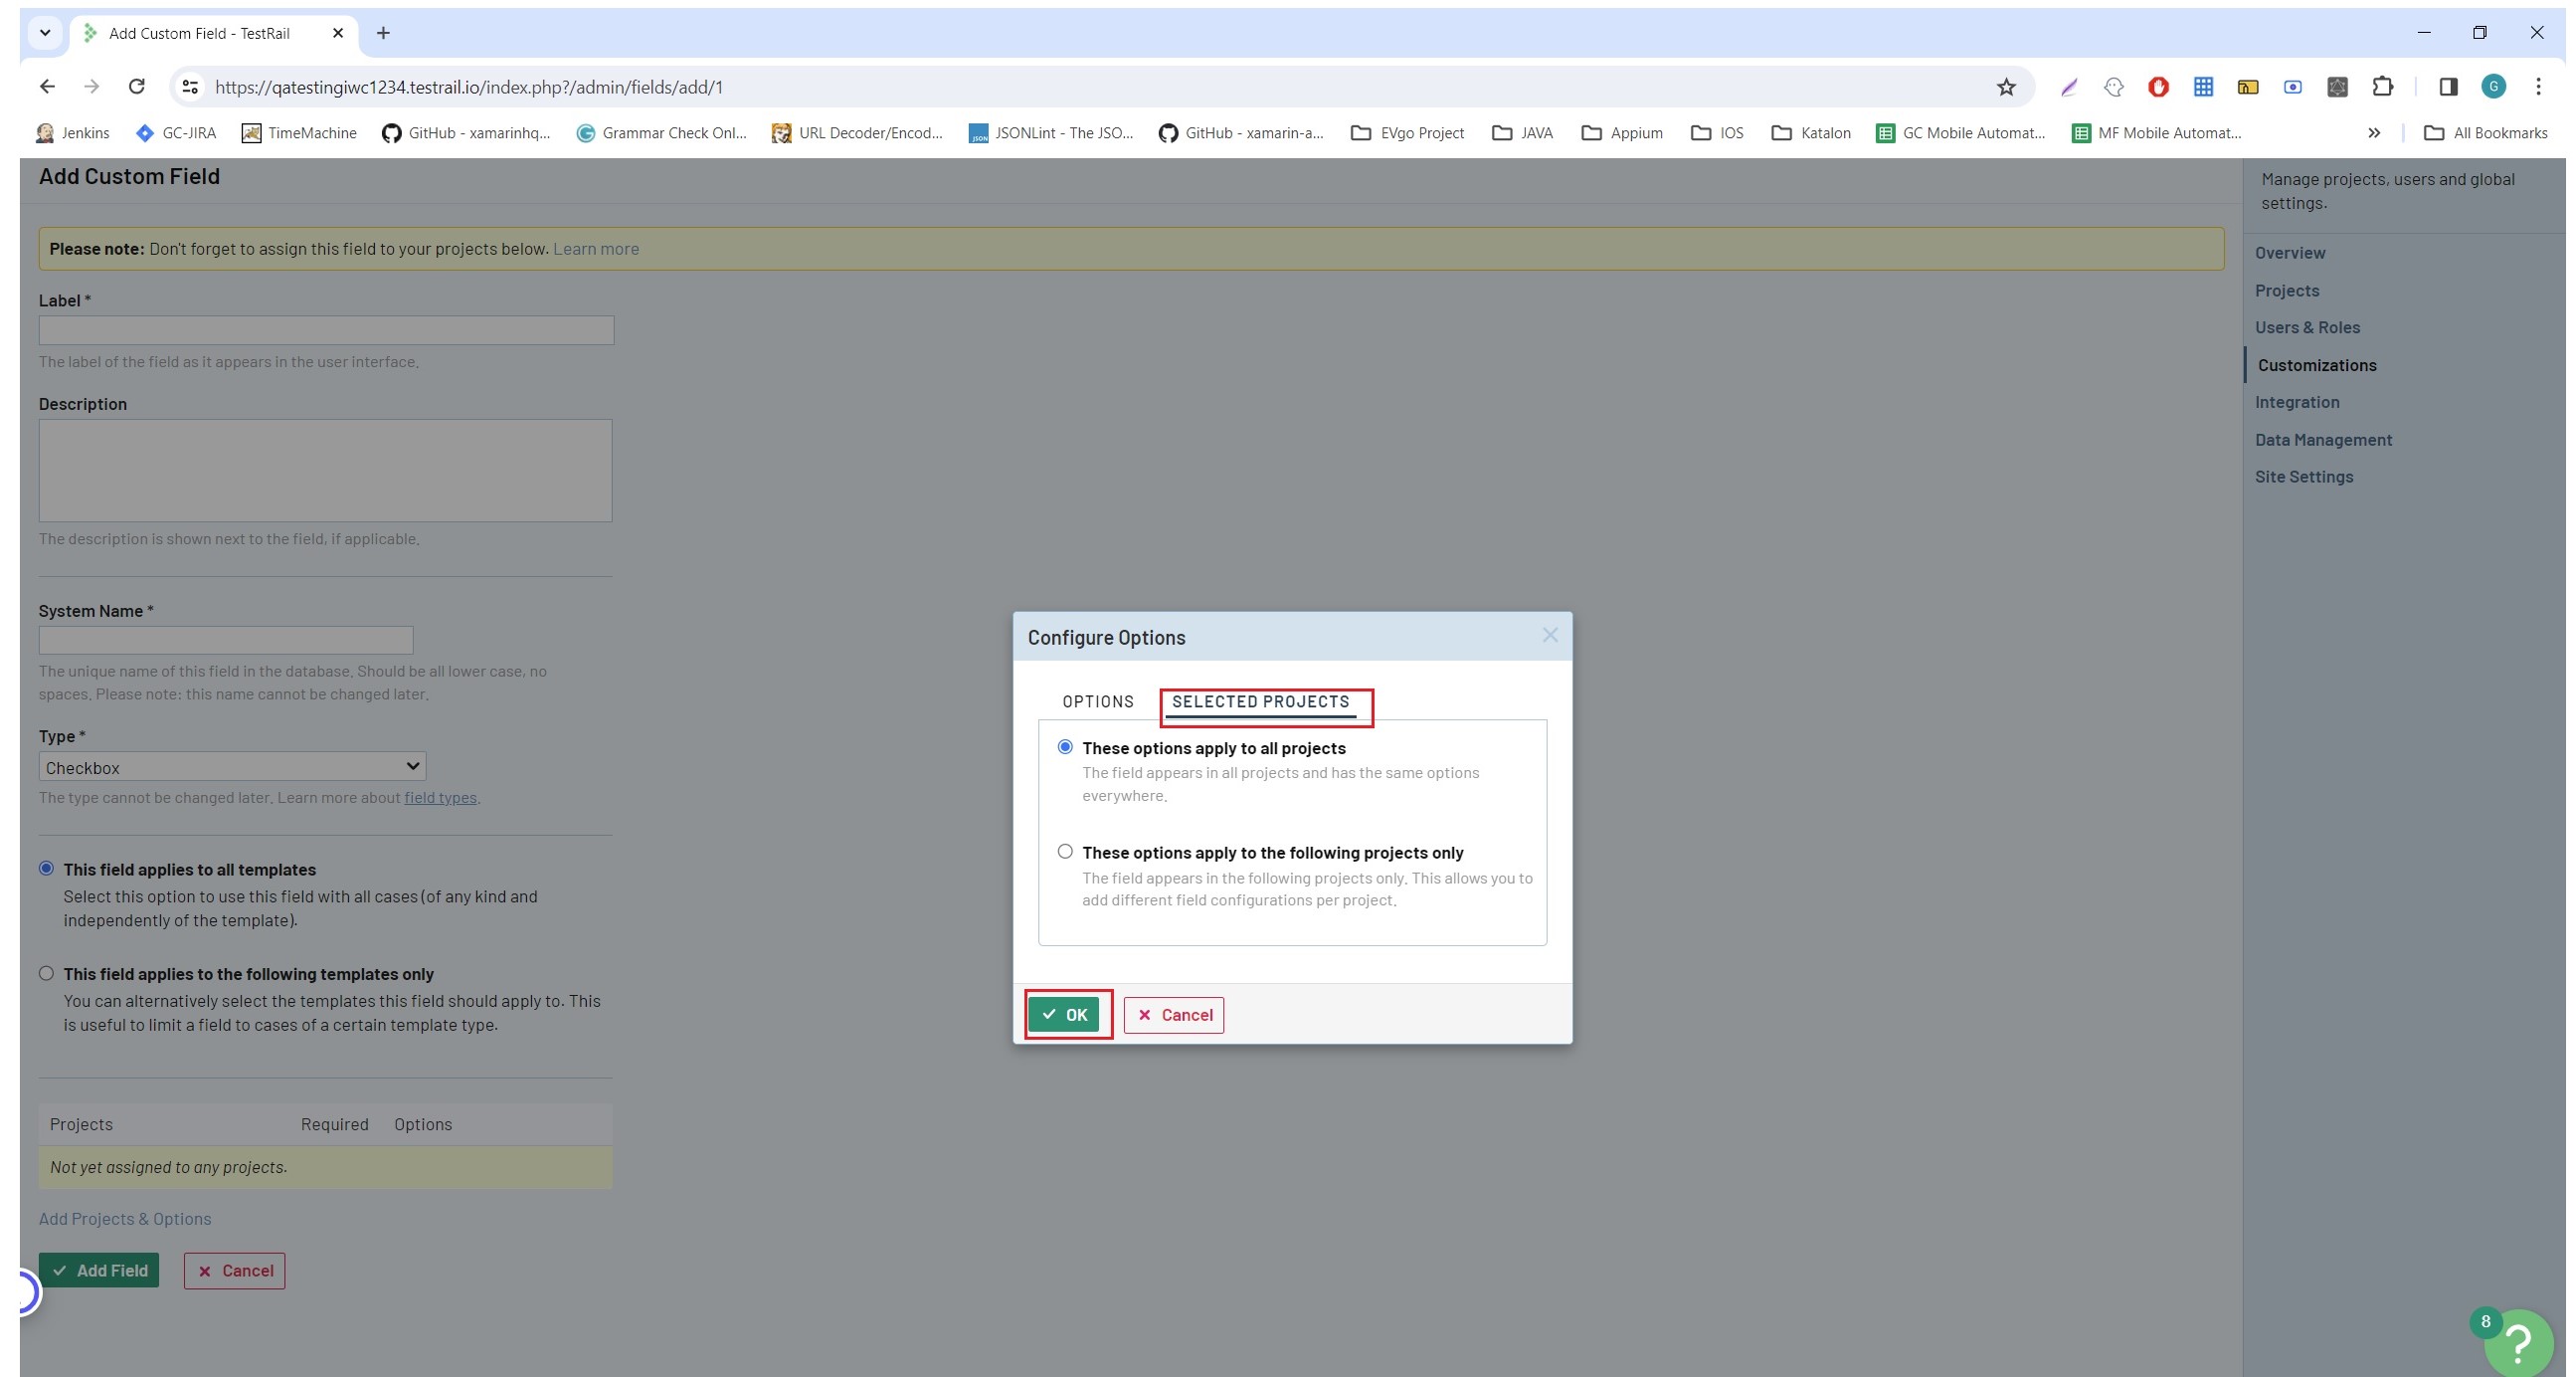
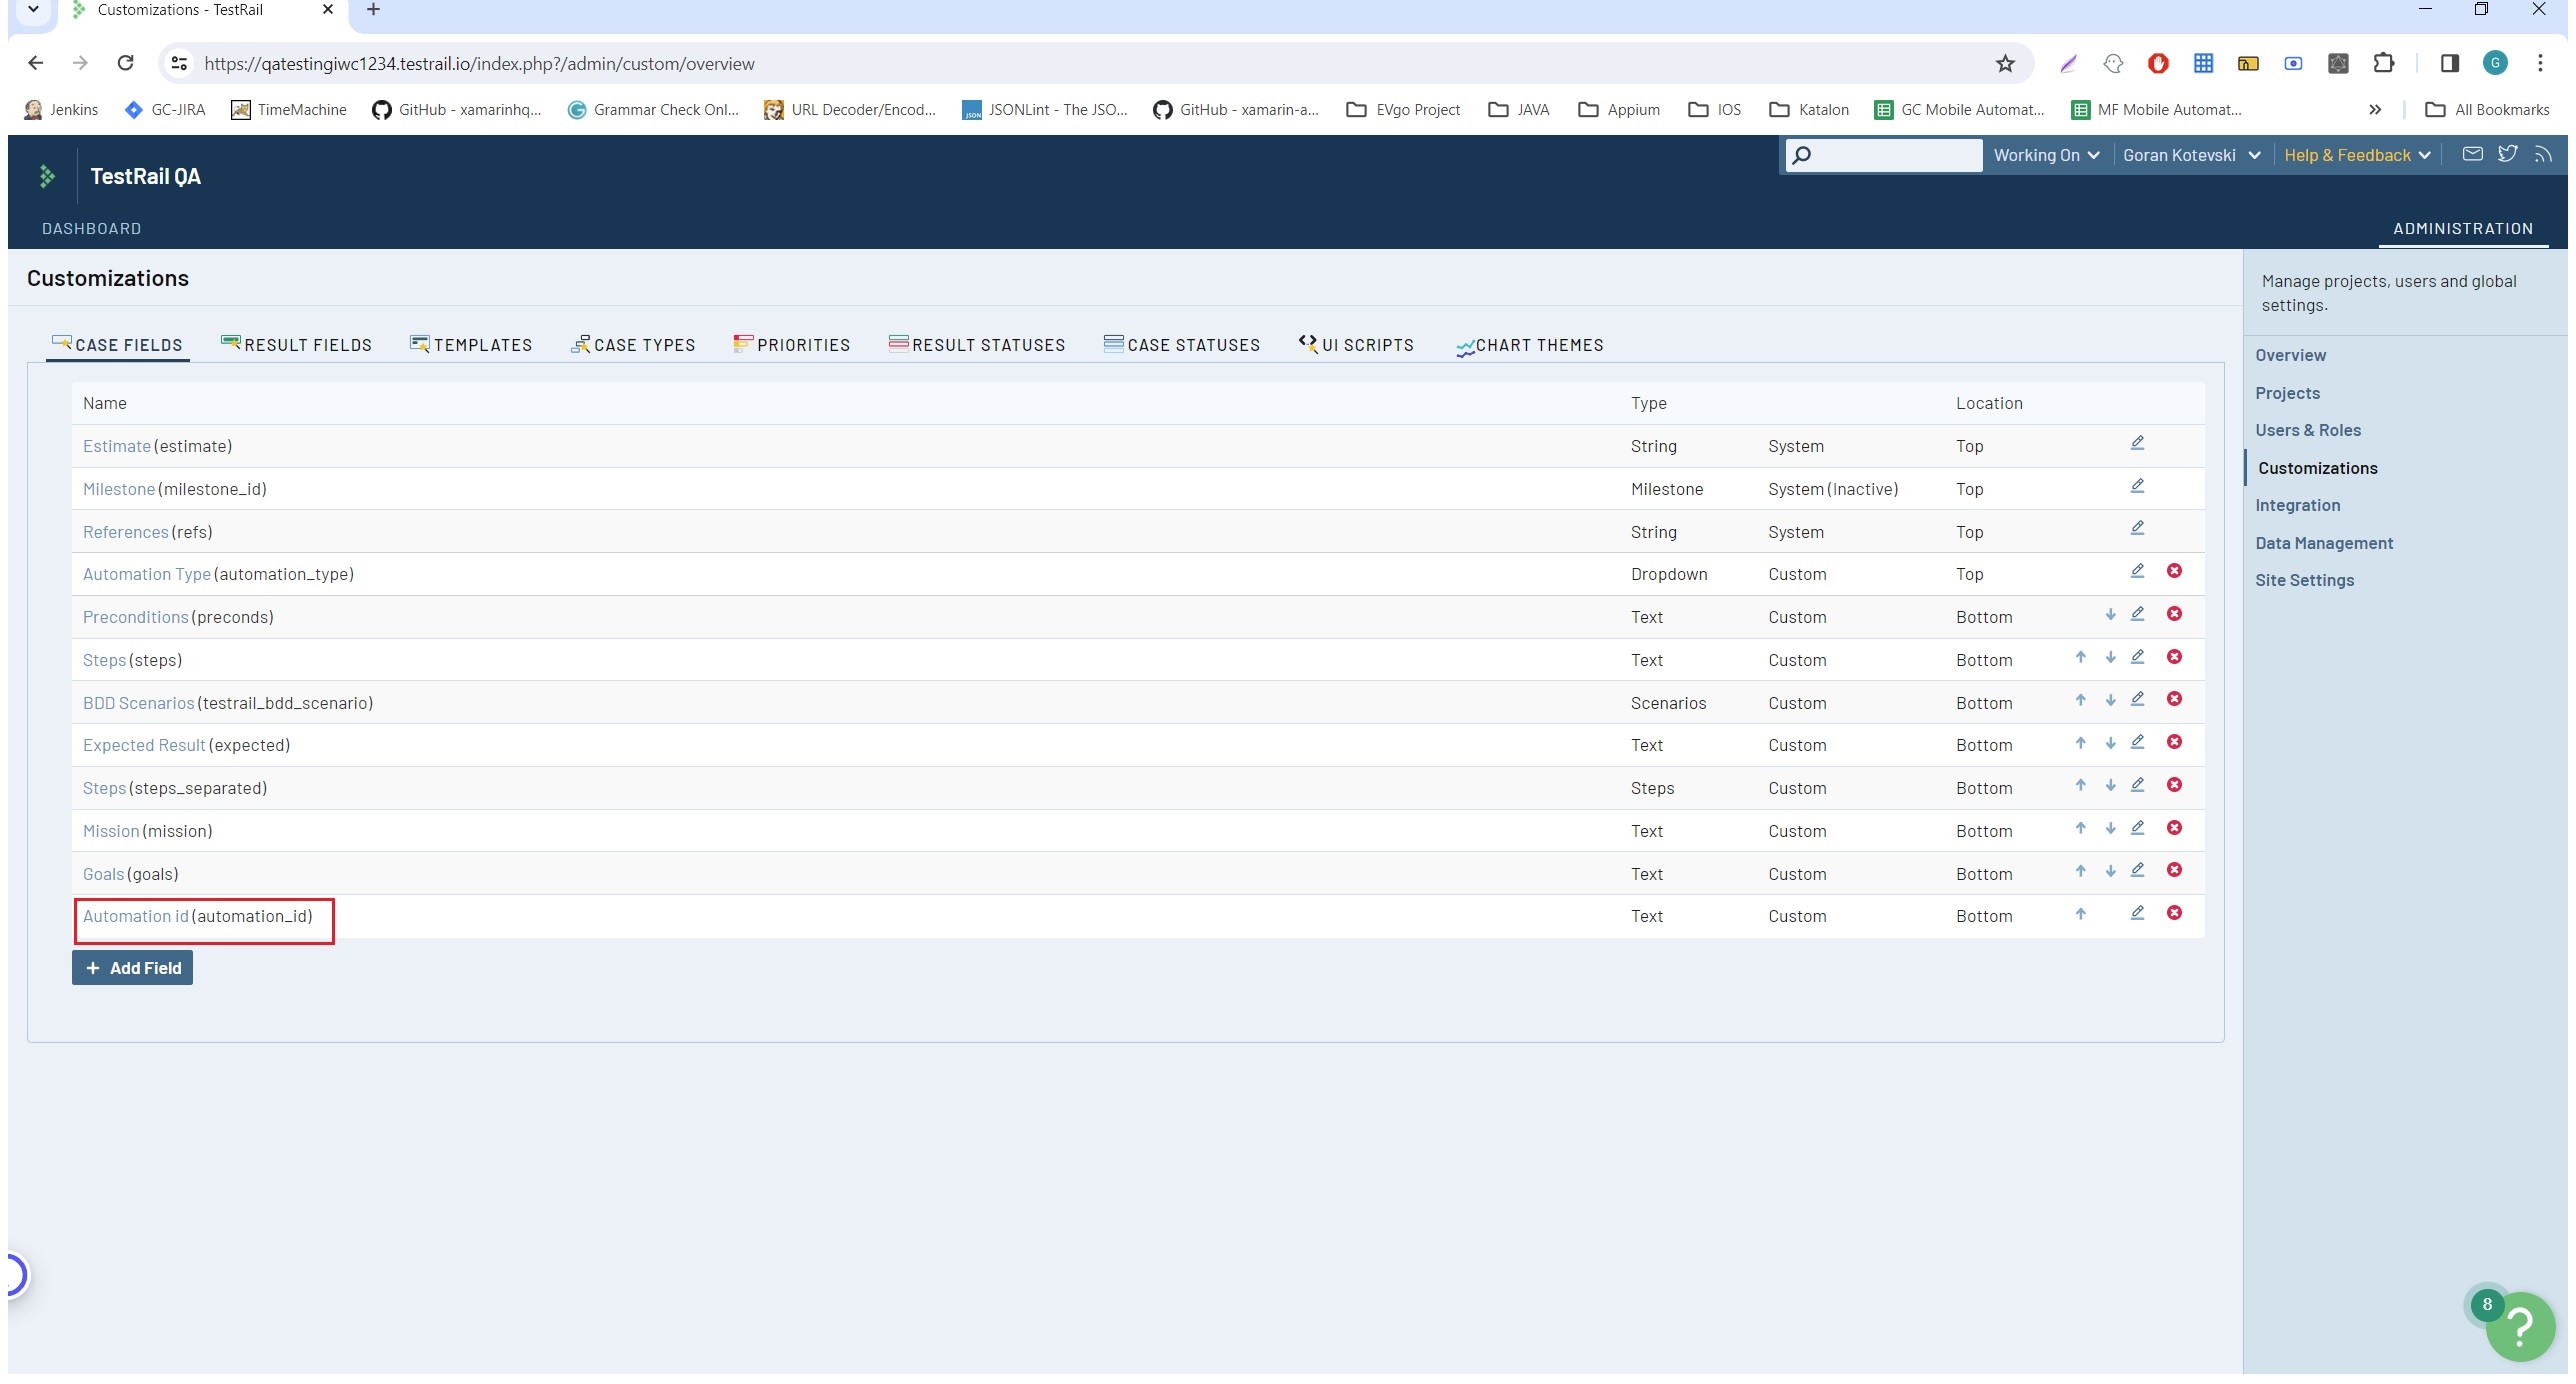
Next, you should configure the automation_id field, to do that navigate to Administration-> Customizations-> Case Fields. Click on the Add Field button and populate the Label field (name of the new field), in the System Name provide “automation_id”, From the Type dropdown select the text option, click on the Add Projects & Options and click on Selected Projects option and click OK button.
After all this is done it is time to install TestRail CLI with running the following command in VS Code terminal: pip install trcli
After TRCLI is successfully installed run your tests and after that please execute the following command in the VS Code Terminal:
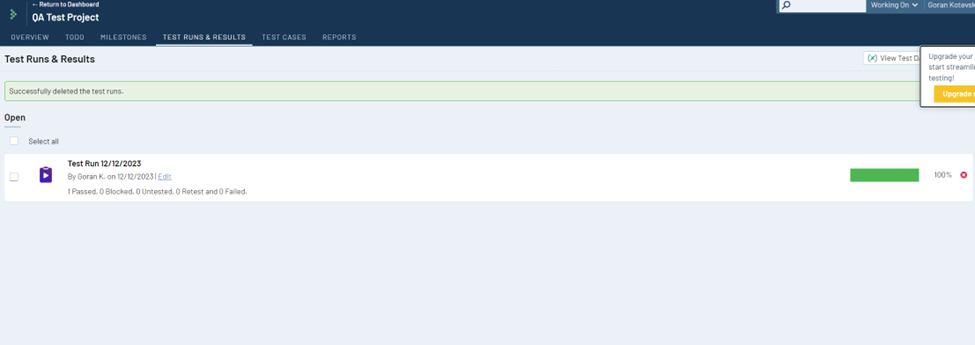
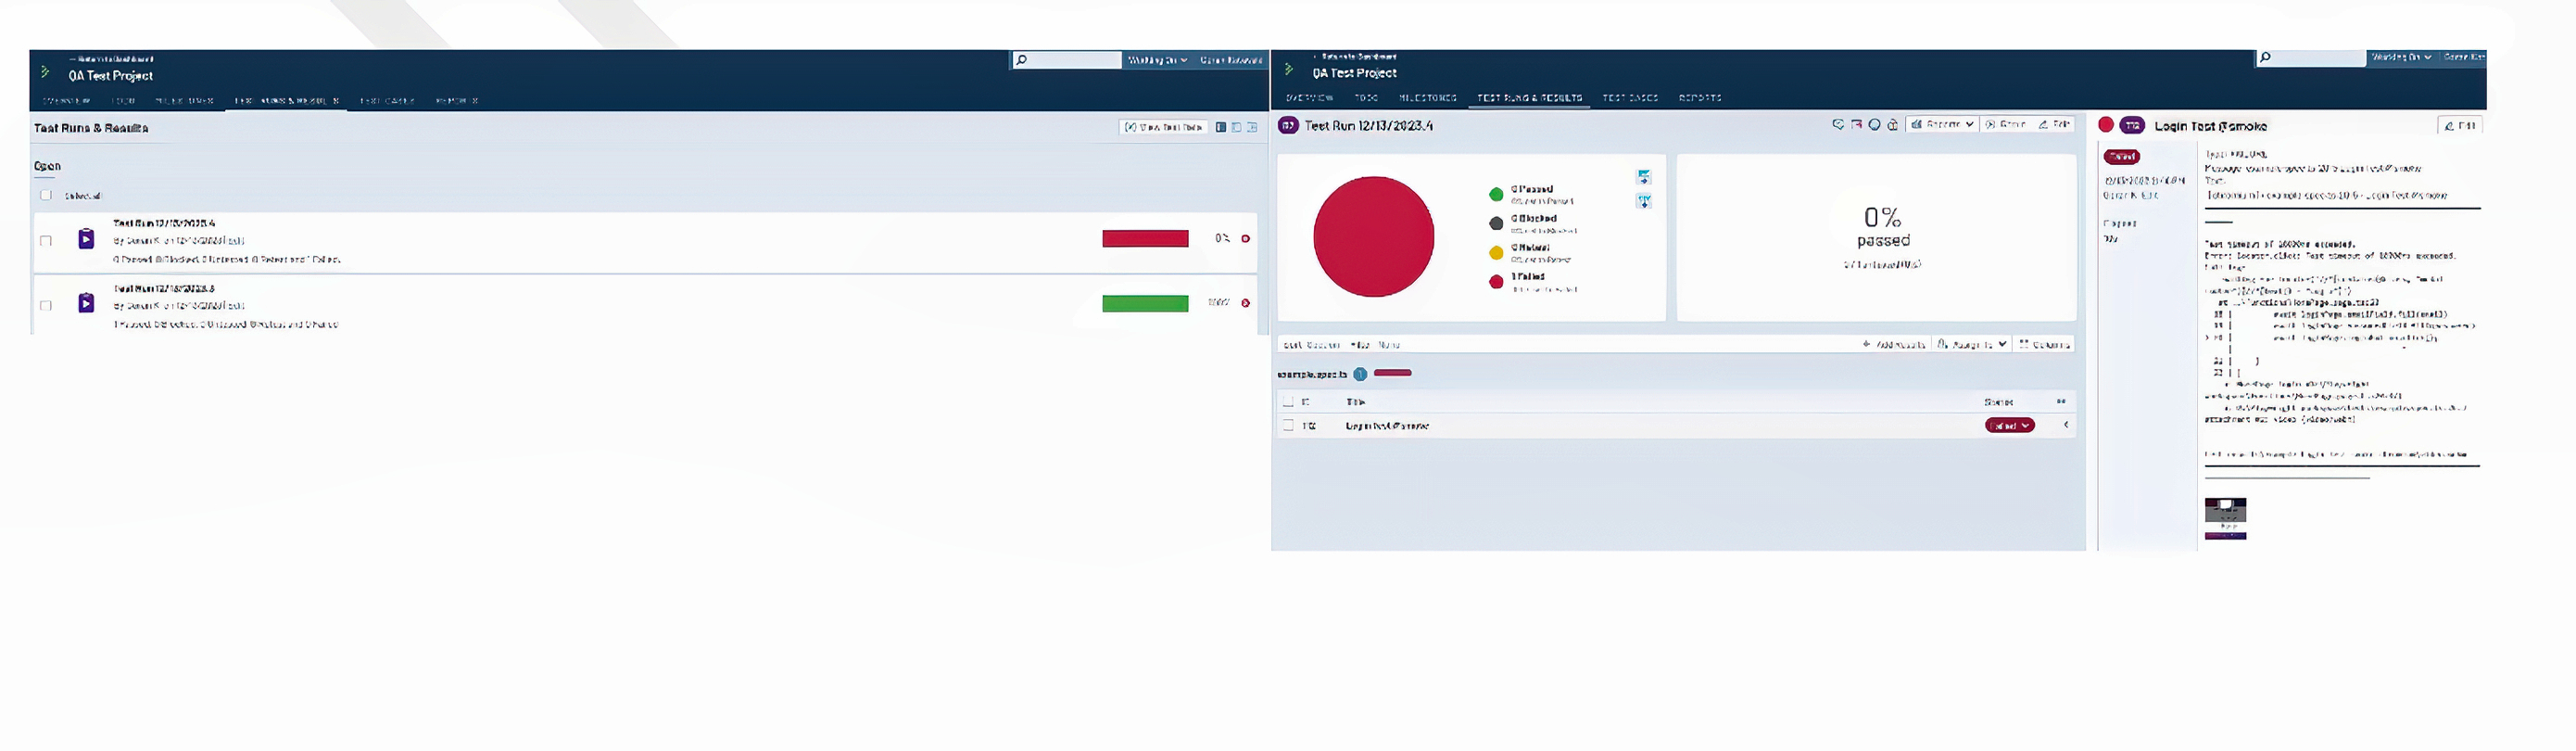
trcli -y -h "https://qatestingiwc1234.testrail.io/" -u "<host_name>"-p "<password>" --project "<project_name>" parse_junit -f "test-results.xml" --title "<Title of the test run>"If everything is successful, we should see the following Test run created under Test Runs & Results tab: