Users like simplicity when it comes to registration on some websites, but still they hate remembering different usernames and passwords for each service they are using. They also like to feel secure and do not want to share their full social media data with the websites they like to use. Here the OAuth 2.0 protocol comes in handy. OAuth is an open standard for authorization and works in a way that web apps do not have access to the user’s credentials, but the user can be still validated and authenticated on that web application with a couple of redirects and authorization codes exchanged with providers like Facebook, Google, Azure, Twitter.
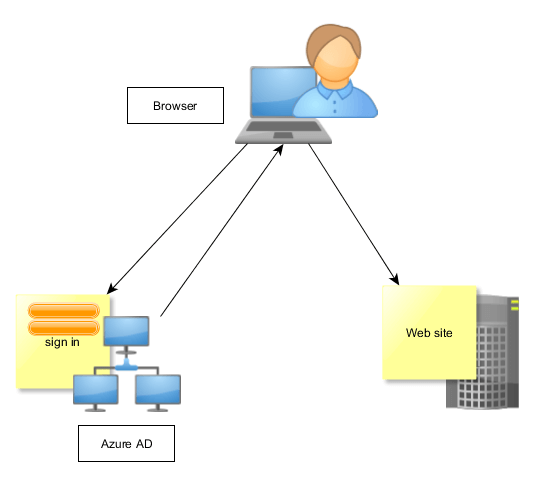
With Microsoft Visual Studio it is very straightforward to create an application that will use Azure AD Authentication. However, we can go one step further, and create a multi-tenant application. That means that not only users from our company (i.e. users belonging to one Active Directory) will be able to access the web application, but any user who is on a Microsoft domain or has a Microsoft account (Live, Outlook, Hotmail) can access it. Further on, the web application can recognize the users that belong to the company that owns the application and can easily serve different content.
First we need to create an Active directory for the application. For testing purposes, we can create two active directories, one to be the owner and the other to be the user of the application.
- Sign in to the Classic Azure Management Portal
- Navigate to the Active Directory, and then click New
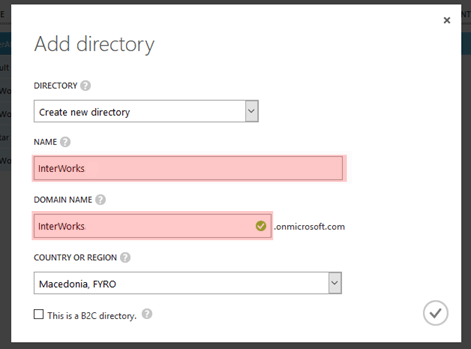
- Select Custom Create, and enter the information for the AD
4. Once the process is finished, navigate into that AD and then select the Users tab
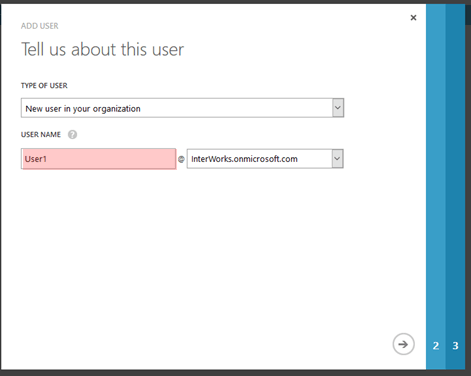
5. Create a user
6. Repeat steps 2-5 in order to create a new AD and one user in the second company
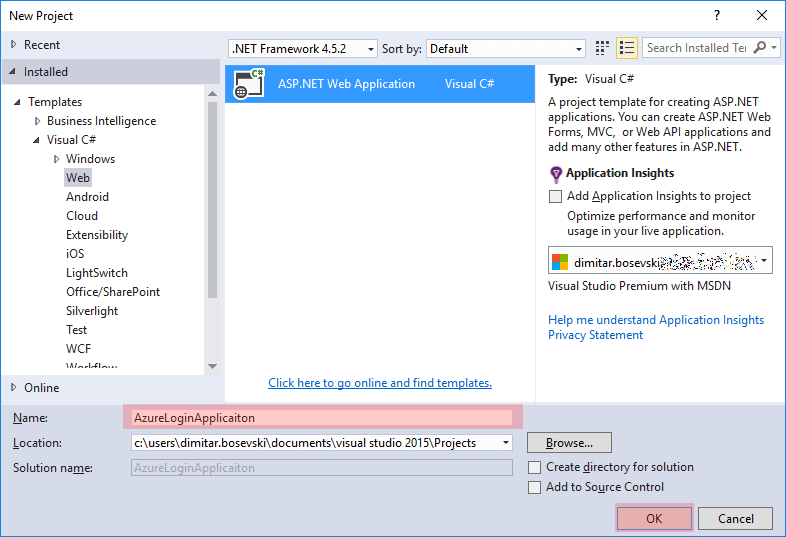
Once the domains are ready, you can proceed with creating a new ASP.NET Web Application.
Choose MVC template, and click Change Authentication
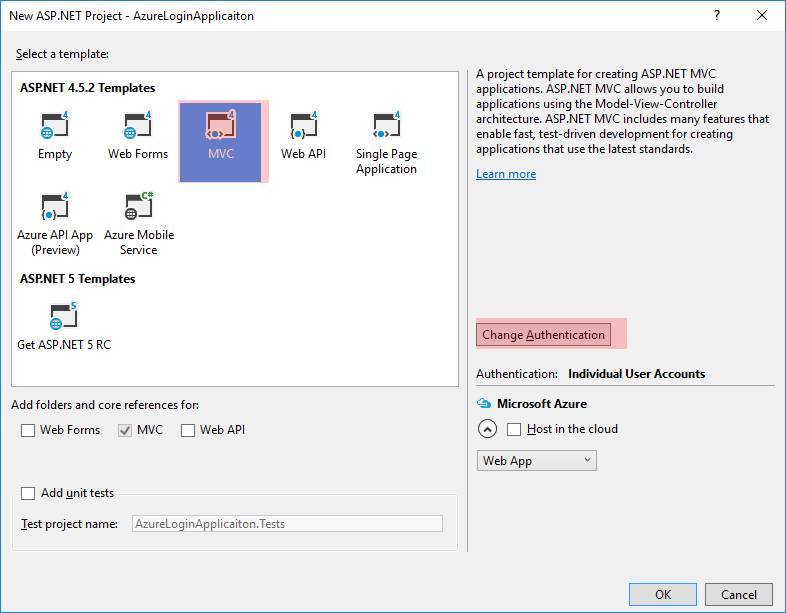
On the “Change authentication” screen there are several options. If you choose Work and School Accounts, you will see a list of all your AD.
- Select Cloud – Multiple Organizations (for multi-tenant access)
- Select one of the domains you created earlier on your AD
- Click OK, and then again OK on the previous screen
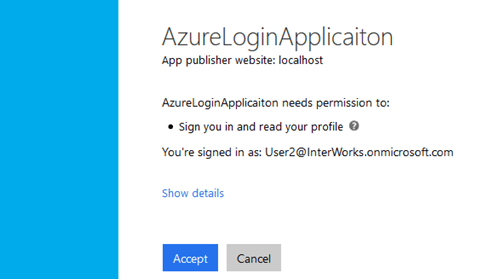
And that’s it. Visual Studio will automatically create a Multi-tenant application in your Azure AD, and will setup authentication and authorization hooks that will force the users to log into the Azure first before they can access the content in your application.
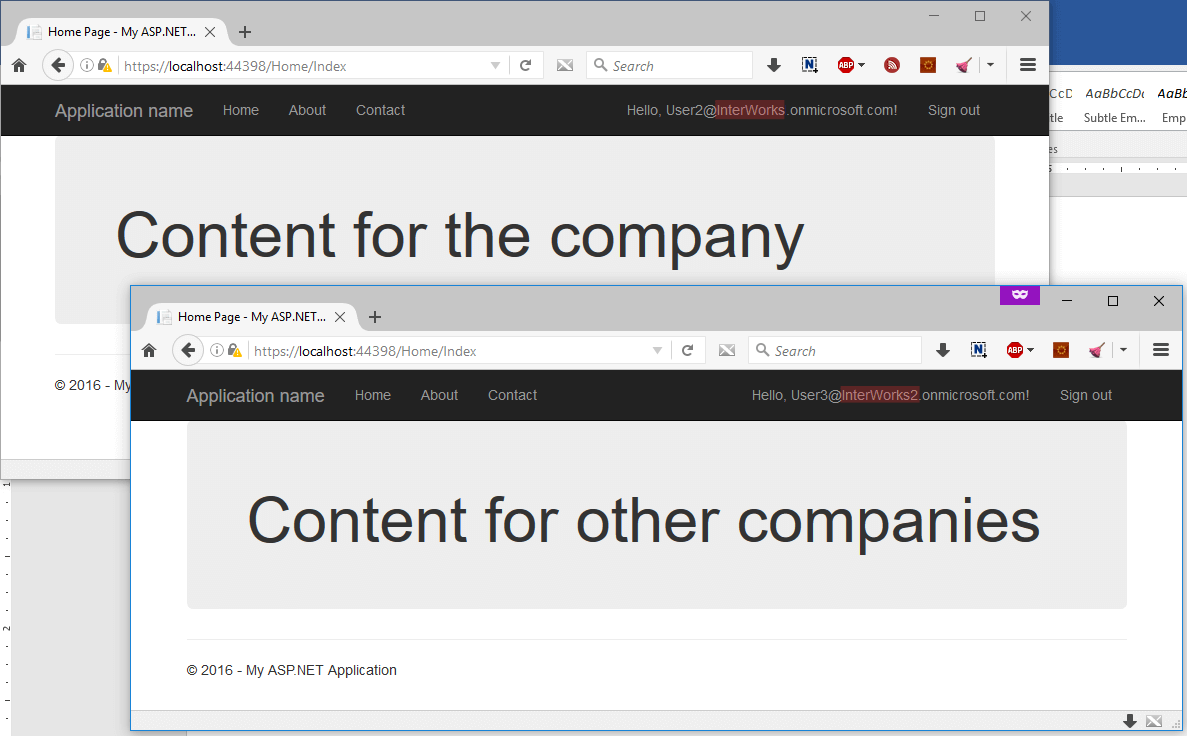
If we want to change the content of the application for different tenants, i.e. whether the user is within the organization or not, we can add property MainDomain in the app settings section in our Web.config
Then add changes in Index() in our HomeController
And update the Home/Index.cshtml so the message will be shown
After running the application and login with 2 different users we can see that the content is different based on the user’s domain.