Introduction
While configuring Jenkins for running web automated tests on both Windows and Linux installations is quite simple, configuring Jenkins for automated execution of Windows Forms automated tests requires additional configurations as well as “helper” jobs that will keep the login session live, so tests can be scheduled and executed without any human intervention.
On Windows OS, the installation of Jenkins is almost as standard as Windows Service, so it starts automatically without requiring a user to log in. However, when Jenkins is running as a Windows service, GUI tests (either web or Windows Forms) can’t be run on the Jenkins master and it will require configuration of Jenkins slave on which GUI tests will be executed.
Another problem with automatically running Windows Forms tests on Jenkins is that those will require an established active desktop session. However, in most situations, a user session, after some time of inactivity, is disconnected from the machine where tests are run. This led to a problem of scheduling “nightly runs” of Windows Forms tests on Jenkins and their triggering without any user login before running the tests. In order to solve this problem, a user session is kept alive by executing a simple mouse movement test periodically.
In summary, in order to run Windows Forms test, efficiently using Jenkins:
- Tests need to be run on Jenkins slave
- There is a need for periodic tests that will keep desktop sessions alive
Below are described the configuration steps in detail, that will enable running Windows Forms automated tests on Jenkins.
Configuring Jenkins Slave
Create Jenkins Slave
In order to create a Jenkins Slave, from the Home page, click on the Manage Jenkins link. From the displayed Manage Page, click on the “Manage Nodes” link.
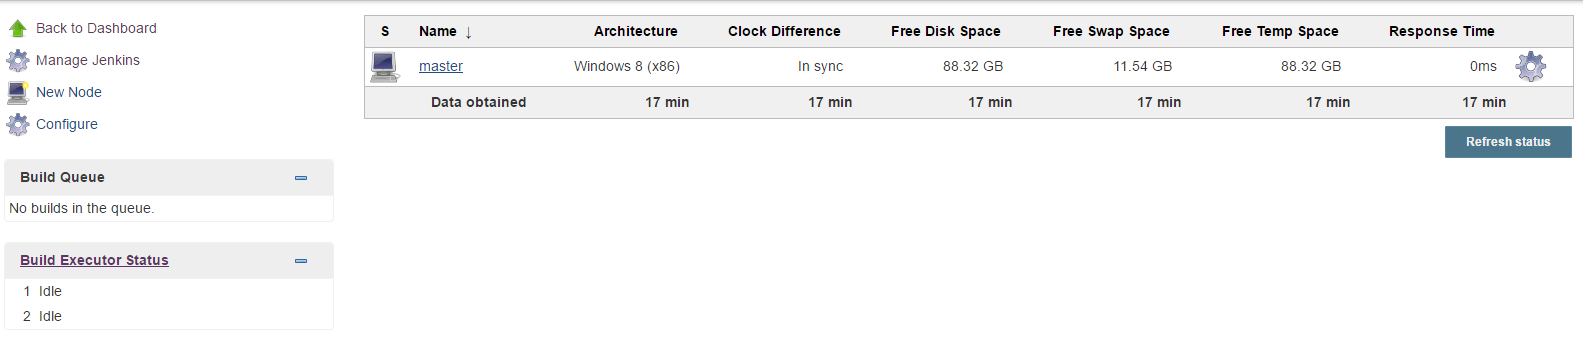
After clicking on the Manage Nodes link, you will be navigated to Jenkins nodes configuration:
In order to create a new slave node, click on the New Node link:
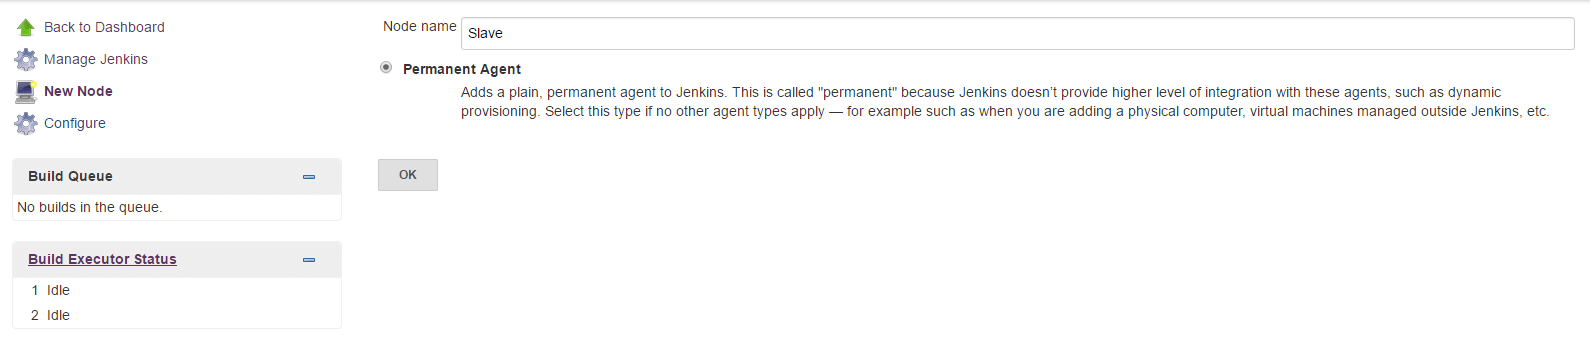
On the displayed form, enter the name of the slave node (in this case “Slave”), select the “Permanent Agent” option, and click on the OK button which should take you to a slave configuration page:
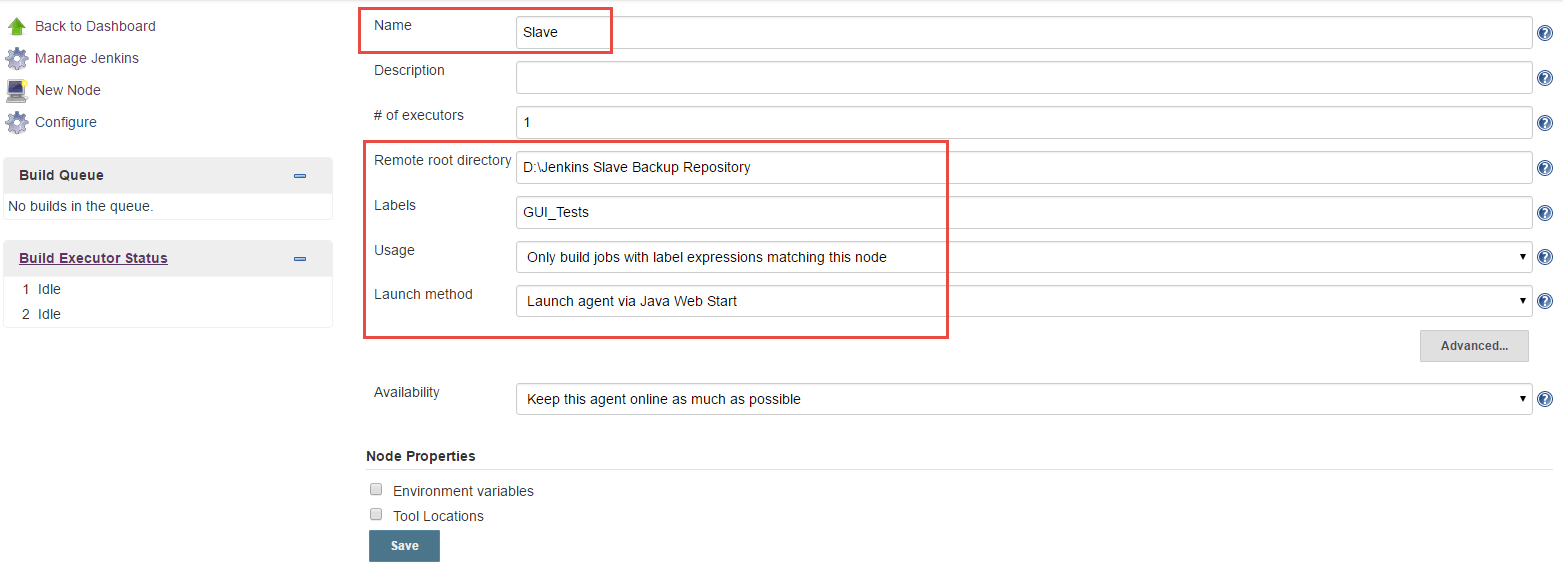
On the Slave configuration node, populate fields as in the picture above. After clicking the Save button, you are navigated back to the “Manage Node” page, where the newly created Slave node is listed:

By clicking on the Slave link, the Agent Slave page is displayed, indicating that there is no connection to the slave node, since it has not started.
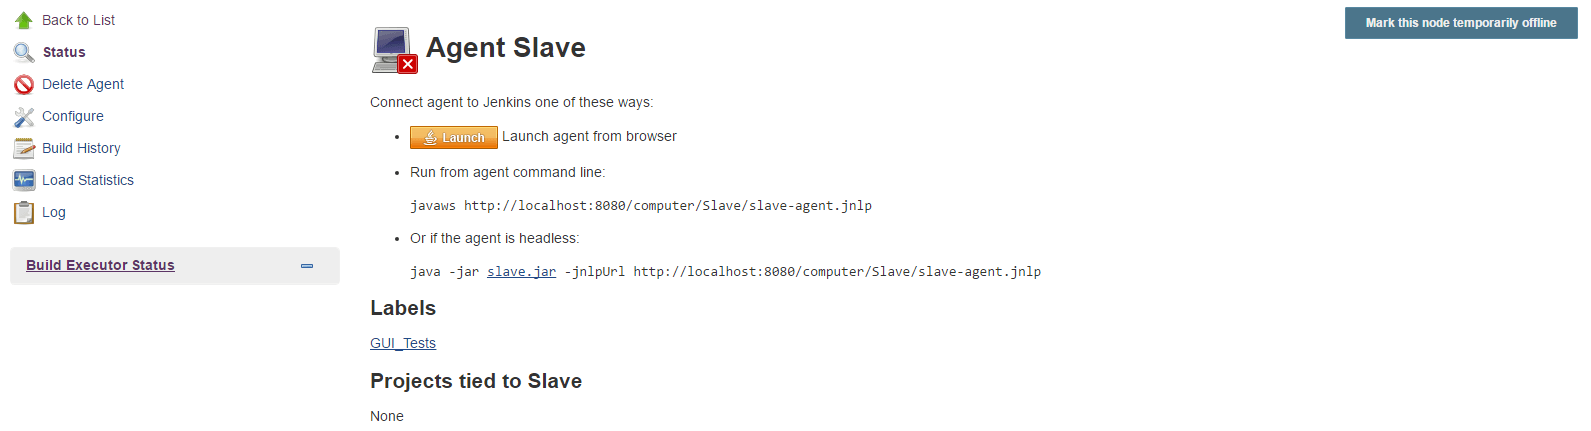
Start Jenkins Slave
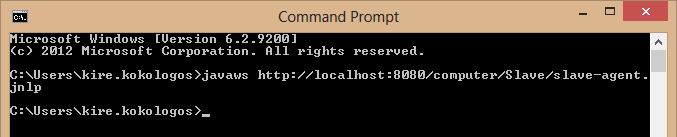
As it can be seen in the above image, there are two options to start a Jenkins slave, and for the purpose of this article we have used the first option by starting the slave through the .jnlp file, i.e. executing command javaws http://localhost:8080/computer/Slave/slave-agent.jnlp at the command prompt:
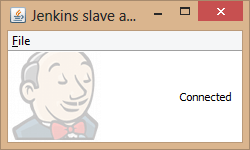
After executing the command, a pop-up will appear indicating that Jenkins slave is connected:
Navigate to Jenkins on the Agent page. The status should be changed to online as in the screenshot below.

Keeping session alive on Windows test machine
Taking into consideration that in most Windows configurations there is a setup on the OS level that disconnects the user session after some time of inactivity, a problem that arises is how to trigger and run automated Windows Forms tests when no user is logged into the machine and there is no established active desktop session.
One possible solution for this problem is to create a periodic Jenkins job that will execute simple actions like mouse movement or pressing some key, so it will keep the desktop session alive. This can be implemented in multiple ways, however, in this example, we are using AutoIt in combination with a VB script that performs mouse movement.
Configuration of AutoIt
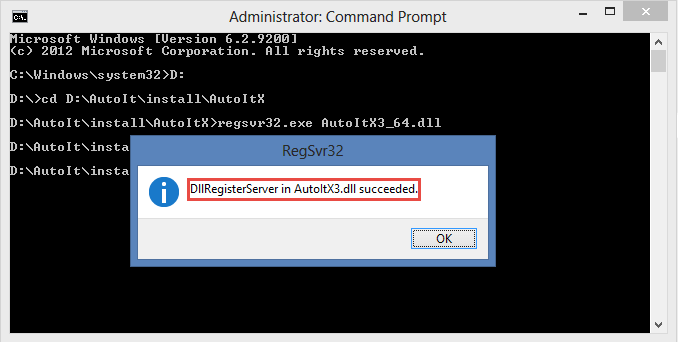
Download “AutoIt” from: https://www.AutoItscript.com/site/AutoIt/downloads/ as .zip installation files. Extract files in a particular location, on the machine where tests will be executed and then register AutoIt (Note: Start command prompt with Administrative privileges):
- If you are using “Java 32bit”, run following in the command: regsvr32.exe AutoItX3.dll
- If you are using “Java 64bit”, run following in the command: regsvr32.exe AutoItX3_x64.dll
Create a Visual Basic script that will perform mouse movements
To keep the session alive create Visual Basic Script that will perform mouse movements. Below is the sample code.

Save the above code in a file with .vbs extension, for example: “MouseMove.vbs”.
Create a Jenkins Job that will execute periodically and keep alive Visual Basic script
The Jenkins job that will execute the “keep alive” VB script for mouse movement should be configured on the configured Slave machine, where “main” Windows Forms tests will be executed.
Go to Jenkins and click on “New Item”, select “Freestyle project”, and enter a name for the project ex. “Keep alive Jenkins VM” as it is displayed in the image below. (Note: In this example, Windows Forms tests are executed on the same machine where Jenkins is running).
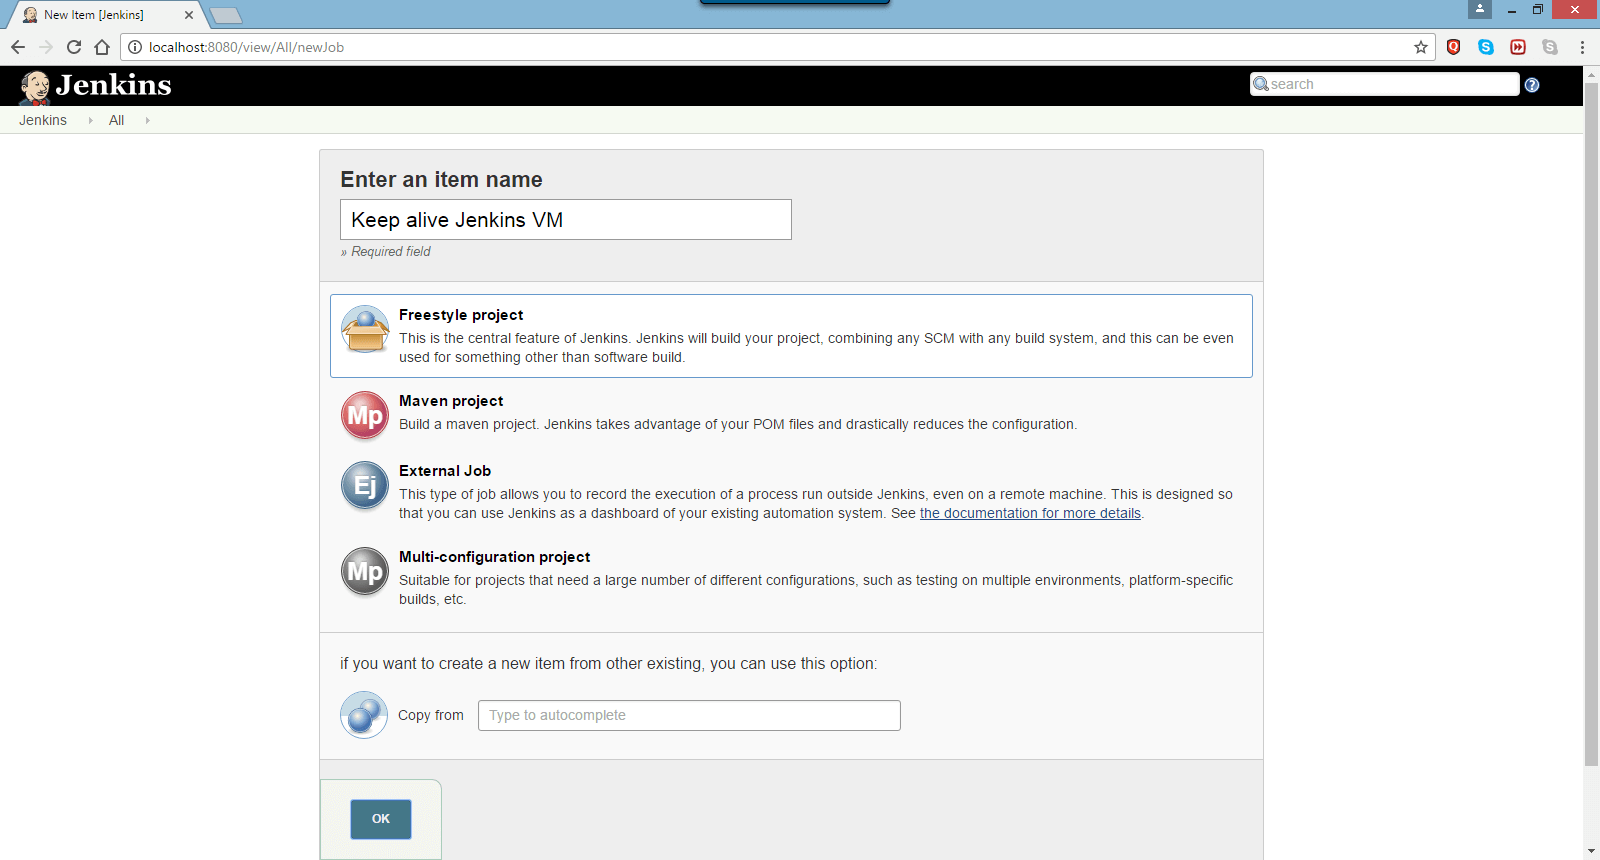
Click on the “OK” button. The job configuration page should be displayed.
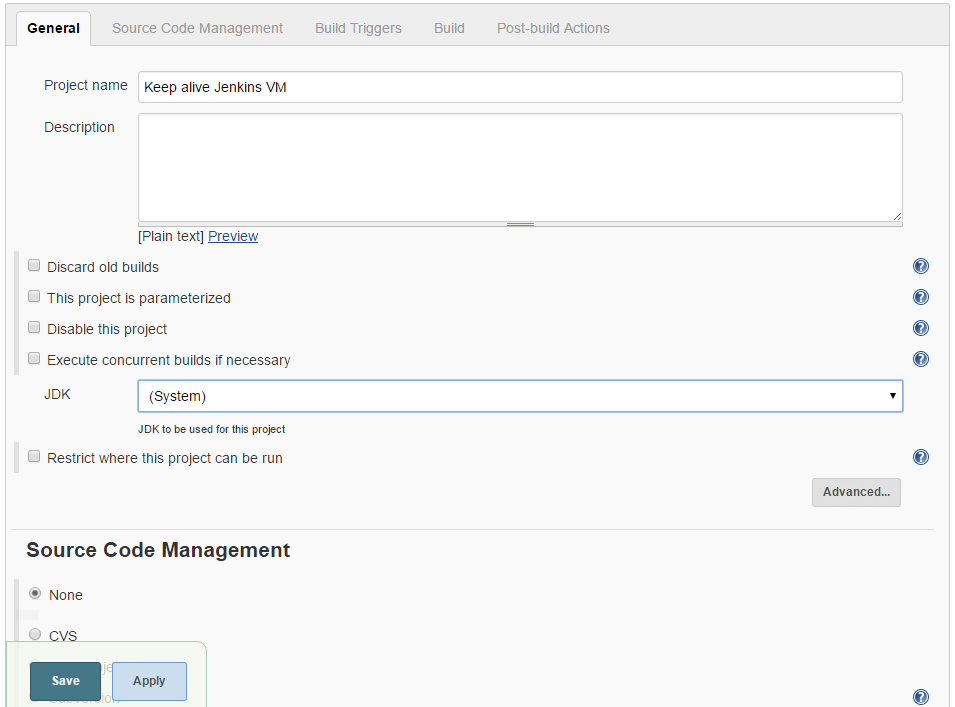
In the “General” section select the checkbox “Restrict where this project can be run” and in the “Label Expression” text box enter “GUI_Tests” i.e. the label name of Slave.

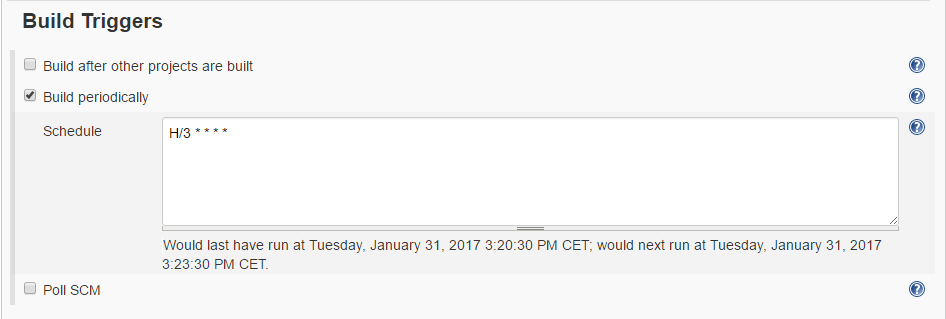
In the “Build Triggers” section select the “Build periodically” checkbox, in the text box enter value H/3 * * * *. The build will be scheduled to run every 3 minutes.
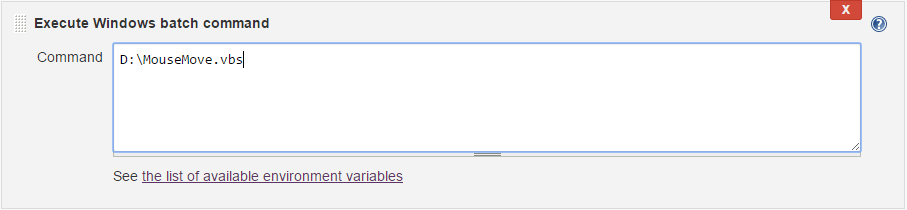
In the “Build” section click on the dropdown button and select “Execute Windows batch command”.
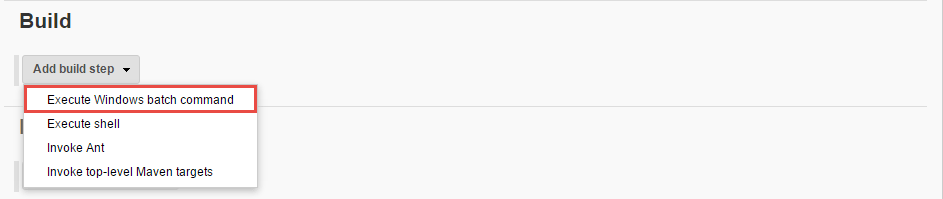
In the text field enter the path to the Visual Basic script, saved on location D:\MouseMove.vbs in this example.
Click on the “Save” button and the job will be configured.
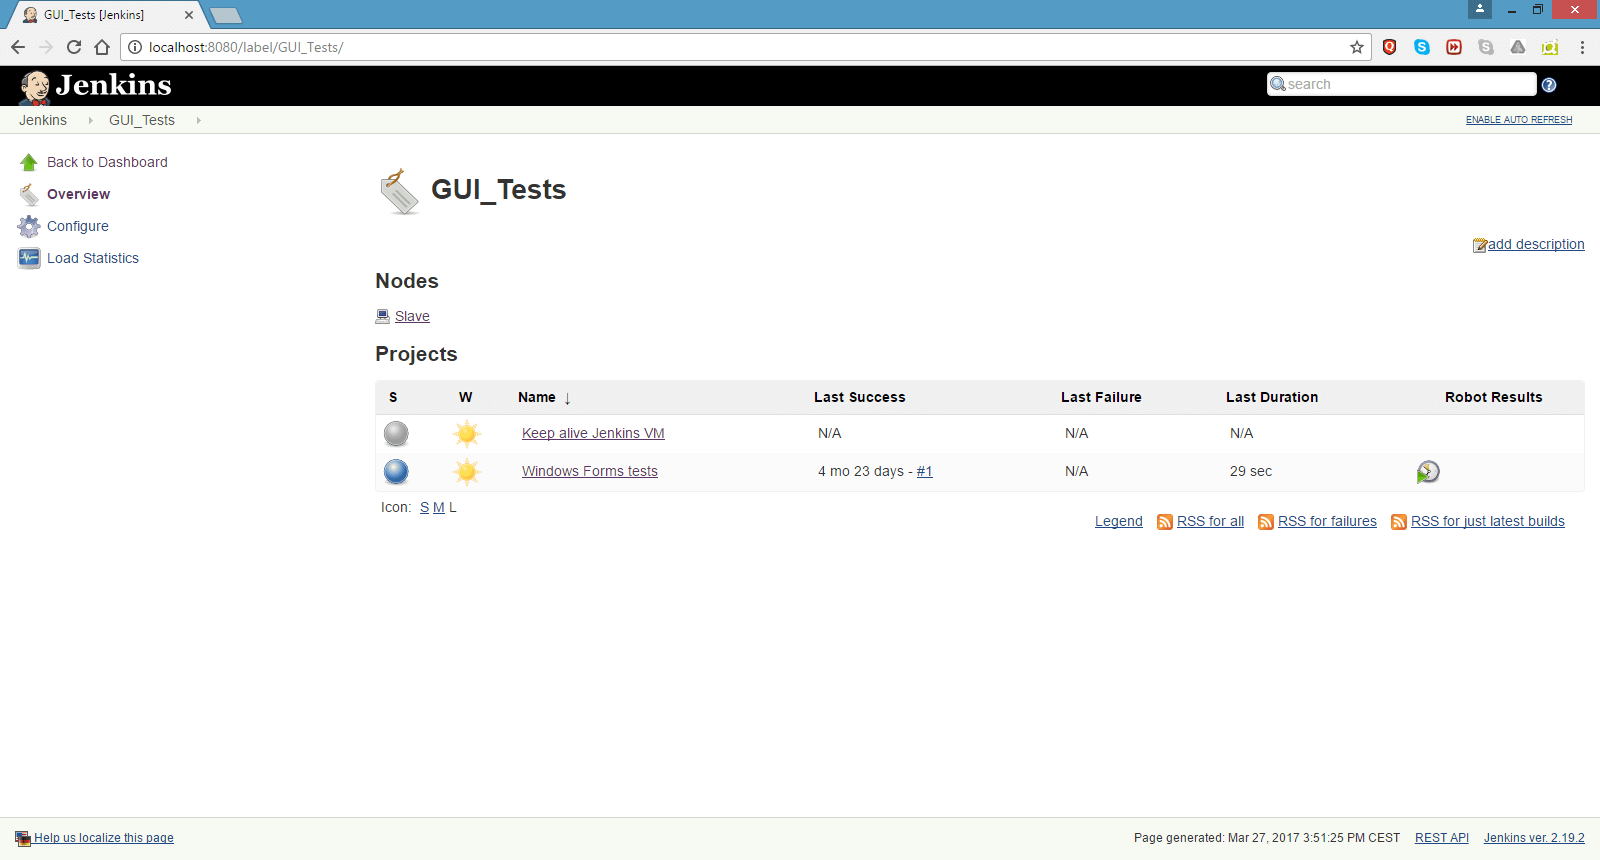
Finally, the jobs configuration on the Jenkins Slave, labeled as “GUI_Tests” that will execute the “keep alive” job and main job for running the Windows Forms test should look like this: