
Deployment is one of the most important parts of the development lifecycle, especially for DevOps engineers. Having an automated process for deployment will bring your team more value and will also add value in front of the client.
Automated deployment in practice means that you are allowed to deliver code fully or if necessary semi- automated across environments.
Crucial benefits when it comes to automatic deployment are:
- Deployment can be done by anyone
- Reduces possible errors
- Increases productivity
- Saves time by being faster and more efficient
In this blog post, we will show you a complete Microsoft solution on creating a simple Pipeline for deploying Power Platform solutions from one environment to another with the help of Azure DevOps.
So, let’s dive in.
We have already created Dynamics 365 solutions and our goal is to transfer the solution from source to target fully automated.
But, first thing first. You need to have a Power Platform Dynamics 365 solution, then have an account on the Azure DevOps platform.
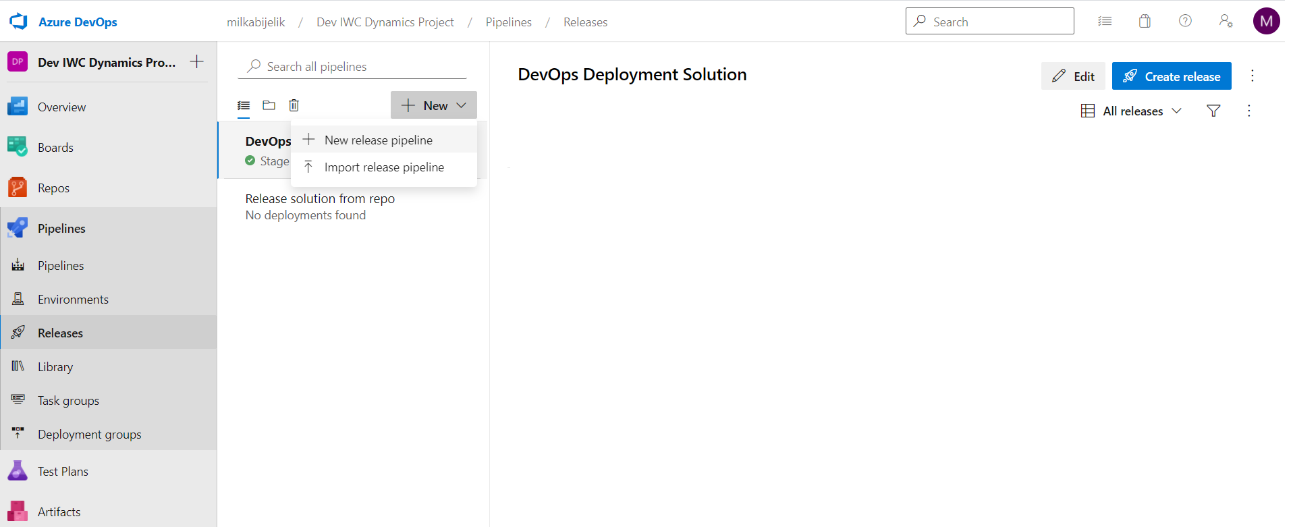
So, after creating a solution you should navigate to Azure DevOps and create a pipeline. Let’s give a short definition of what pipeline really is – Pipelines in Azure DevOps allow you to define a set of actions or tasks that are going to go together to achieve an outcome (typically a deployment to somewhere). In this case, we will use the Release pipeline because it is a little bit simpler.
Next, we will select Empty job, because we do not want to use any template.
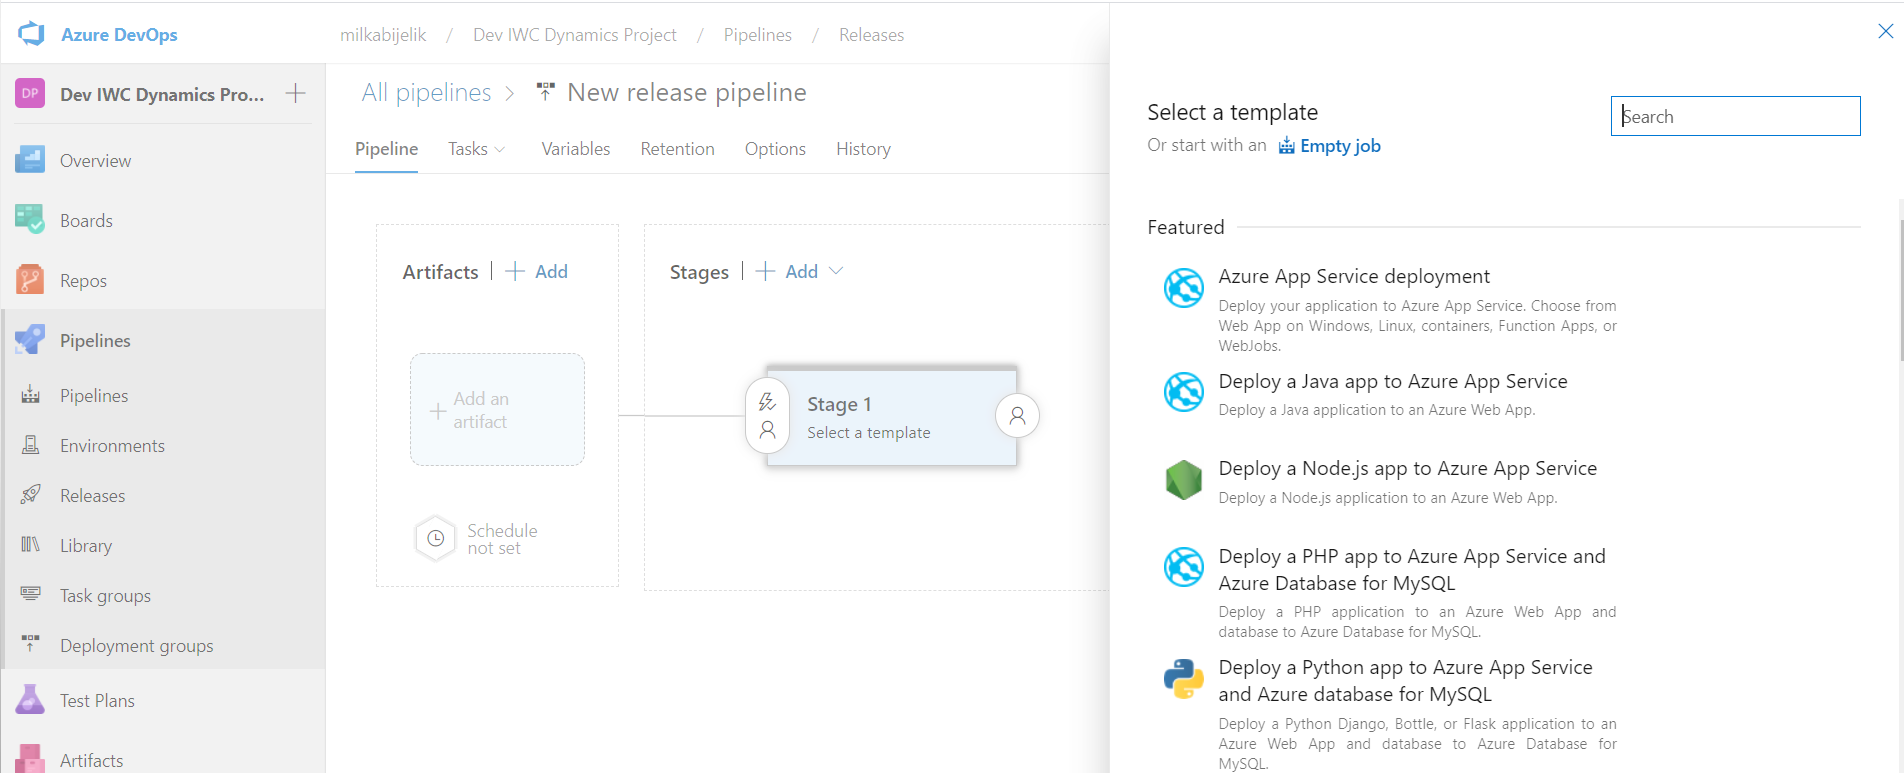
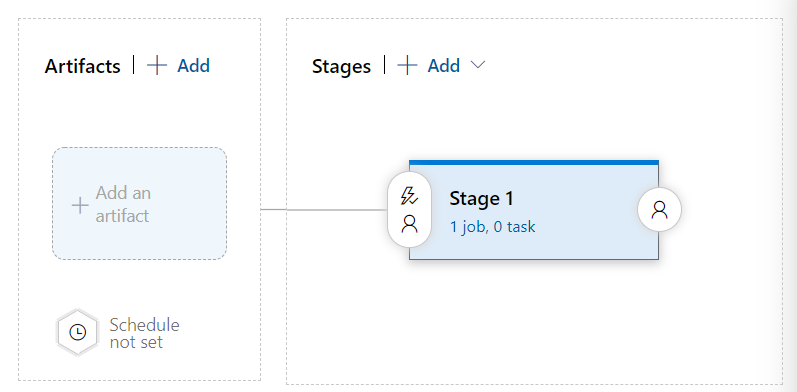
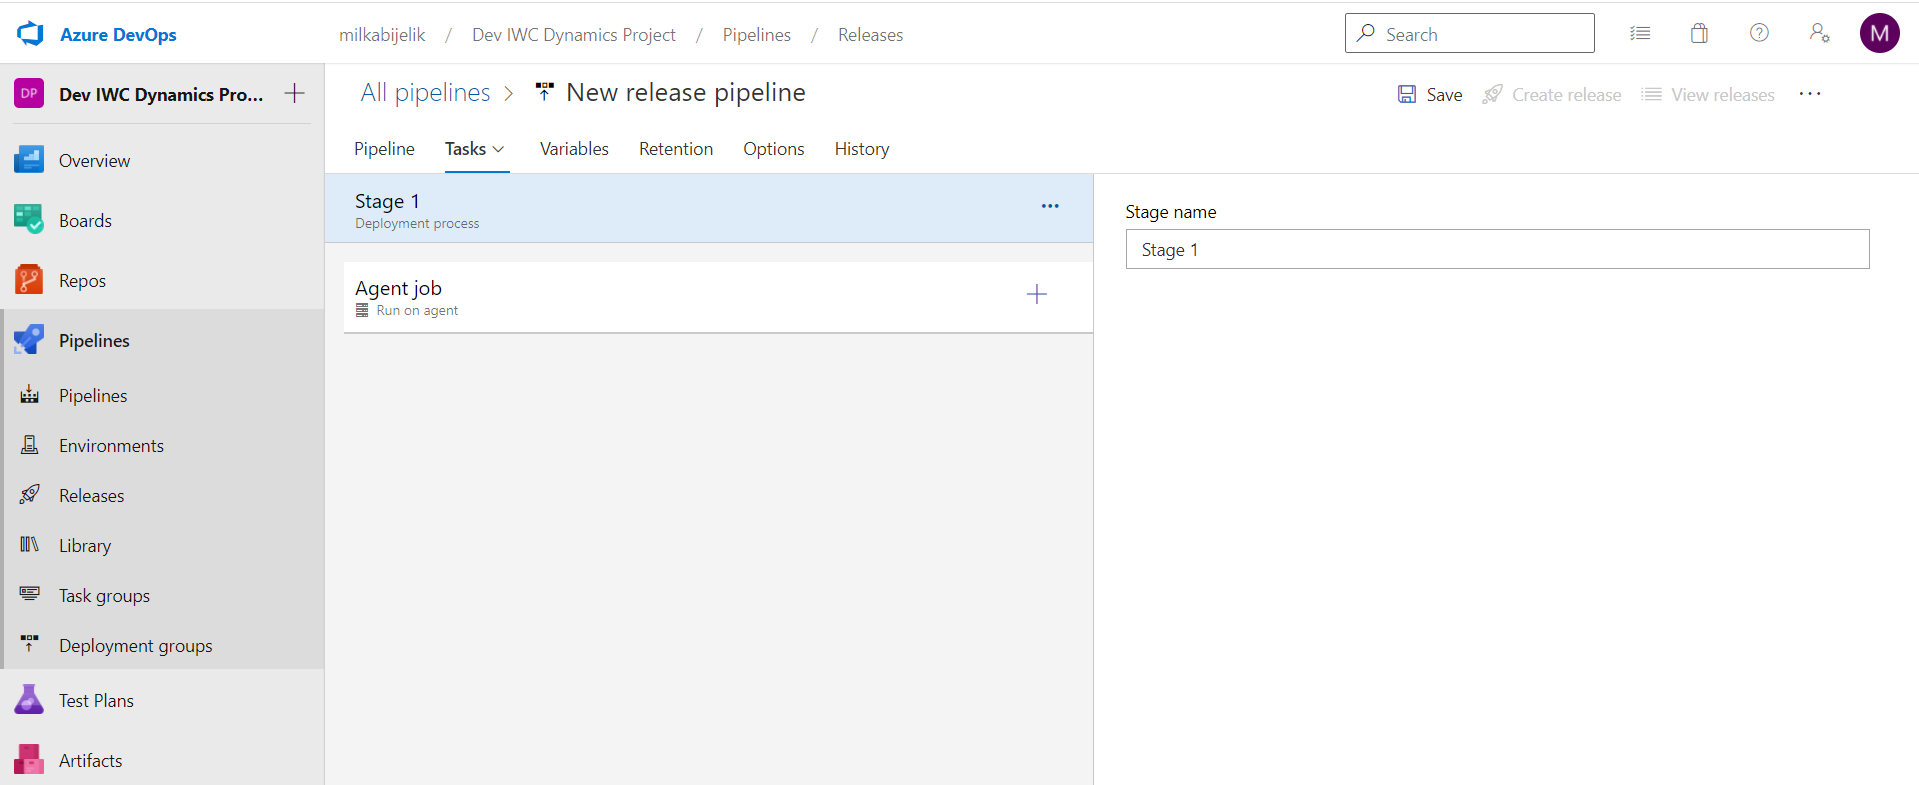
On the next screen, you will see an empty artifact and Stages. In the beginning, you can see only one job by default and no task. Our job is to define the tasks. You can add new tasks by clicking the ‘task’ word.
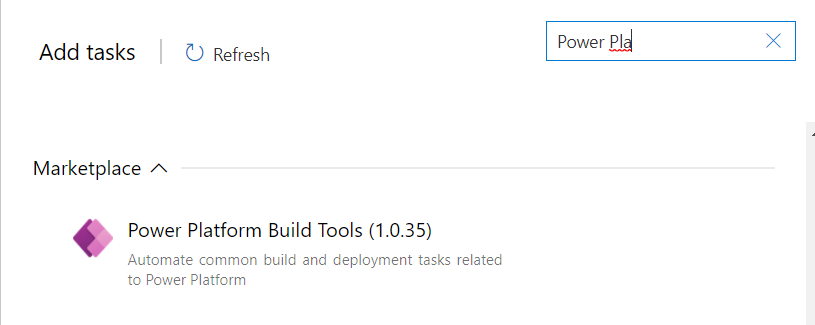
Under the Task tab, we will define the task that is going to be performed. Click the + button and you will be able to see a lot of out-of-the-box tasks, but because we need a Power Platform we will search that one from the marketplace.
As you can see some of them have red messages below and we need to configure that part.
1. Configuration Export solution Task first:

Environment URL: you can copy and paste your Environment URL (you can find this on Power Platform Admin Center), but because this is a Microsoft task we can use Service connections.
Navigate to Project settings > Service connections > New service connection > Generic

Then add $(SolName) in the Solution name field.
Solution Output File: same as above plus zip. $(SolName).zip
2. Import solution Task Configuration:
- Service connection: Select target environment
- Solution Input file: Same as previous task $(SolName).zip
3. Power Platform Publish customization requires the only configuration about the environment. We need to publish the target environment.
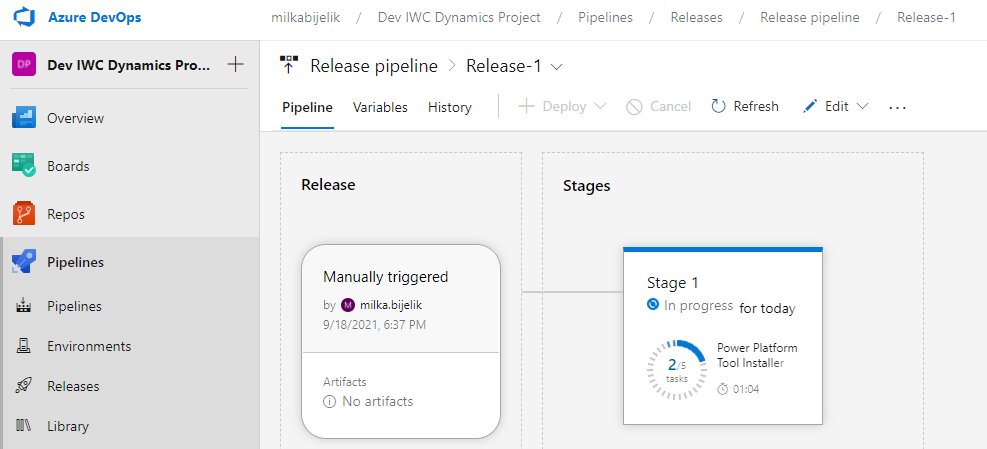
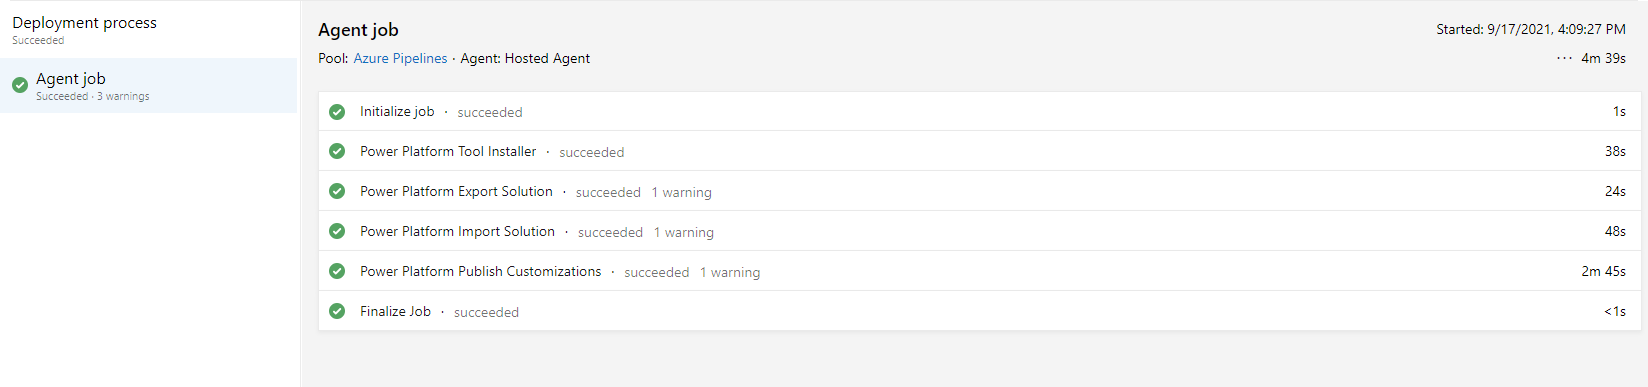
In the end, save the release pipeline, and create a new release. The release is created and we can track the progress from here. Select Logs if you want to see the insight.
After a successful release, you should see the new solution in the target environment.
As you can see, you need to create one simple pipeline to have automated deployment.
I hope this blog will be useful for you, thank you for making it till the end ?