
Clients’ feedback matters the most and companies invest a lot of time, energy, and resources to gather it. Receiving timely and detailed clients; feedback is important in improving customer service and increasing customer retention rate.
There are various ways to ask for feedback, and one of them is by sending a survey. It seems as if sending a survey is the most appropriate way to get useful information. Usually, the answers to the questions in the survey will provide a complete picture and a direction for making decisions and solving doubts.
Since face-to-face surveys are time-consuming, and clients can be a bit shy to give honest answers in real-time, the best practice is to use online surveys. In addition, when you send surveys regularly you can easily compare results, and get valuable insights as to what should be improved.
Salesforce is one of the various tools for creating and sending surveys. To use Salesforce surveys, you need to enable surveys. Salesforce made Surveys free in the Summer ’19 Release, for up to 300 survey responses. In order to create surveys, a user must have one of these profiles:
- Contract manager
- Marketing user
- Standard user
- System administrator
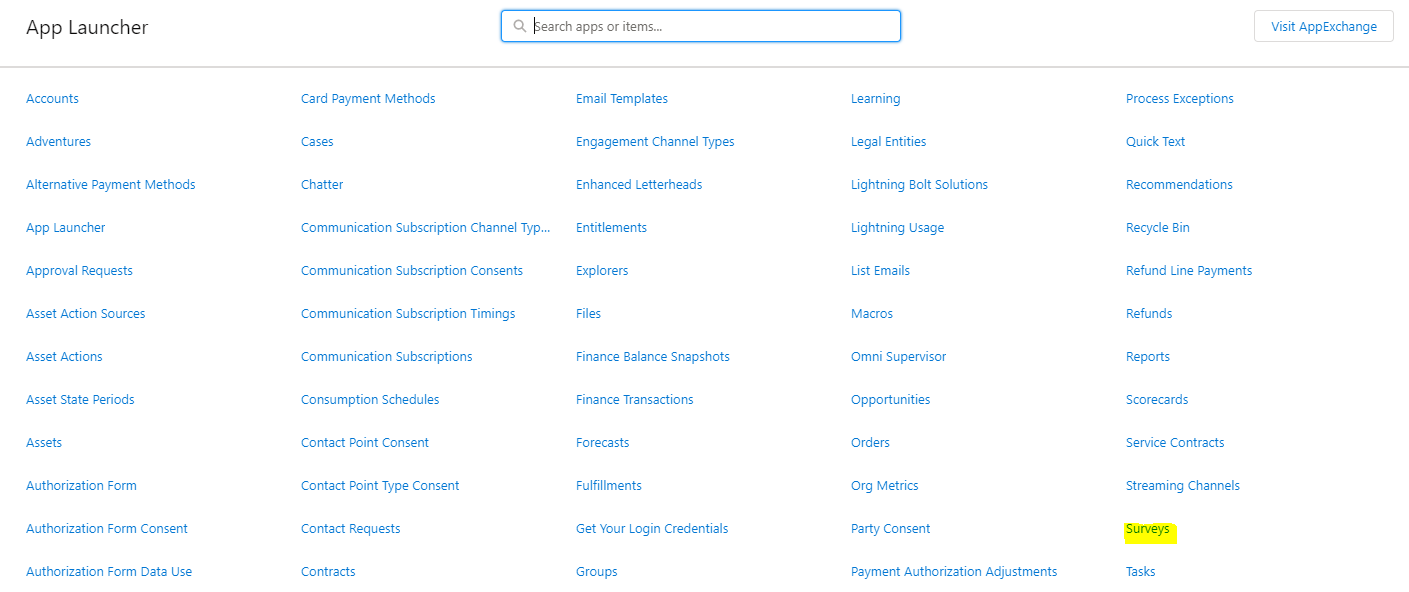
After you enable Salesforce surveys for your company, (from Setup, in the Quick Find box, enter Survey, then click Survey Settings – Enable Surveys) you can find ‘Surveys’ in the object list on the App Launcher.
Click ‘New’, and get it transported into the Survey Builder interface. Name your survey and start with the building. On the surveys page, you can define the branding of the survey as you want.
You are able to add:
- a picture
- a logo
- define a color (text, questions, answers, and buttons).
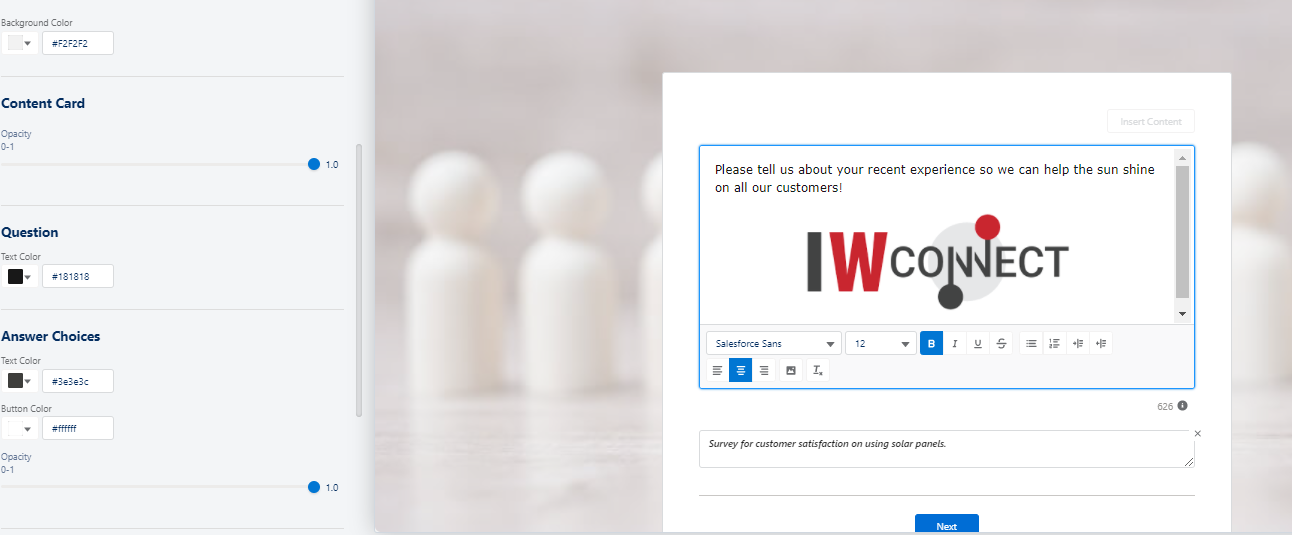
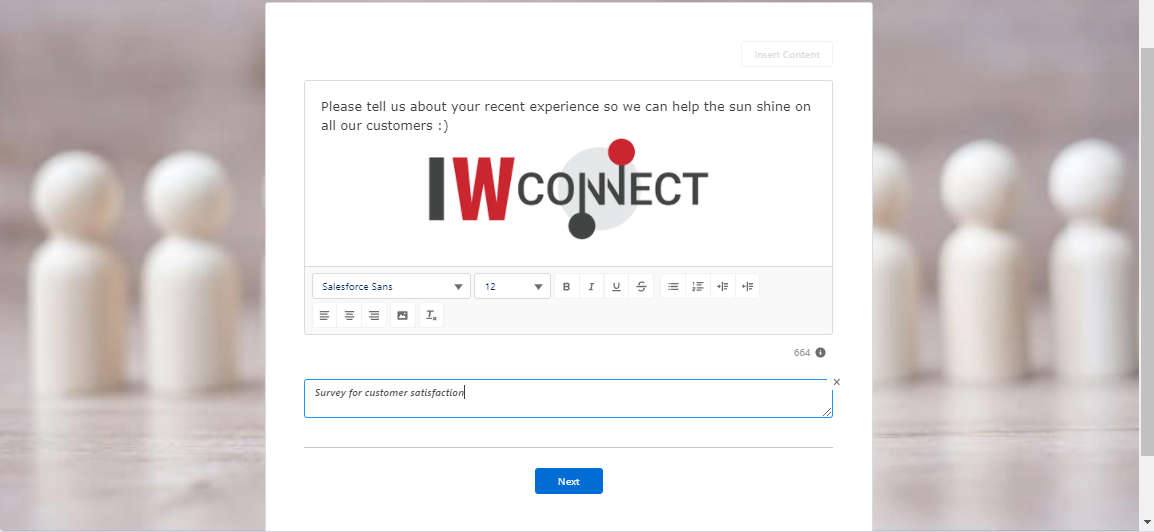
After you have defined the branding, you can create a welcome page for your customers. This page is the first page that will be displayed when a customer starts with the survey. So, it is best to put an introduction for the survey on the welcome page.
When a customer opens a survey, the survey starts with a welcome page. The welcome page is followed by the questions posed on the new pages.
After you define the branding and the welcome page, you should start with creating pages and defining the questions for the survey. You can create more pages (no limited number) and for every page, you can create a different question to get all the answers that you need. The survey questions will be shown depending on which page they are created on.

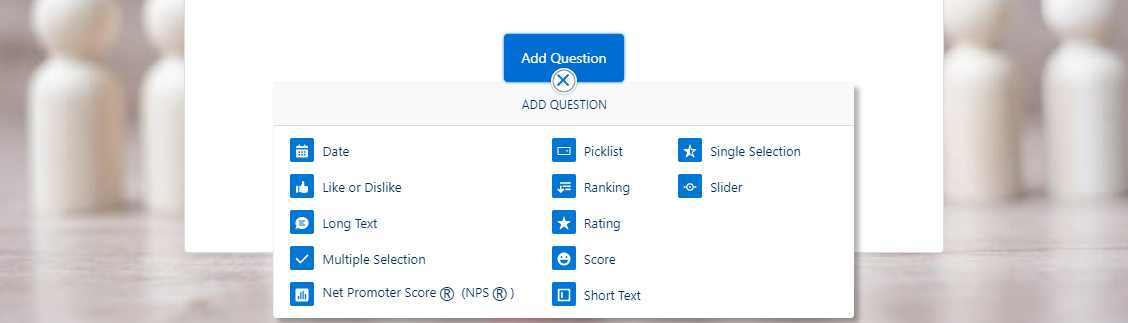
When you are adding a question, before you add one, you should select the type of question. There are various types, and you can choose among the following types:
- Date
- Like or Dislike
- Long Text
- Multiple Selection
- Net Promoter Score
- Picklist
- Ranking
- Rating
- Score
- Short Text
- Single-Selection
- Slider
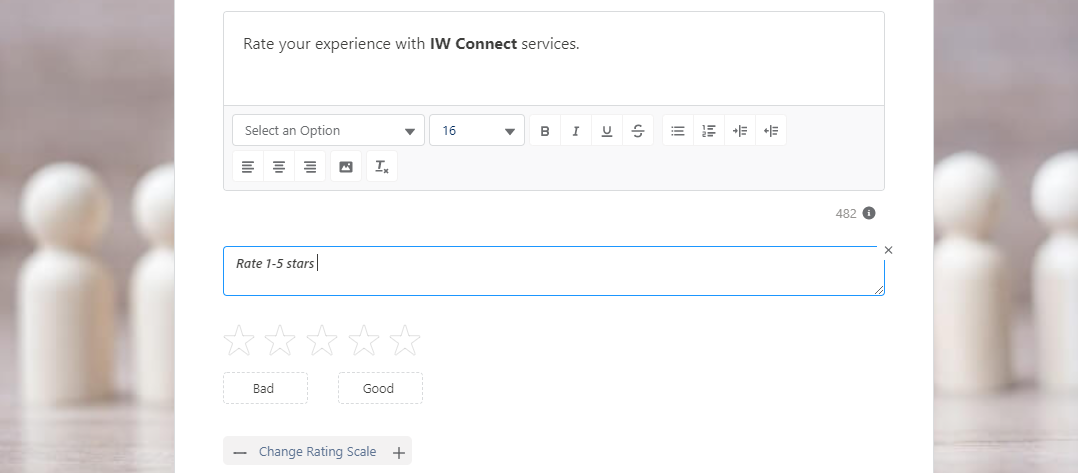
After selecting the type of question, you can start with creating your question. In our survey, we will choose the question type – Rating. The default rating is 1-5 stars, but depending on the needs you can always change with more or less stars. In our case, we will use 1-5 stars (bad-good).
If you have additional questions for the survey, it is always a good idea to add different questions on different pages. That means that the first question will be displayed on the first page, the second question on the next page, etc.
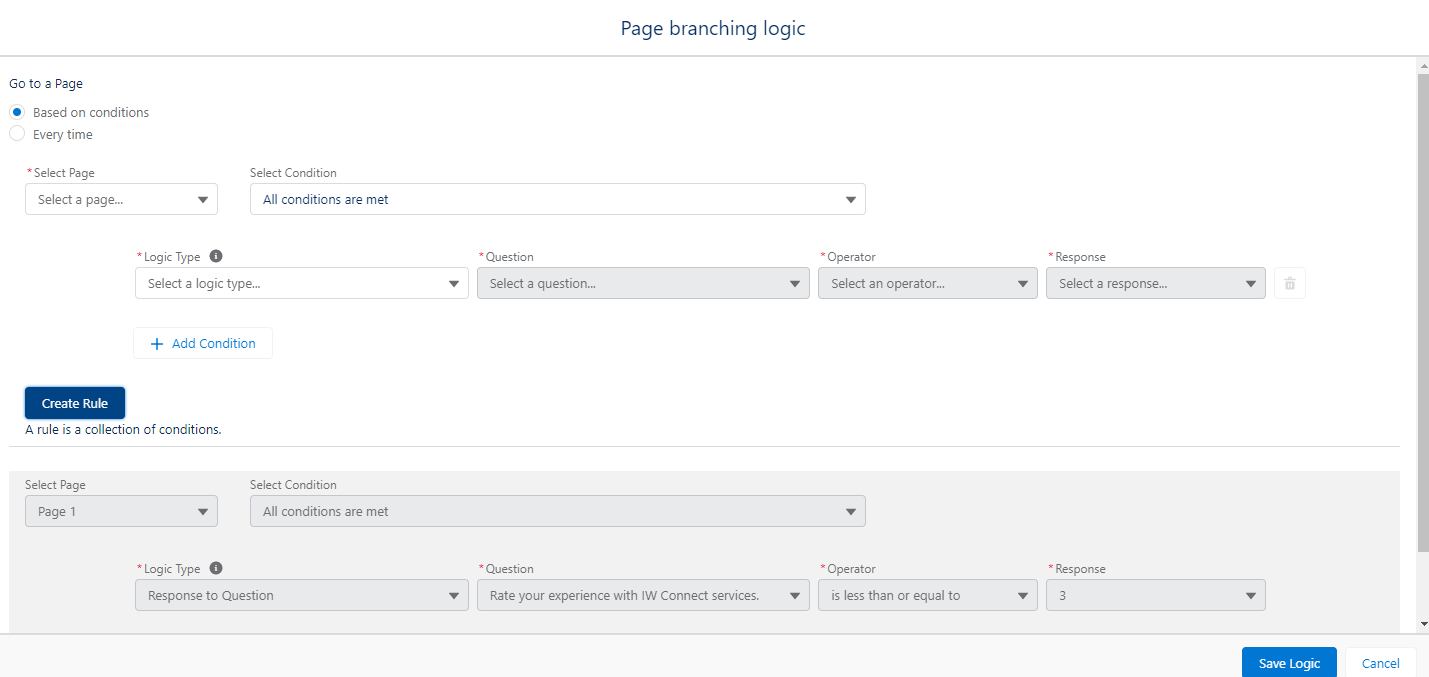
After you create different pages with the appropriate questions, you can always add logic to your survey. Administrators can personalize the participants’ experience by either adding page branching or question logic. When adding a logic, you set one or more conditions that should be met.
When the conditions are met, the questions will be displayed. Depending on the logic you set, the questions will be displayed on the suitable survey page.
After you create all the questions and set a display logic, you need to activate your survey in order tо use it. Before sending out the survey, the survey must be activated. The survey can be activated by selecting the Activate button followed by the Got It button.
After activating, the survey is available and can be sent to your clients. To be able to send out the survey we must go to the Send tab of the survey.
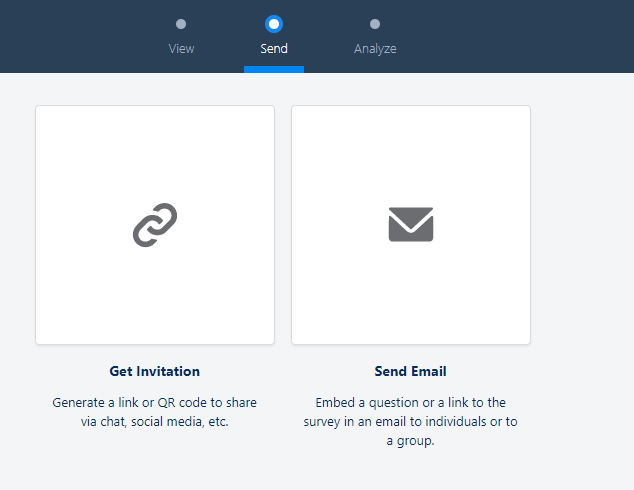
The survey can be sent in two ways: by sending an invitation (copying the link) or sending an email (to individuals or a group of people).
For our scenario, we will send the participants an email.
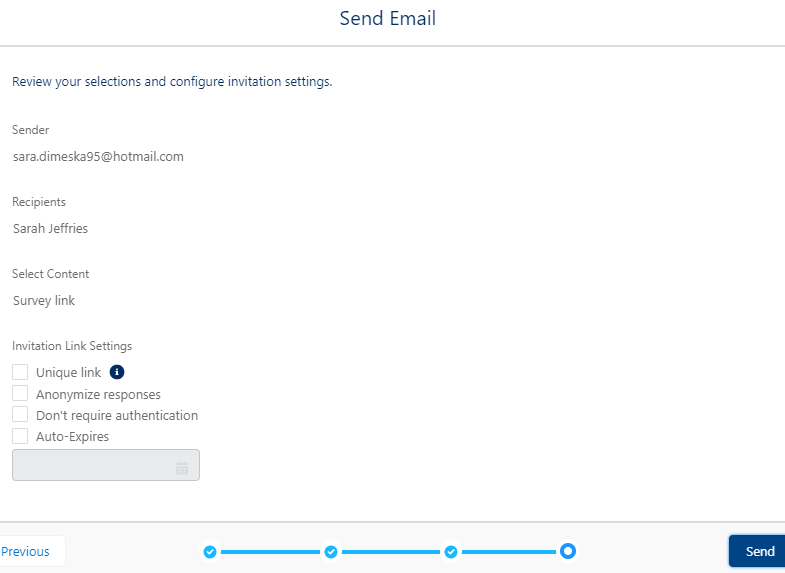
Complete the following steps:
– Select Send Email and Select Content from the dropdown
– Add a recipient address
– Select Next and click the Send button
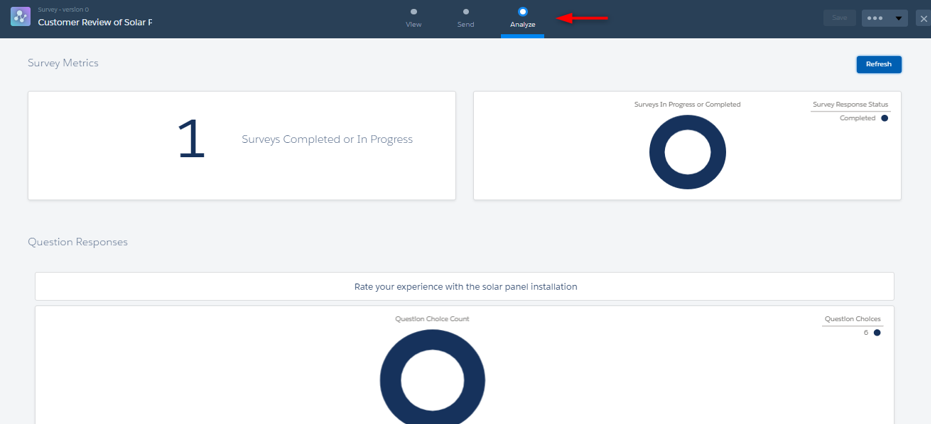
After you send the survey to your clients, you can always see the survey metrics in the Analyze tab. Here you can see how many people answered the survey, the answers, compare one answer to another, and for better assessment, you can also add the results and create a report and a dashboard.
The good side with surveys in Salesforce is that they can be automated. Managers don’t always have time to copy the link or send an email invitation to the customers in order to fill the survey. So, automation is always a good idea.
We will give an example to show survey automation in Salesforce. Every time an opportunity closes (no matter won or lost) a survey should be sent to an appropriate group. For that purpose, the Process Builder is the best option.
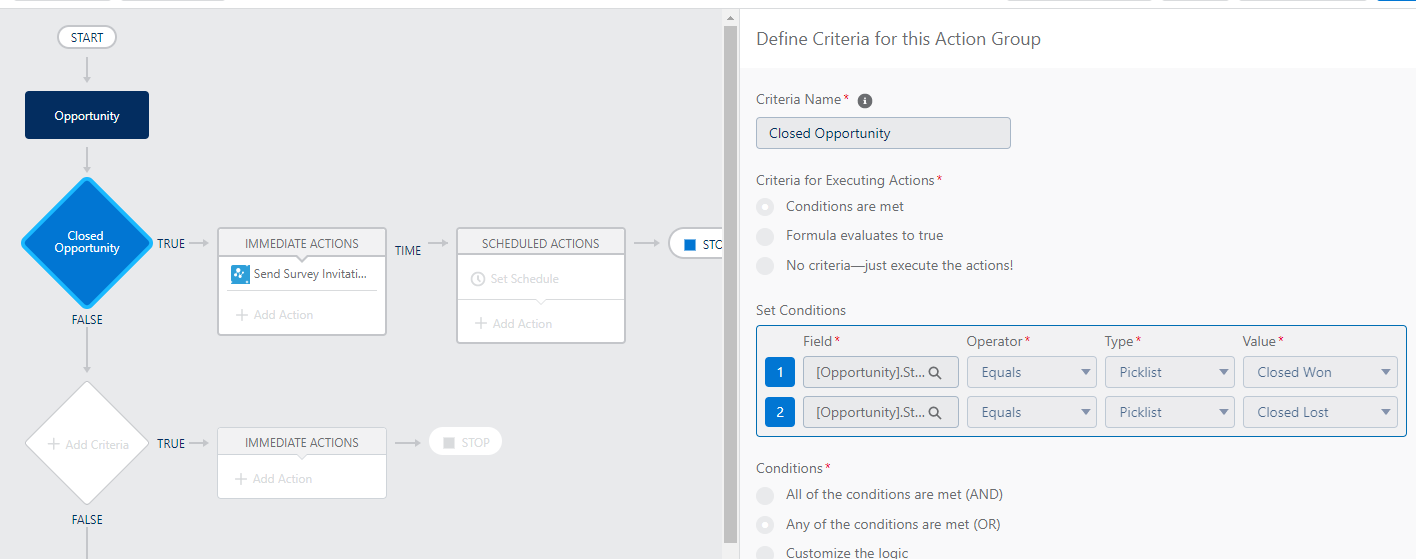
We are going to create a Process Builder on an opportunity object – because the pre-defined criteria state that whenever an opportunity closes, a survey should be sent.
We have added two conditions:
– opportunity stage = closed won
– opportunity stage = closed lost
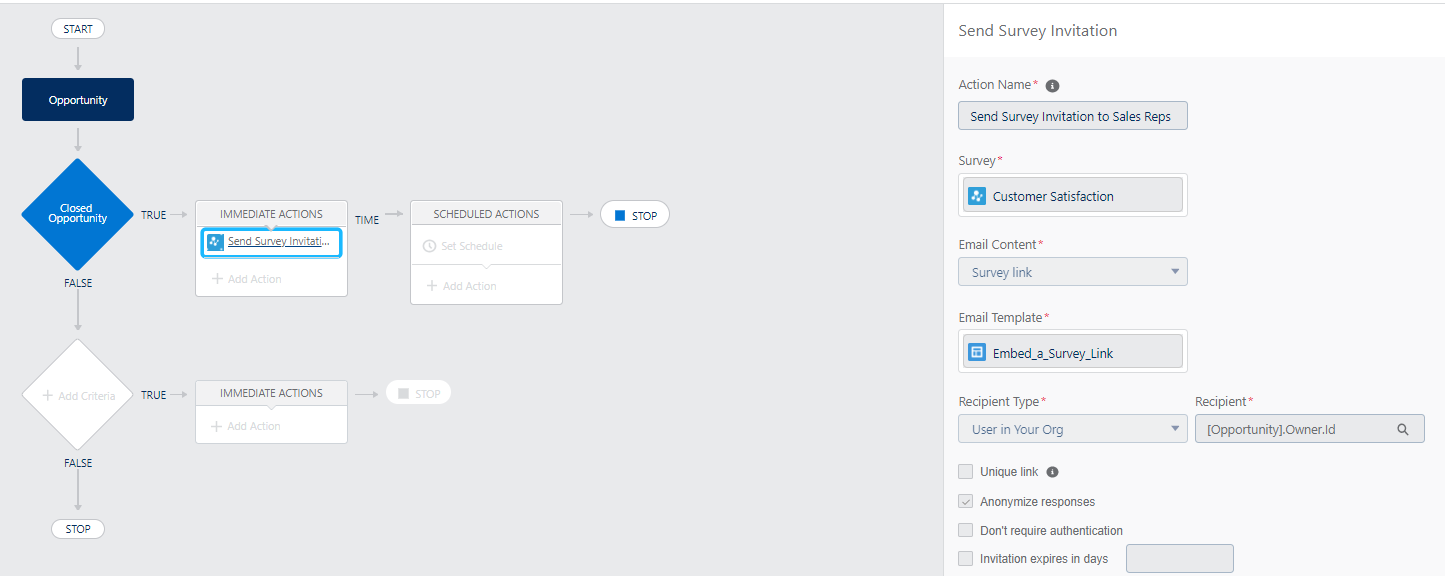
After defining the conditions, we are going to create an action – send survey invitations to Sales reps. The survey field is mandatory, so we will select the survey that we created before – Customer satisfaction. As for the email content, we will select the survey link. Email template – Embeded_a_Survey_Link.
Recipient type – users in your org (that means that the survey will be sent to the users inside the company).
When you scroll down to the checkboxes, there are different possibilities you can do with the survey. If you want you can create a unique link for a survey, anonymize responses, not require authentication and select when the invitation should expire.
After you define all the conditions and actions, you should save the process builder ready and activate it. After activating the process, when all conditions are met, the invitation will be sent to the appropriate group. In this case, the invitation will be sent to the Sales Reps inside the company.
Why sending a survey if you can’t analyze or compare the results?
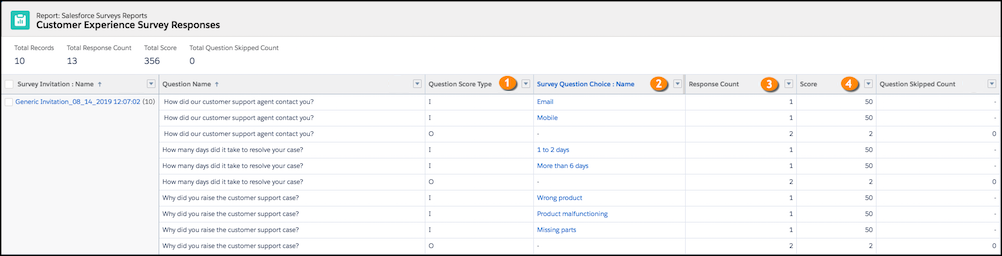
Once you have sent a survey, you can create a report in Salesforce and analyze the results of the survey. First, we will create a new custom report type that will include Survey Question Scores. After that, we can create our report where we can analyze and compare the results from the survey.
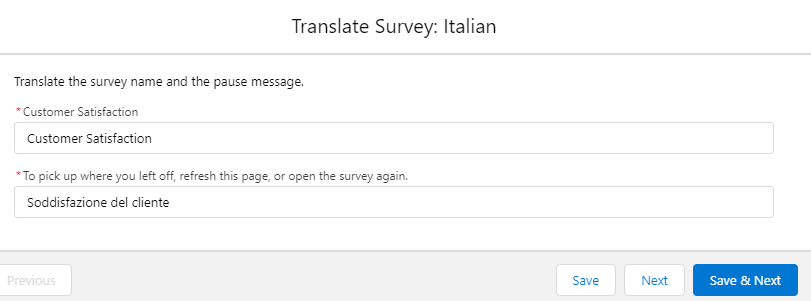
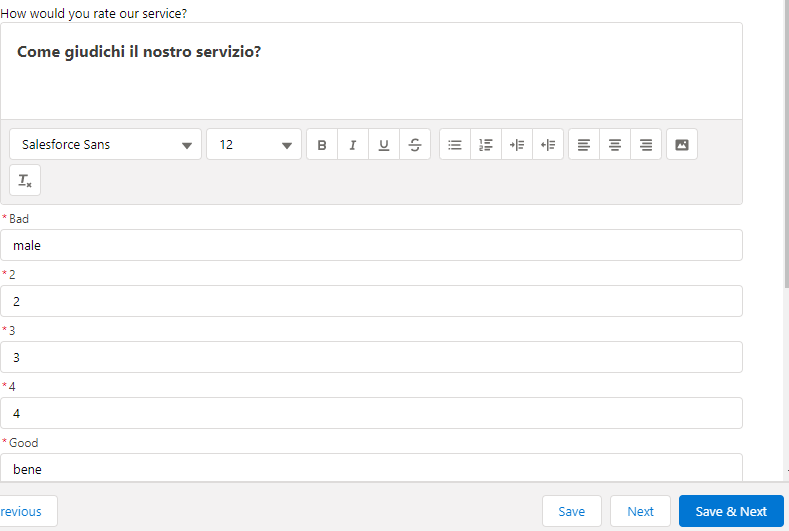
If your company is multilingual, there is a possibility to translate the survey into a language that you need. You just need to enable Translation Language Settings and add the language that you want the survey to be translated into.
After that, all that you need to do is translate the questions that you have on the pages and save them. Next, you can send the translated survey to the customers.
Now you are familiar with Salesforce surveys. You should use them if you want to collect information and feedback from your customers and the public. You can select different types of questions to gather relevant data. After each question, admins can customize the type of responses. Data is collected by the surveys that are stored in Salesforce, and you can use it to measure your internal KPI’s.
After each survey, you will receive carefully analyzed results that will help you make key decisions for your company.