
Working with SnapLogic and other integration tools all these years made me think multiple times and explore a bit what is going on “behind the scenes” and learn a bit more about how the platforms work, what is the core code behind them etc. Having in mind that we all started with application development when we were starting our IT career and meanwhile integration became our field of interest, we kind of set a distance with native coding. For that matter, I have always striven to find out what is going on under the hood and how I can contribute for better performance or ease of use of the integration platforms and engaged my team so we can check together what is going on and how SnapLogic builds its connectors.
We would not do anything of course without SnapLogic’s help and support during the process. Following a well written documentation on developer.snaplogic.com we started doing something on our own.
During developing pipelines, we encountered with a numerous scenarios where we needed something like a sleep or wait snap, that will wait for a certain amount of pre-configured time interval and then continue with the process. I know that you will now say, why you need that when you can write a simple line in JavaScript or Python in the script snap which will do its own job. I know that everything can be written within the script snap, but we want to keep the main purpose of SnapLogic and its ease of access and have a connector for such a simple function.
In order to start the development of a snap, you need to have an admin access to an environment and create your own SnapLex where you will test the snaps that you are building, and you need to have Java 8 (JDK) and Maven 3. In this article you will learn how you can install a Groundplex on Windows machine, and just one article up in the left list of articles you can find out how you can install Groundplex on Linux machine.
I am assuming that you set up all the requirements for starting the process of snap development. Let’s start with coding. I will create a class, named Wait and following the tutorial I will develop a snap. As first thing in this class, we need to know the snap anatomy and what we can use so we can define properties, call methods etc.
Defining Snap anatomy
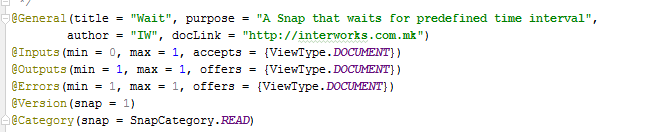
This code snippet clearly describes that the snap will be named as Wait, in purpose is the description of its function. In the inputs and outputs you are defining how many inputs and or outputs the custom snap should contain. In the Category you can define the category (action) of the snap. Possible categories are:
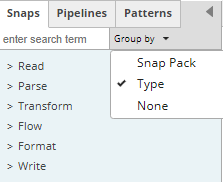
READ, PARSE, TRANSFORM, FLOW, FORMAT, WRITE which are the same as the types in the Snap Catalog within the Designer:
After that we are naming our class and we implement the Snap interface, which contain multiple methods with which you will implement the business logic that your snap needs to perform it.
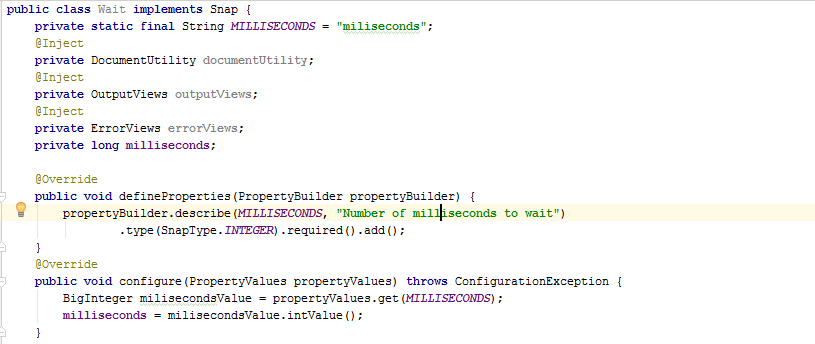
The first two methods you will call defineProperties and configure method. In the define properties like the name says itself we are defining the snap properties using the given PropertyBuilder. Settings Snap schema property is generated by this method which is used by SnapLogic Designer to build the UI for that particular snap.
Configure method is used for configuring the snap with the property values provided by the user’s input when configuring snap settings.
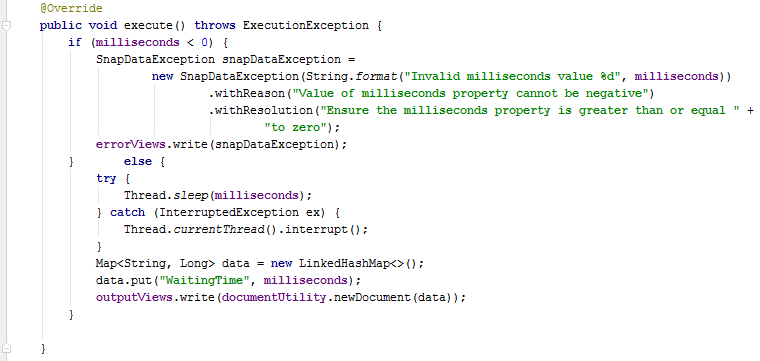
After we defined and configured all of the properties needed for this particular snap, we are continuing with the main method where the “magic” happens, which is actually the execute method where we are defining the business logic.
First thing that we do is the validation if the value of the wait interval in milliseconds is negative. If so, the snap will throw an exception saying that: “Value of milliseconds property cannot be negative” and write that to an error view. Otherwise, it will execute the Thread.sleep method which suspends the current thread for the specified amount of time by the user’s input. After the waiting time is finished, we are returning the following JSON on output:
This JSON is actually built by the code part where we are creating new Map called data, putting WaitingTime as a key and milliseconds as a value in it and we send that JSON structure on output.
At the end we are calling cleanup method where we are cleaning any suitable resources after the Snap execution.
Getting Started
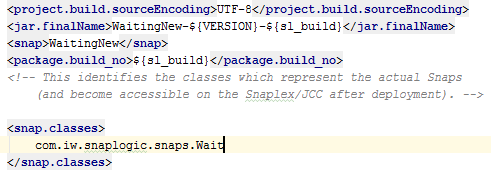
After we finished the development, we must deploy the snap pack to the suitable organization and test it there. In order to pack the whole project, we must configure the suitable pom file to include the new class(snap) that we have created for this snap pack.
If you have multiple classes, you will define all of the classes one after another. Hence you are building the project with “mvn install” and it creates two files (one zip with the name of the snap pack and one jar) which you need to upload on the SnapLogic Manager. If the upload was successful, you will see your snap pack under the snaps catalog.
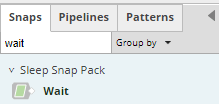
We finished with the entire process. It is time for testing.
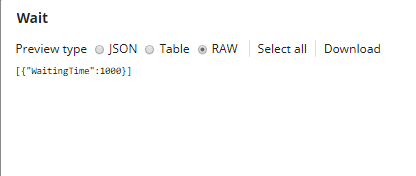
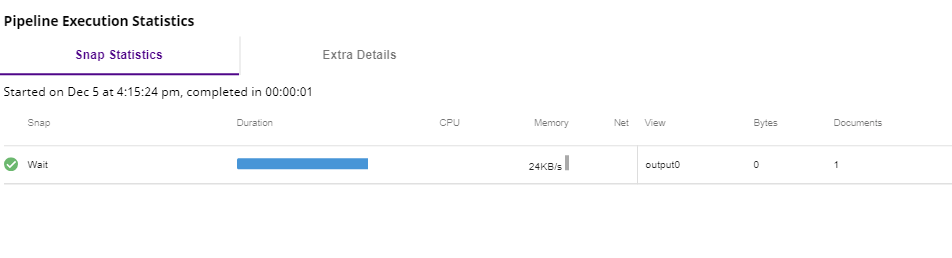
For testing purposes I will create a pipeline, with only one snap (wait). In it we will configure how much time we want the snap to wait. So let’s put 1000 ms for testing.
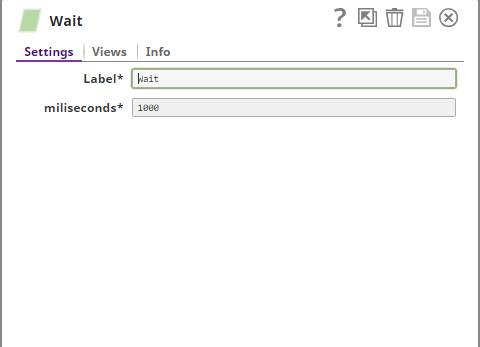
And after running the pipeline and getting its execution statistics we can see that the pipeline lasted for 1 second as we stated.
Just for re-testing purposes I will test this with 10000 milliseconds also:
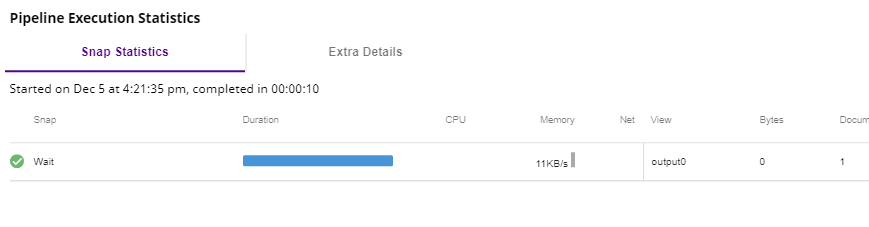
And we can see from pipeline execution statistics it lasts 10 seconds as needed.
Conclusion
This is just the simplest sample of how you can develop a snap that will do some job. It can be certainly improved, more functionalities can be added, etc. On our roadmap, we have many planned snaps that should be developed during 2019 and we will follow up with a blog post with the most interesting ones. Stay tuned. 🙂